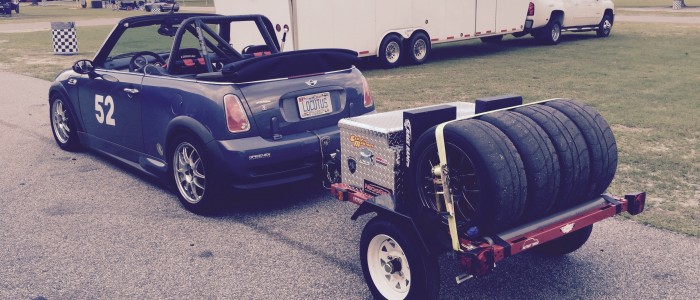
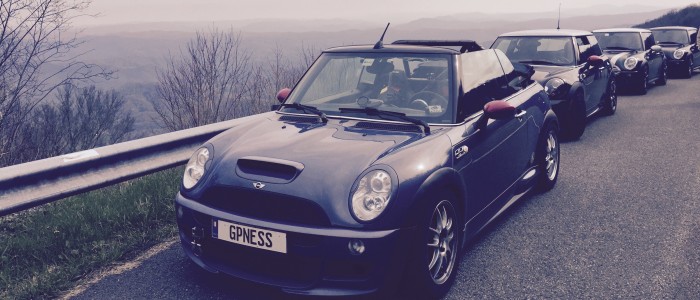
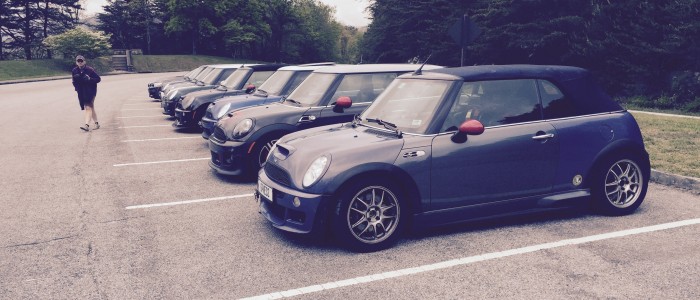
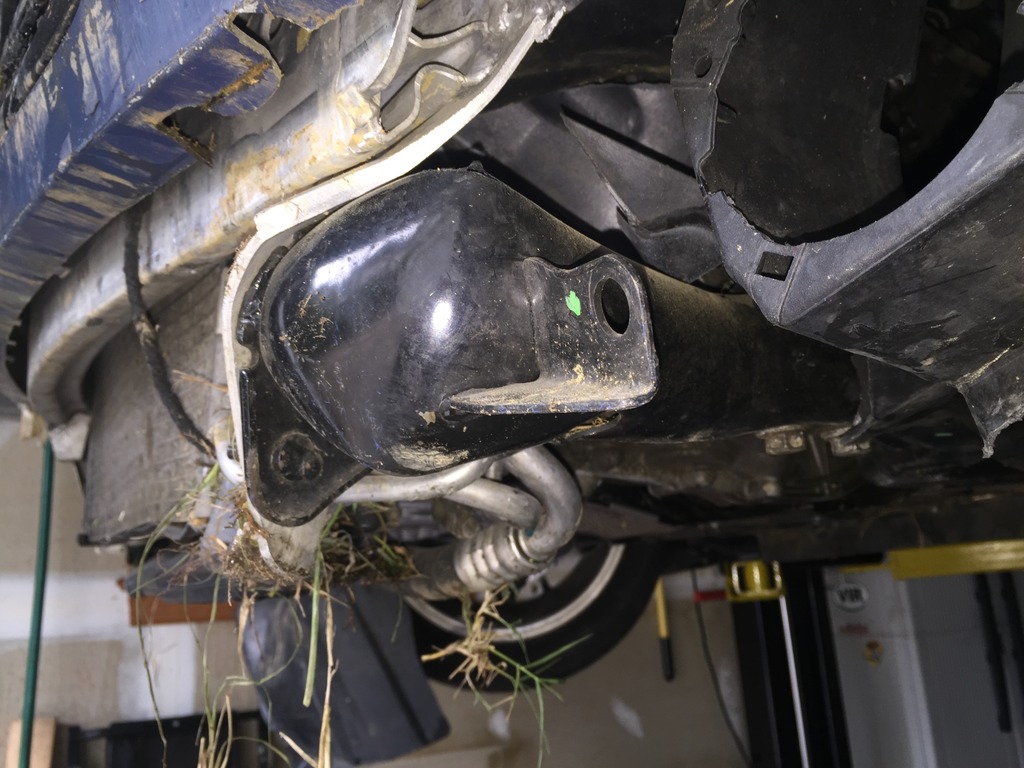
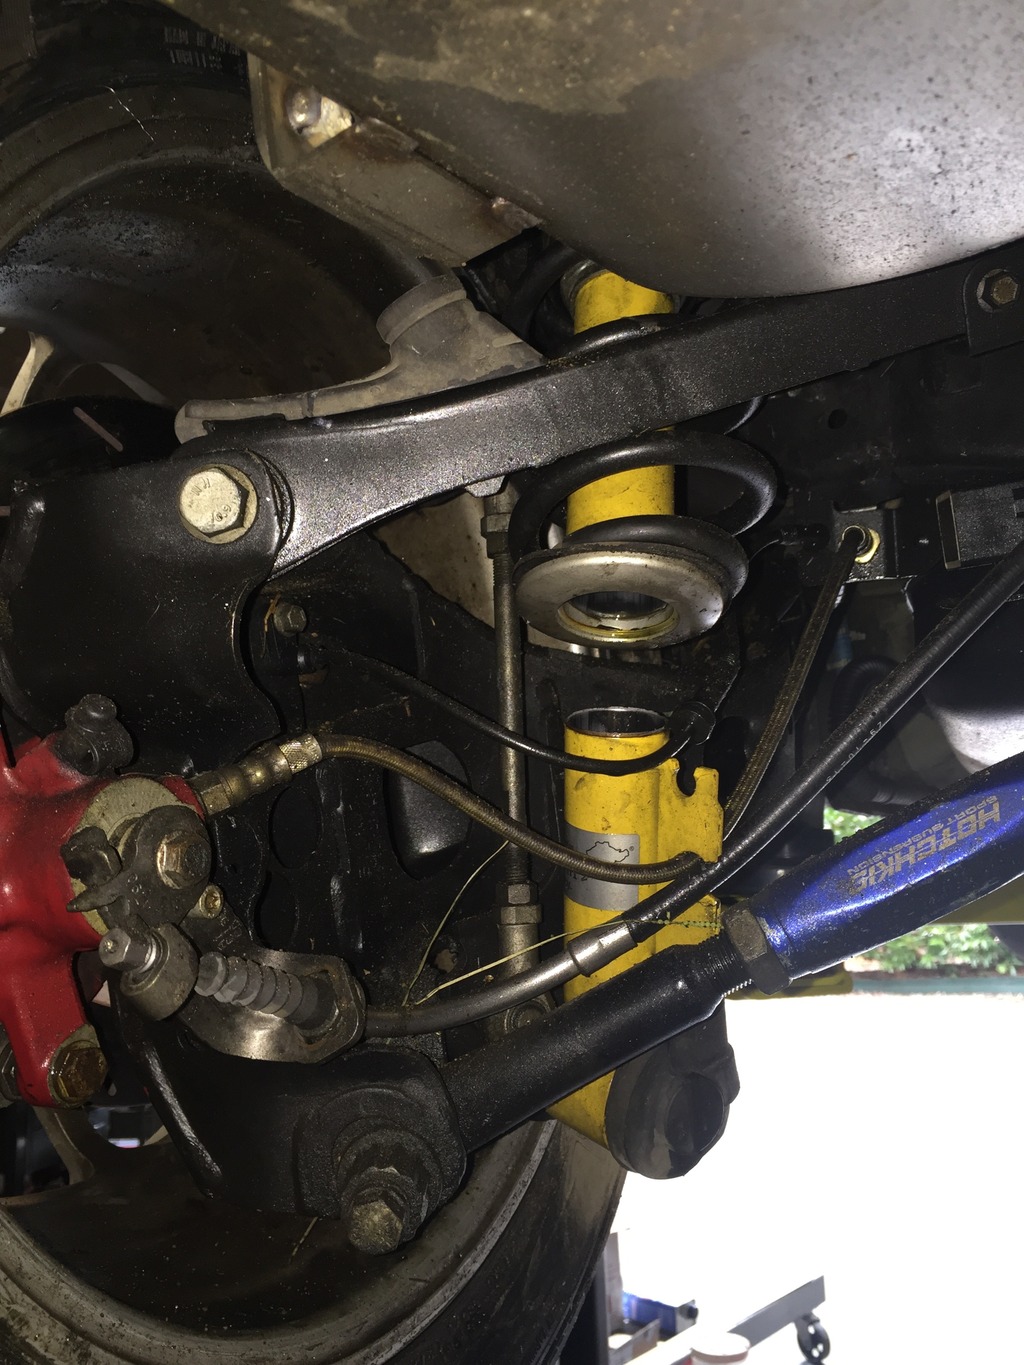
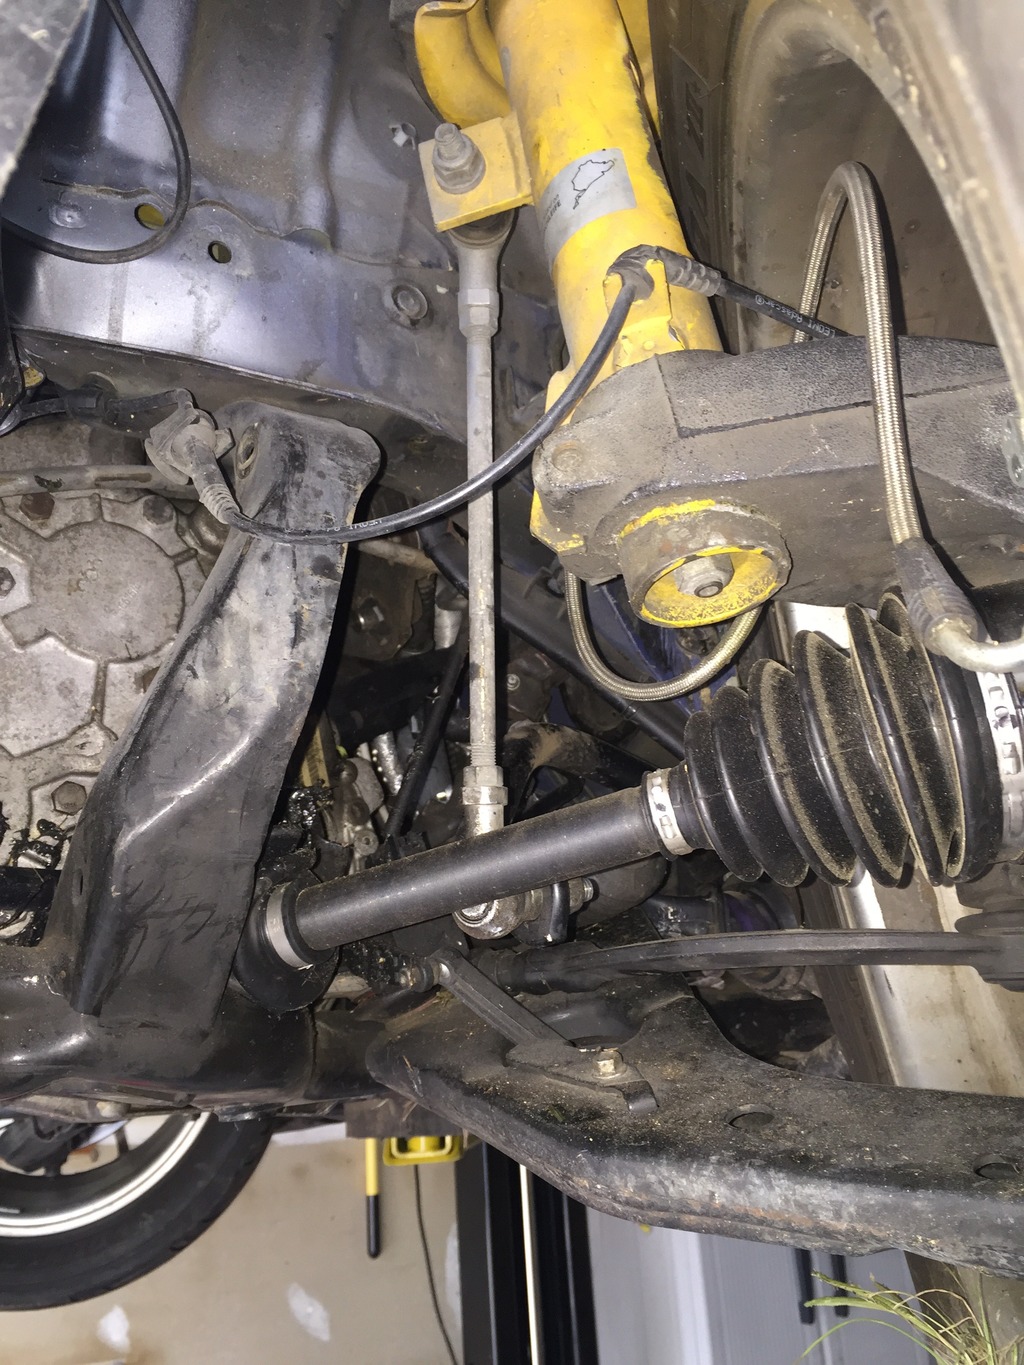
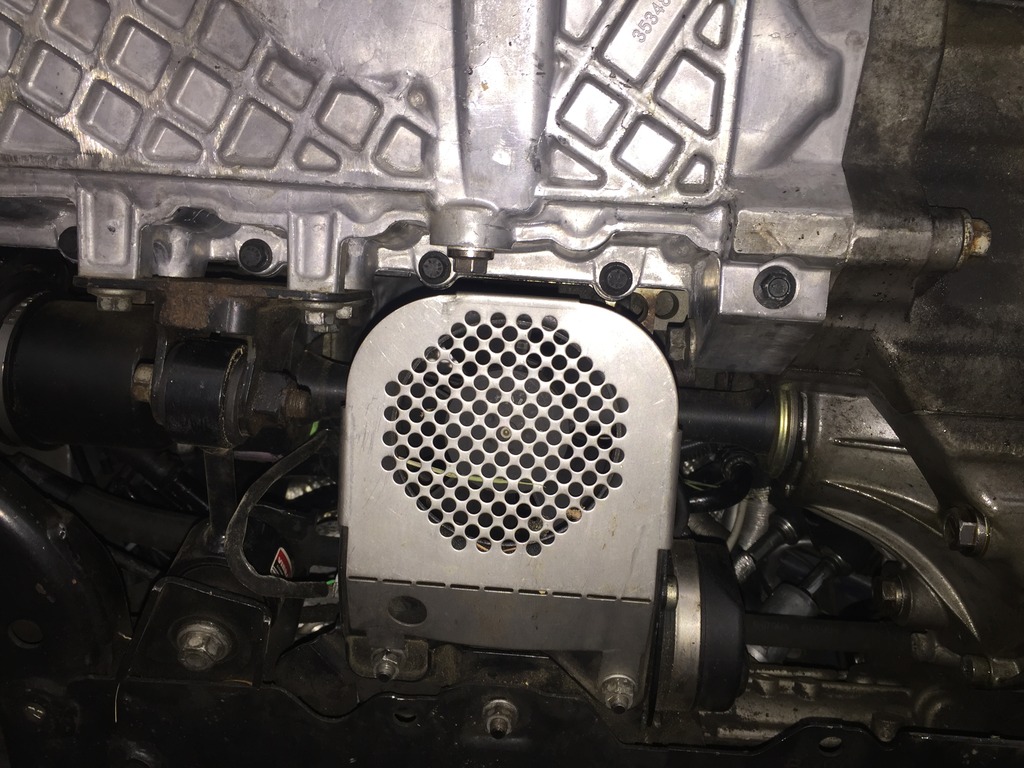
This concludes the story of the Blimey Cabrio. The saga of the GP Roadster continues, at GPRoadster.com
Farewell, old friend
The diagnosis and tear-down
After a couple of days off to ride coasters at Cedar Point (yes, with a concussion!) and visit Wellzy… I’m back home and back to work.
Today’s task: More engine diagnosis. Pull remnants of bumper and put car in service mode so I can further inspect engine and sensors. Do compression and leak down tests (using new tools that arrived yesterday). If OK, let it run a bit to burn oil out of cylinders, see how it runs, and let the bearings work a bit. Pull oil sample to test for bearing damage.
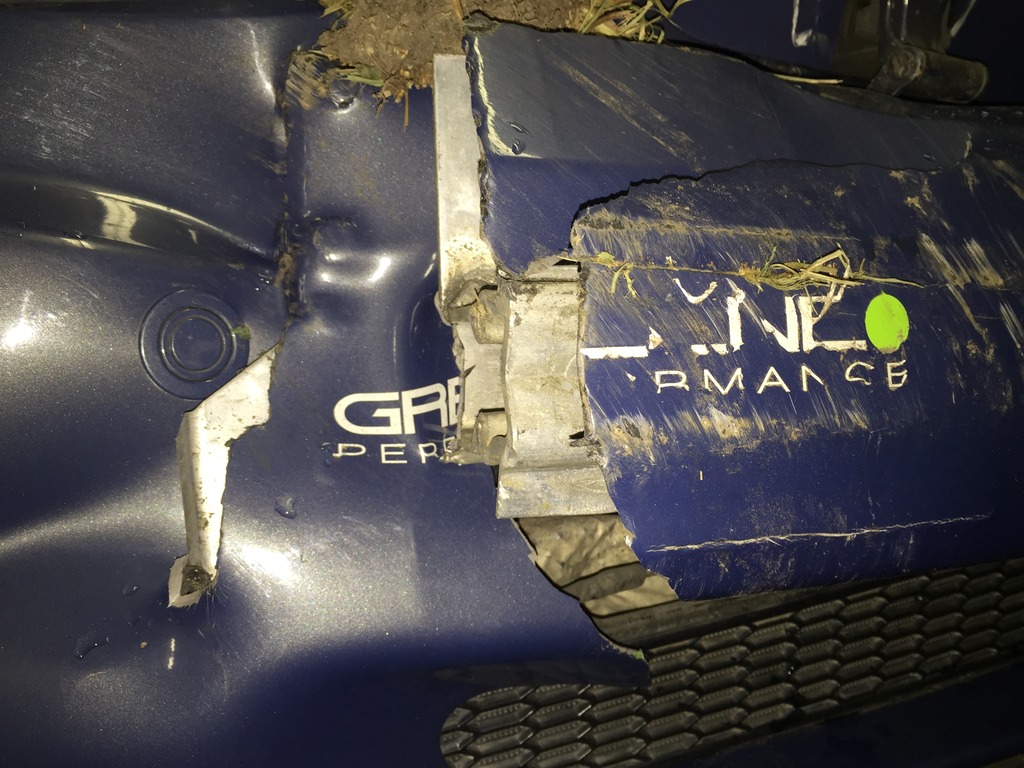
First, took an opportunity to look at my left GP skirt which got removed WITH MALICE by the ditch. Sadly, it sheared off EVERY SINGLE MOUNT in the painted part of the skirt, and also ground it up pretty well. Also cracked up the GP sill plate.
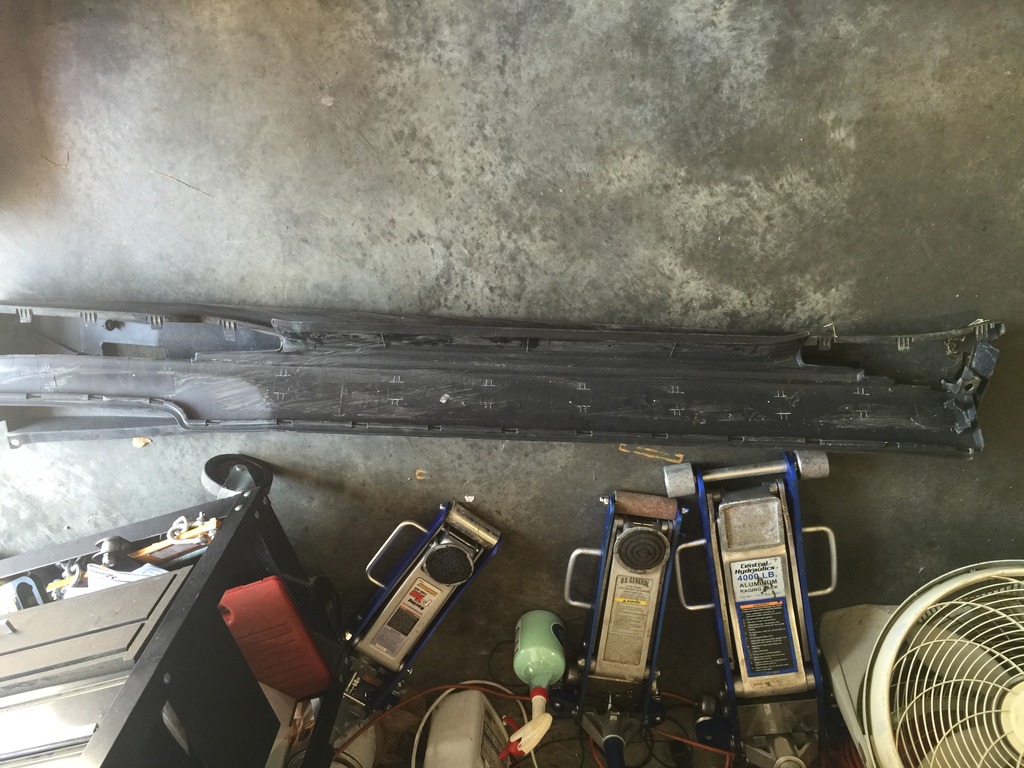
I’m gonna see if I can get replacements; I DO own a GP, after all. If not, I’ll fabricate replacement mounts and epoxy them in, and fix the other problems.
Then time to get started on the motor…
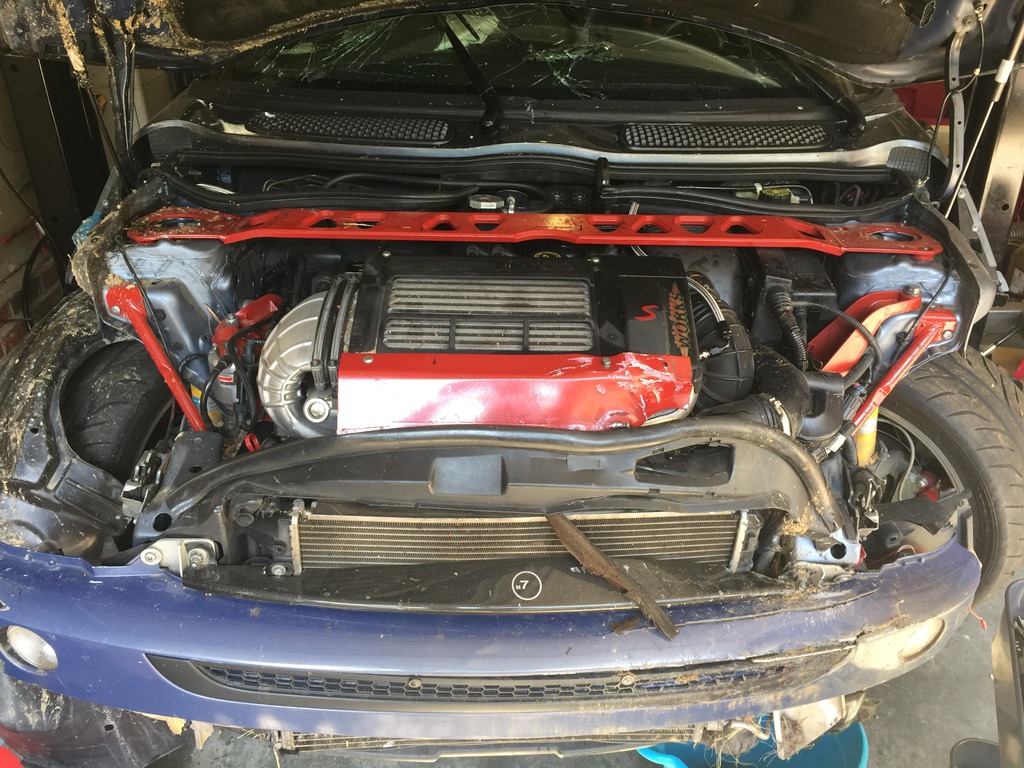
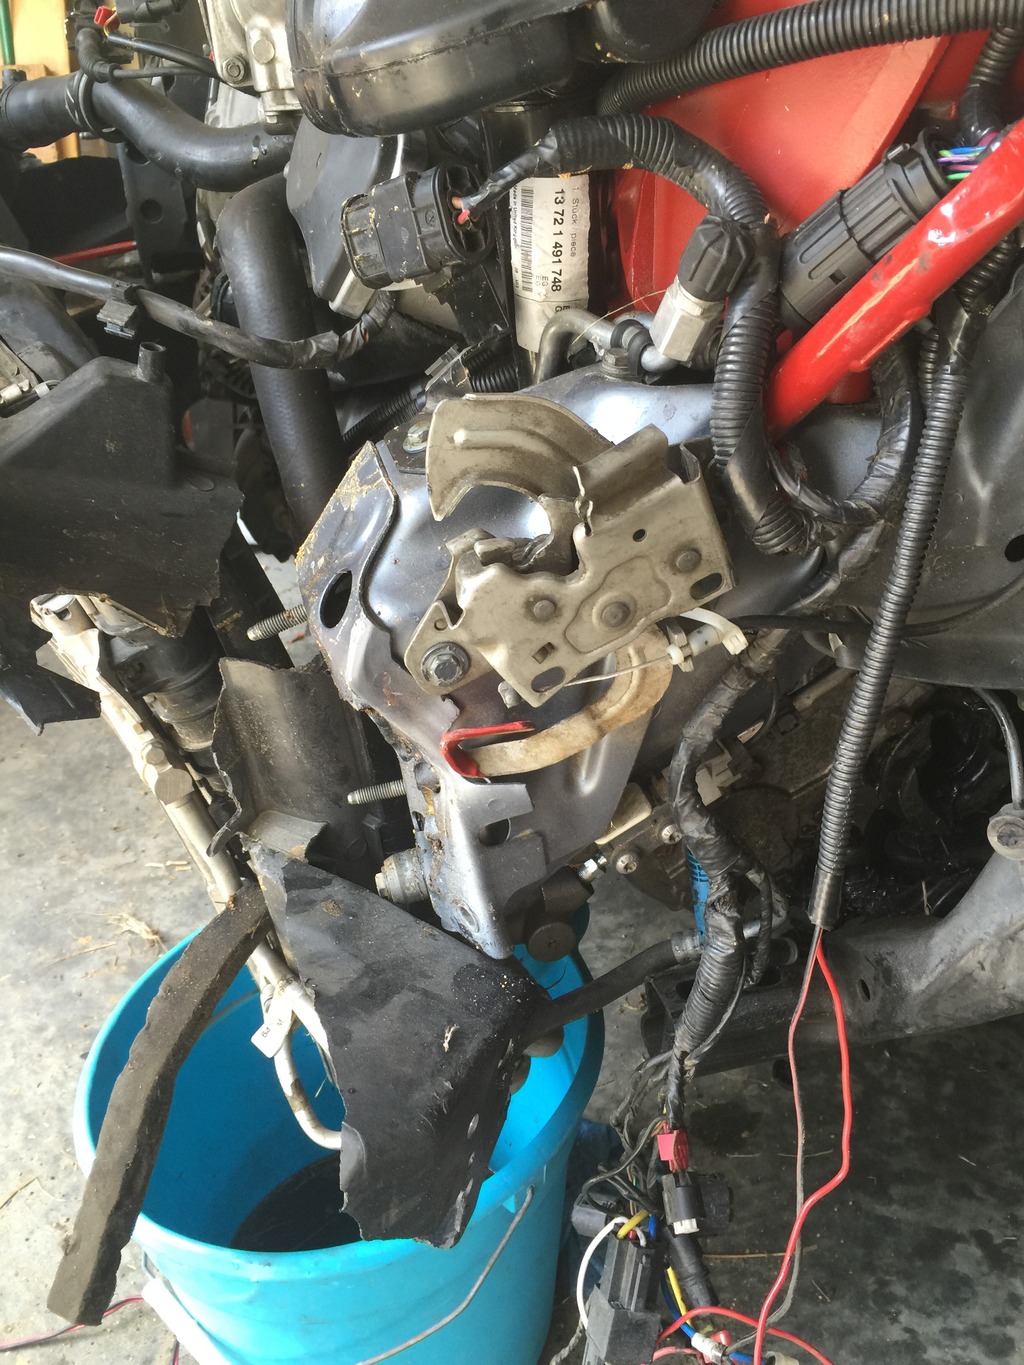
Took about an hour to get the remains of the front bumper off. The left crush tube was CRUSHED, and bent with the bumper frame in such a way that the only hope (without cutting) was to get the tube and frame off together. That worked.
First, I had to fight for awhile to get the M7 air diverter plate off. The bolt holding it was also quite twisted. Sadly, the nice CF plate is history.
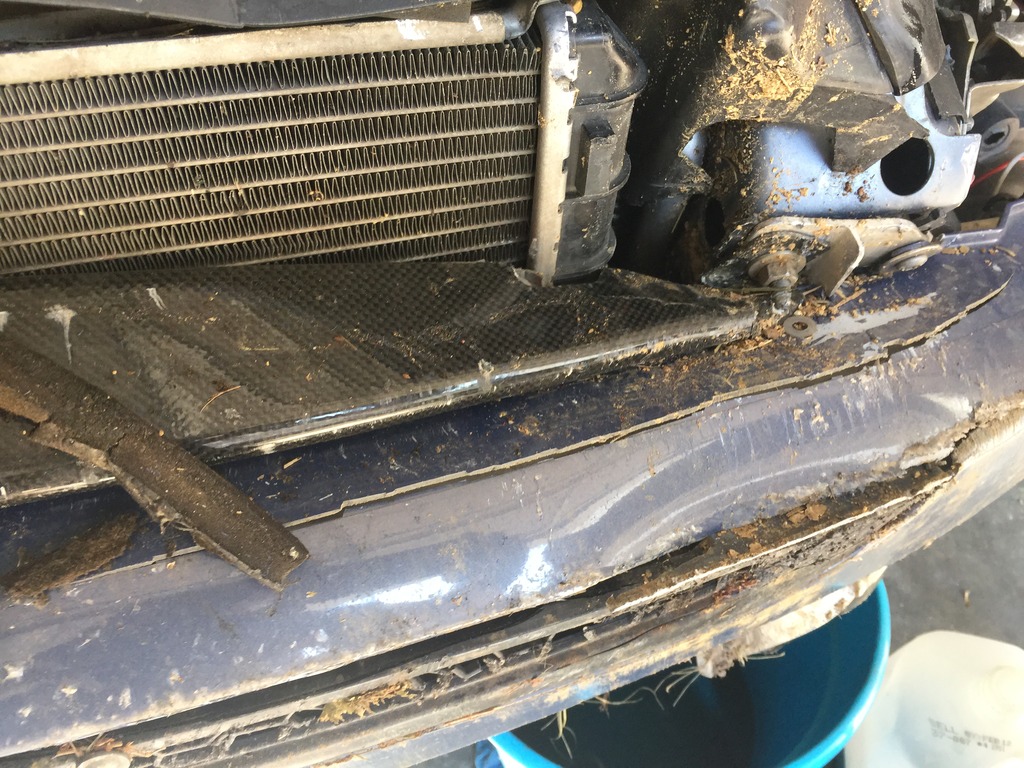
I’m not sure if I can use one anyway with the RMW dual pass radiator I’ll be installing. If I decide to use the plate, I’ll get a new fiberglass one and paint it to match the GP bumper.
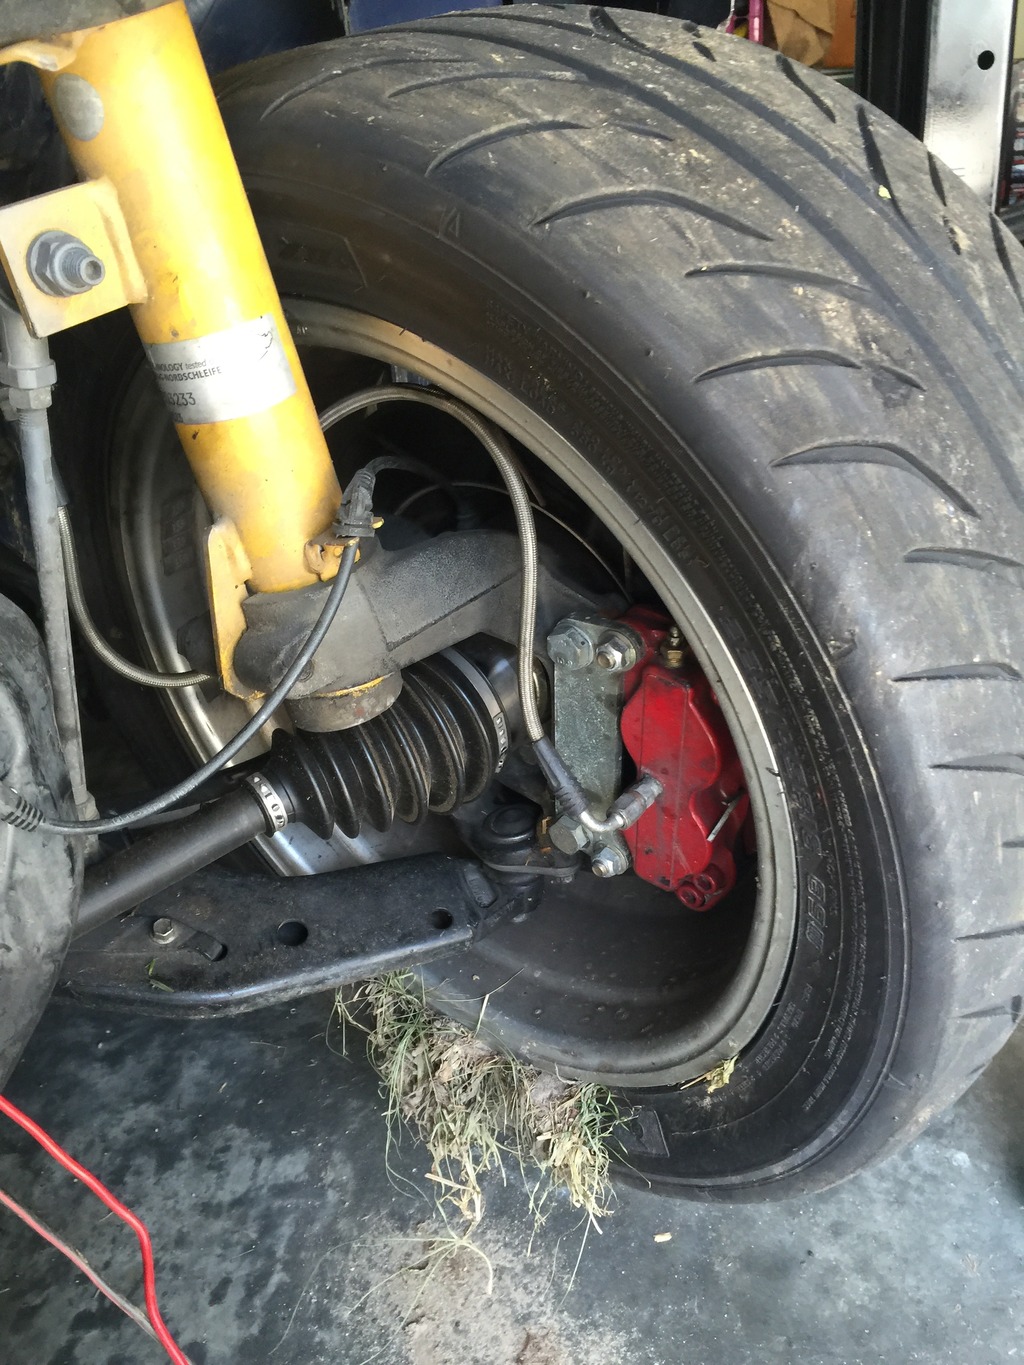
Took a minute to appreciate the carnage that is my left front suspension, wheel and tire…
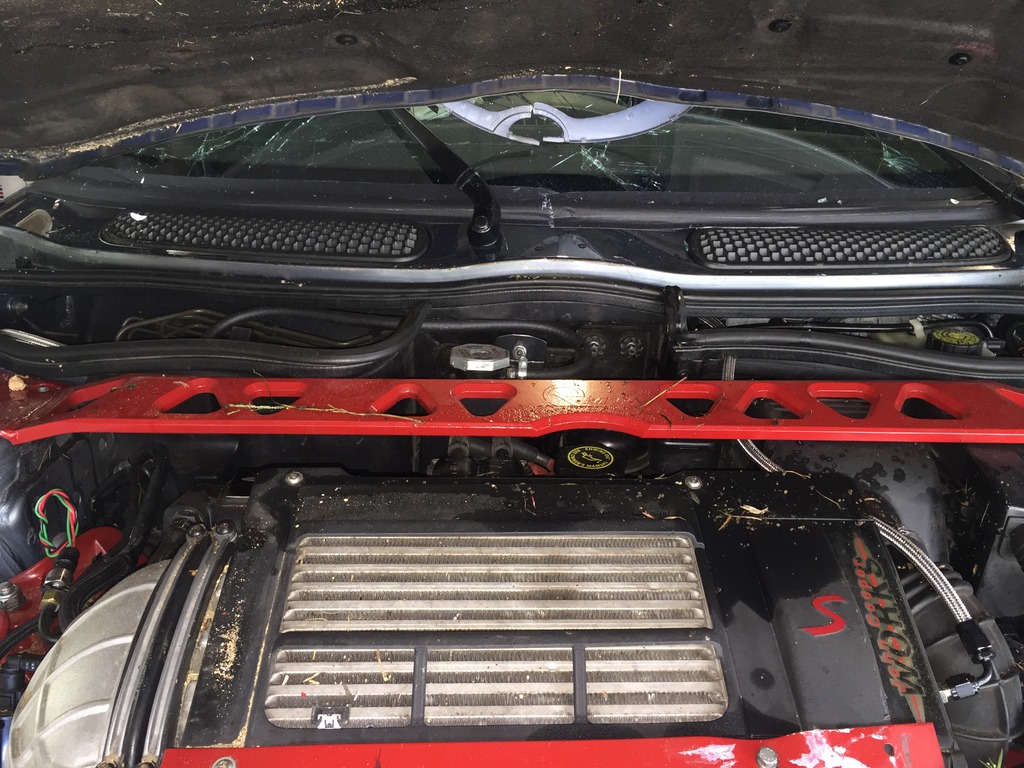
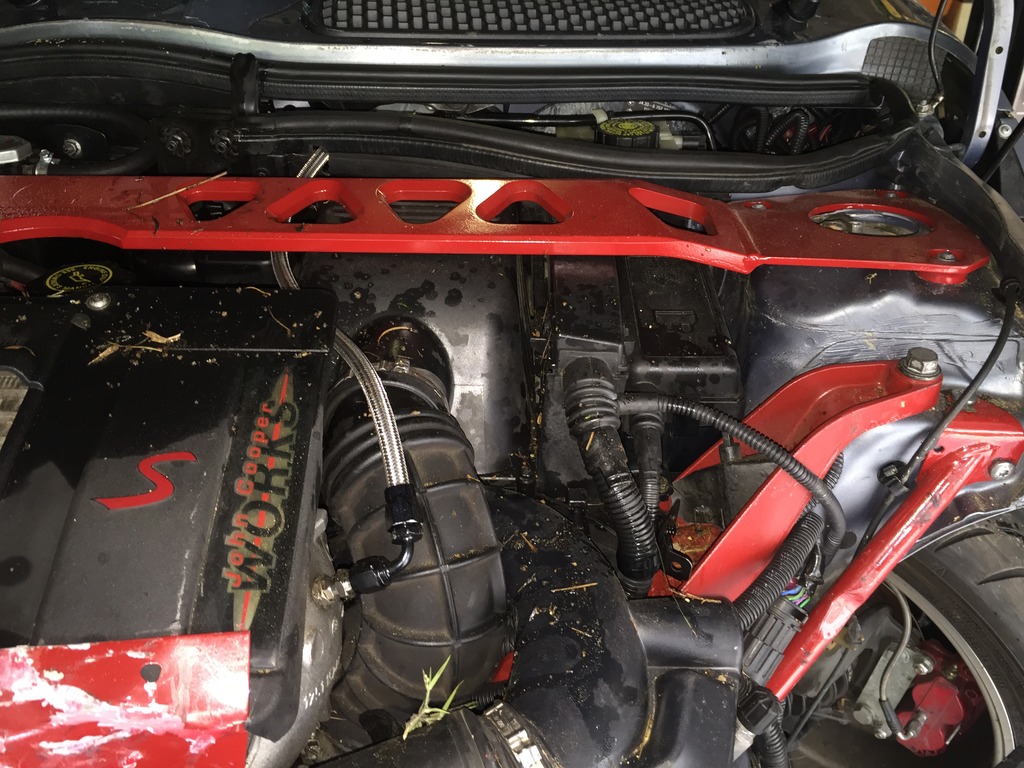
My custom red stainless intercooler diverter plate was mangled, and the corner of the ultra-expensive GP intercooler cover was busted, but it’s fixable and usable, I think. Soon I plan to have the RMW FMIC anyway.
Once I got the covers off, I saw this. What’s wrong with this picture?
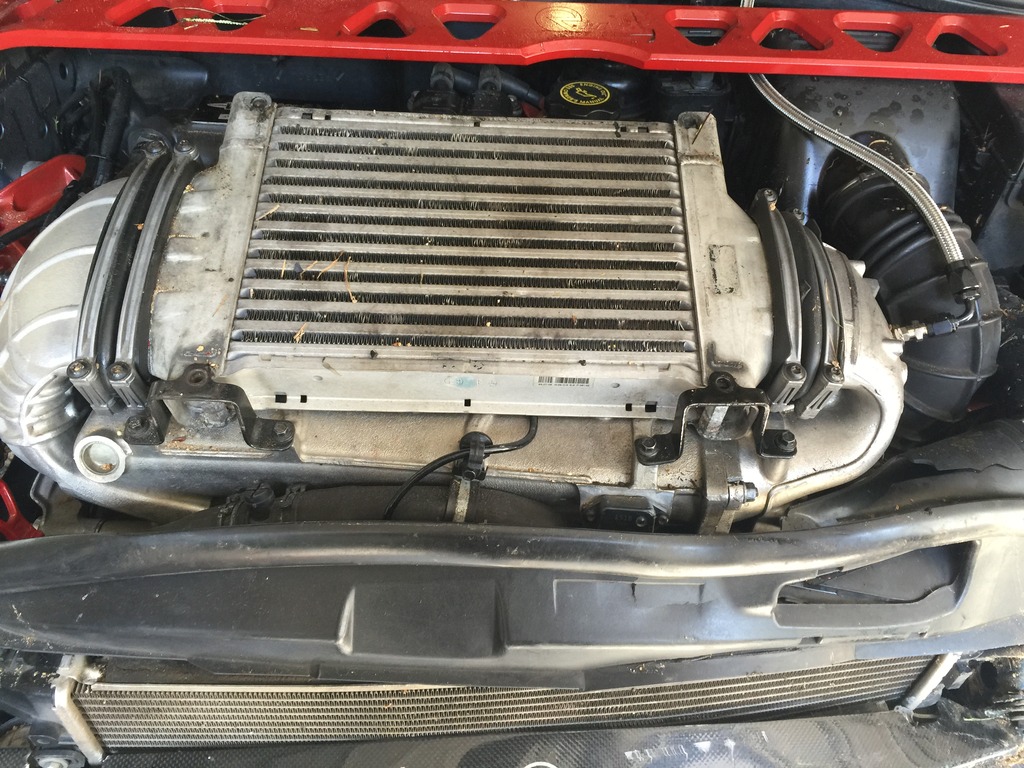
Uh, the intercooler really shouldn’t sit at an angle like that…
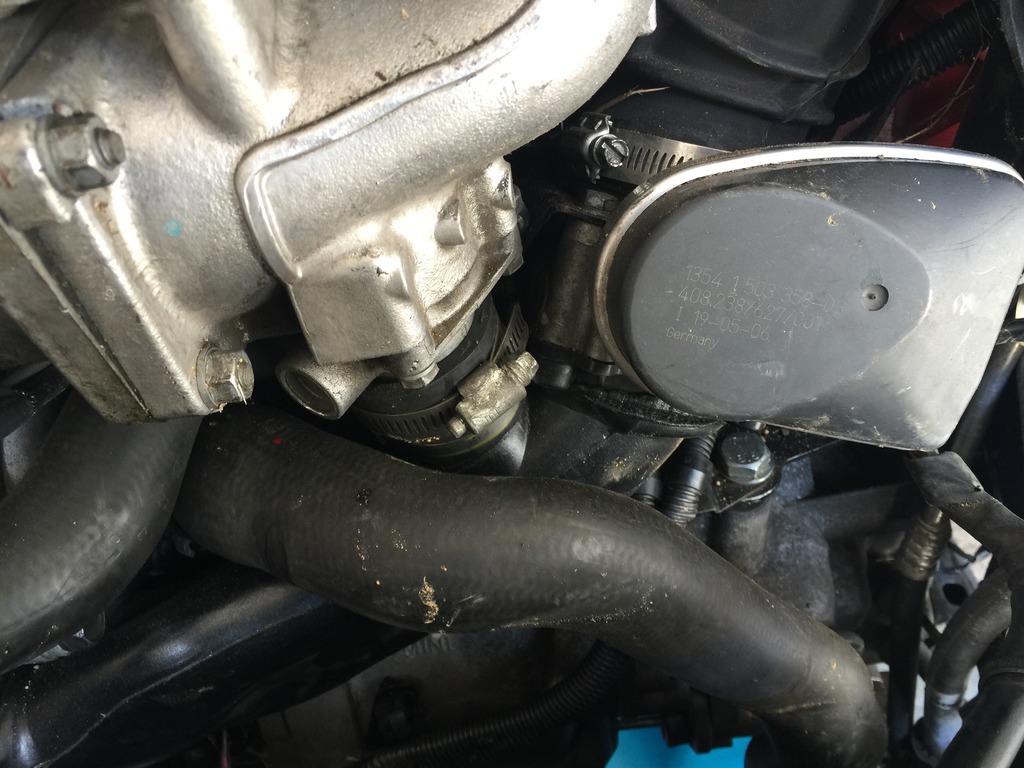
Right intercooler mount bent, and intercooler pushed back a bit, but otherwise OK. But the horn between the IC and the intake manifold is broken.
Oh well, I have a spare. And that will go away with the RMW front mount and custom manifold, anyway.
Also, my TMAP sensor was squished. That’s probably one reason it was “chugging” when I ran it for a few seconds last week. I have an old spare TMAP in a box… put it on.
Pulled off my strut bar. It seems fine.
But the strut towers… not so much.
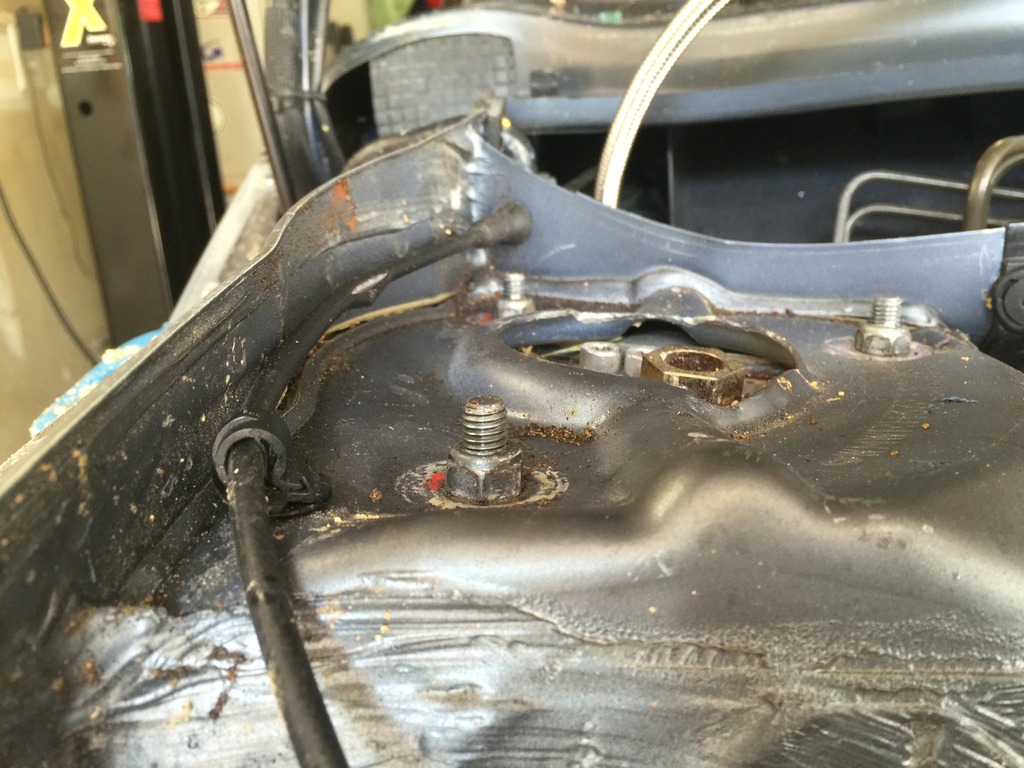
And looks like this Vorschlag plate may have some issues also. Won’t know for sure until I get it out.
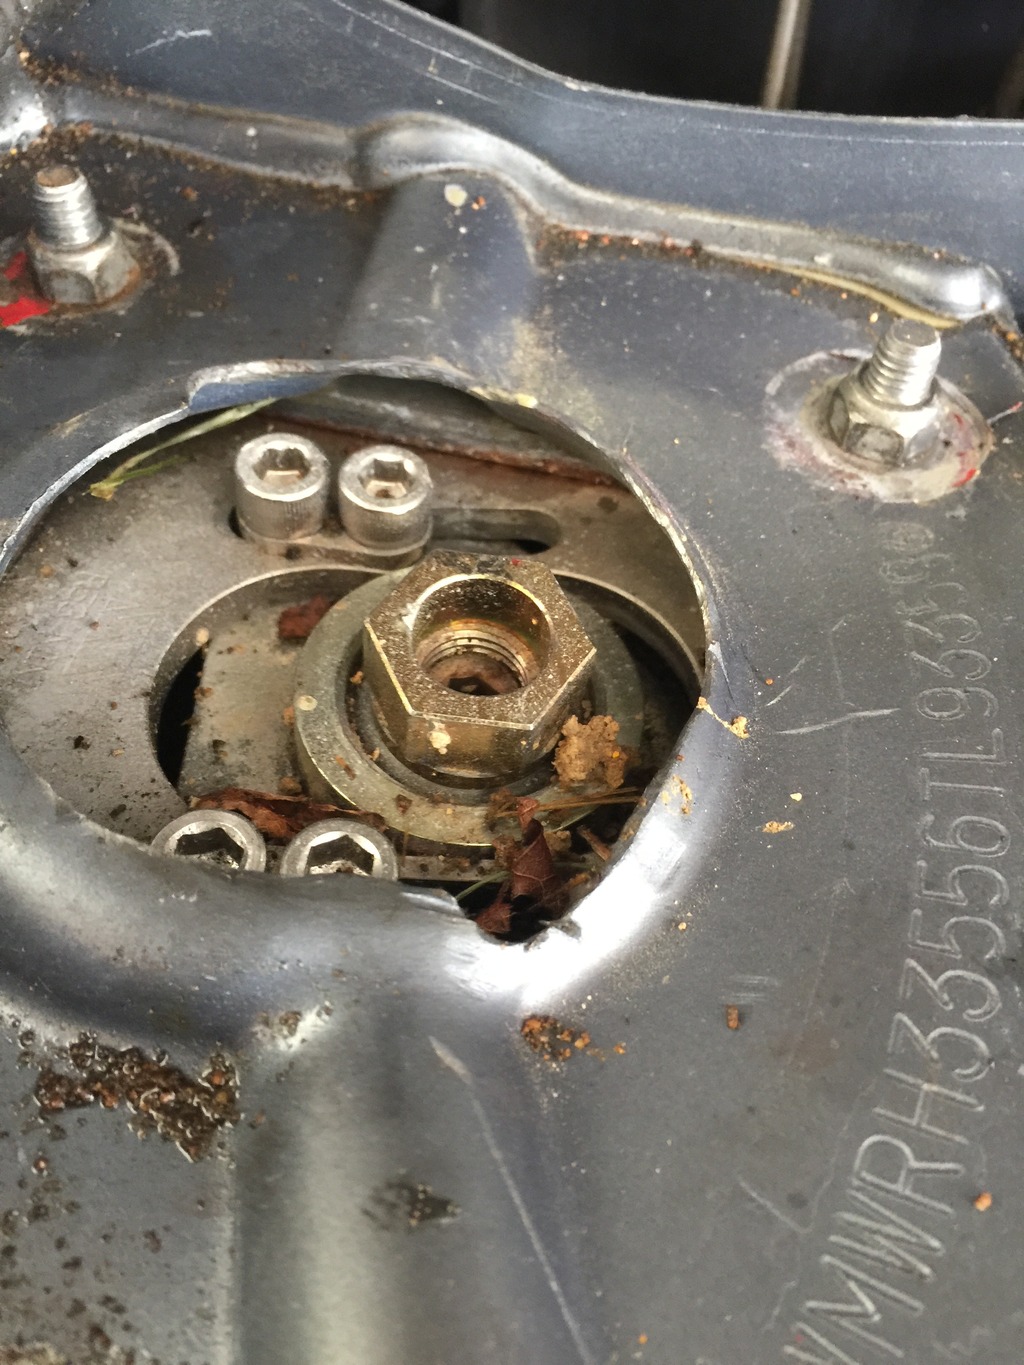
Ready to pull the coil, wires and plugs for testing.
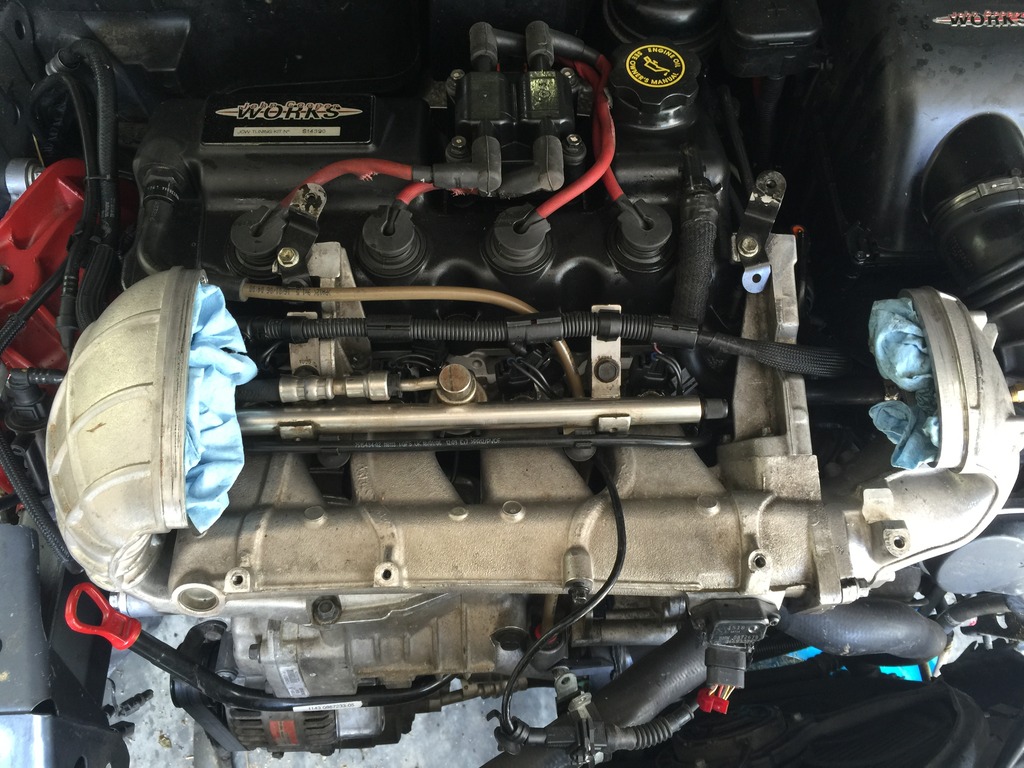
Plugs were super fouled with oil (shocker… the car was upside down for an hour or two).
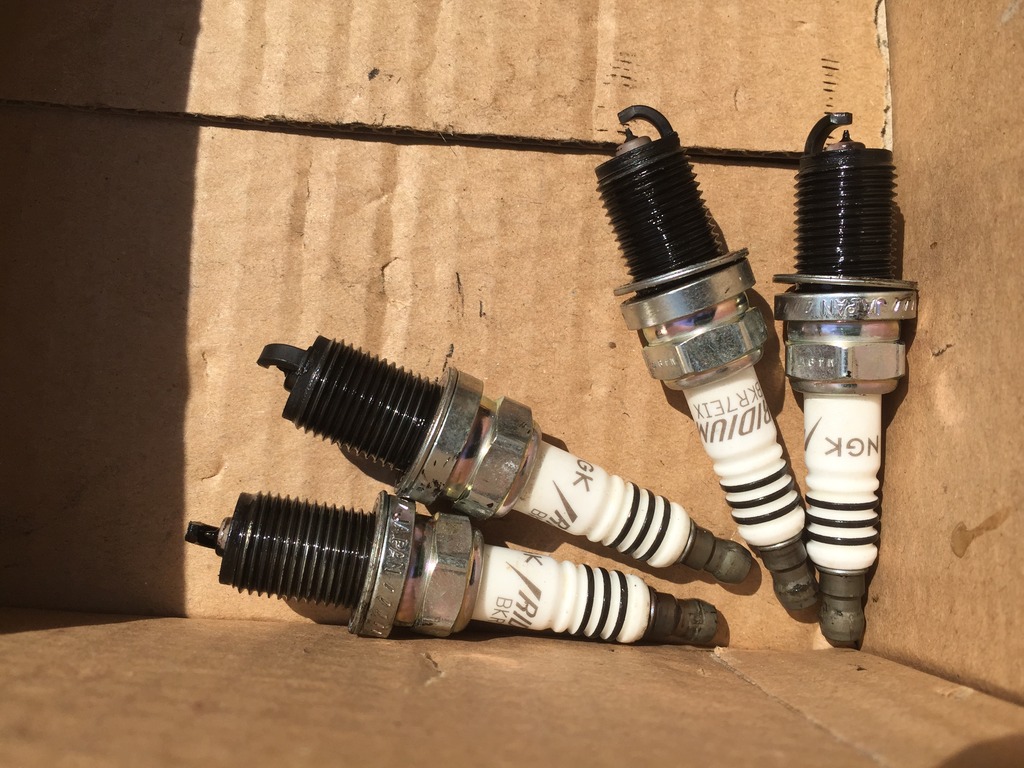
Once the plugs were out, I pulled the fuel pump fuse and did compression testing. Results:
1: 190 psi
2: 190 psi
3: 190 psi
4: 200 psi
That looks good.
Then did leak down tests, at 80psi. All cylinders held at 75-78psi, cold (you’re really supposed to warm up the engine first). That’s only 5-6% leak down, which is quite good for a cold engine. The oily cylinders & rings probably helped that a bit.
Since compression and leak down seemed OK, decided to top up the cooling system with water, replace the crushed TMAP sensor, and try to run it…
It’s amazing how well the motor runs, considering how broken the rest of the car is, and what it’s been through.
I pulled an oil sample for analysis. If it shows high lead, that’s an indicator that I may have bearing damage. If it doesn’t… I’m probably good to go with the motor as-is.
A friend sent me this oil analysis kit, he had extras. He gets them from the local Caterpillar equipment dealer… only $15 per test. I’ve used Blackstone and BobIsTheOilGuy previously… but will be using this service from now on, the price is RIGHT. Comes with a great little pump for filling the sample bottle from the dipstick tube.
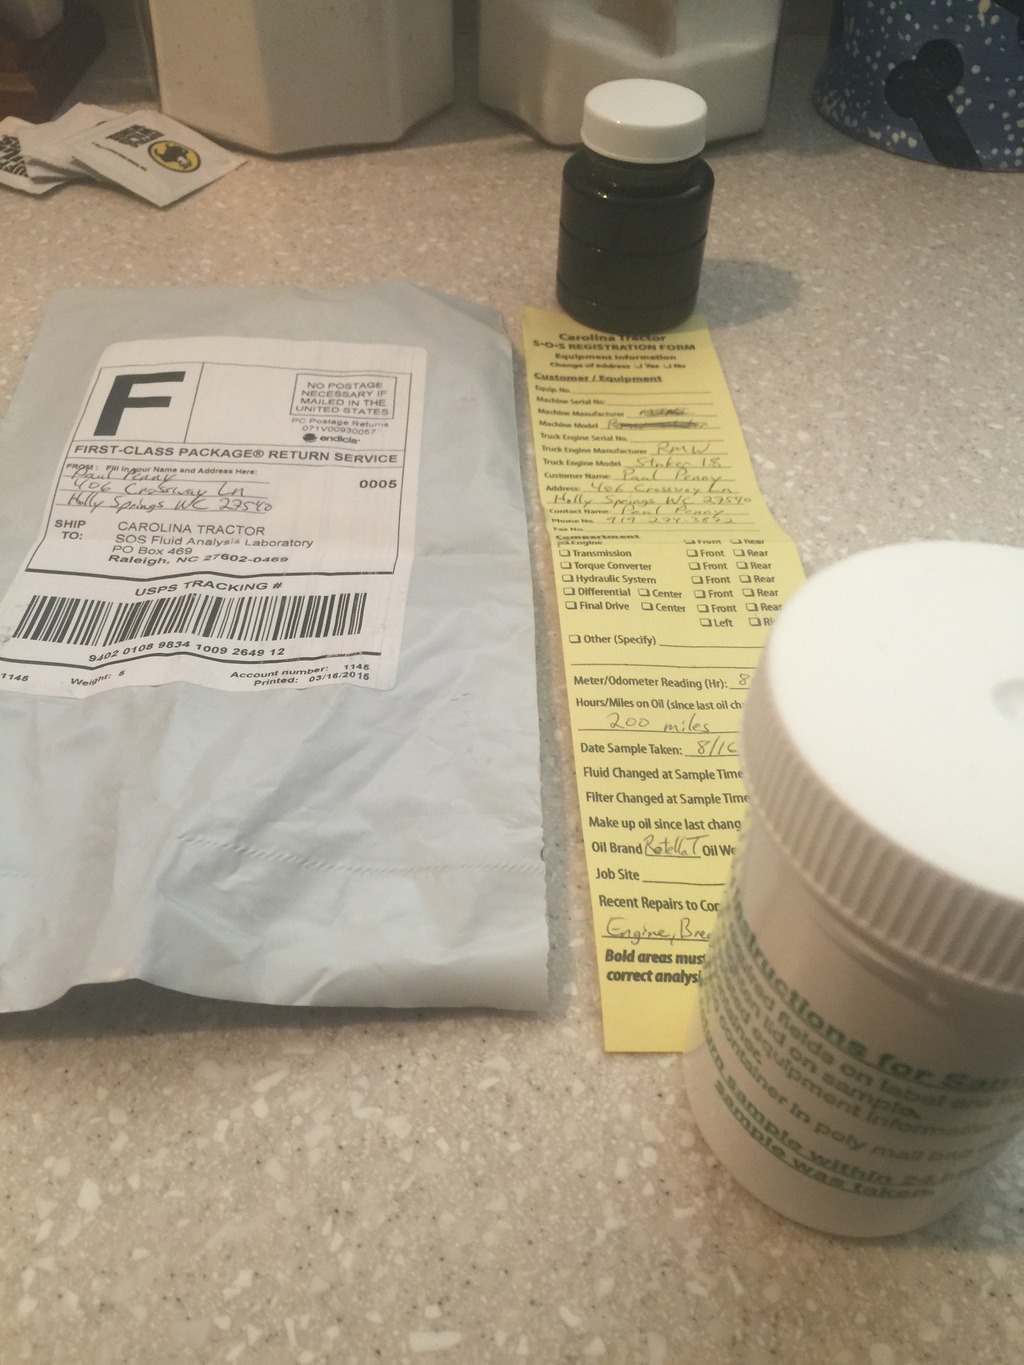
And the oil lab they use is right here in town… so I expect to have results this week. Then can make a go/no-go decision on whether I’ll run the engine as-is, or send back to RMW for rework.
Got started on some disassembly today…
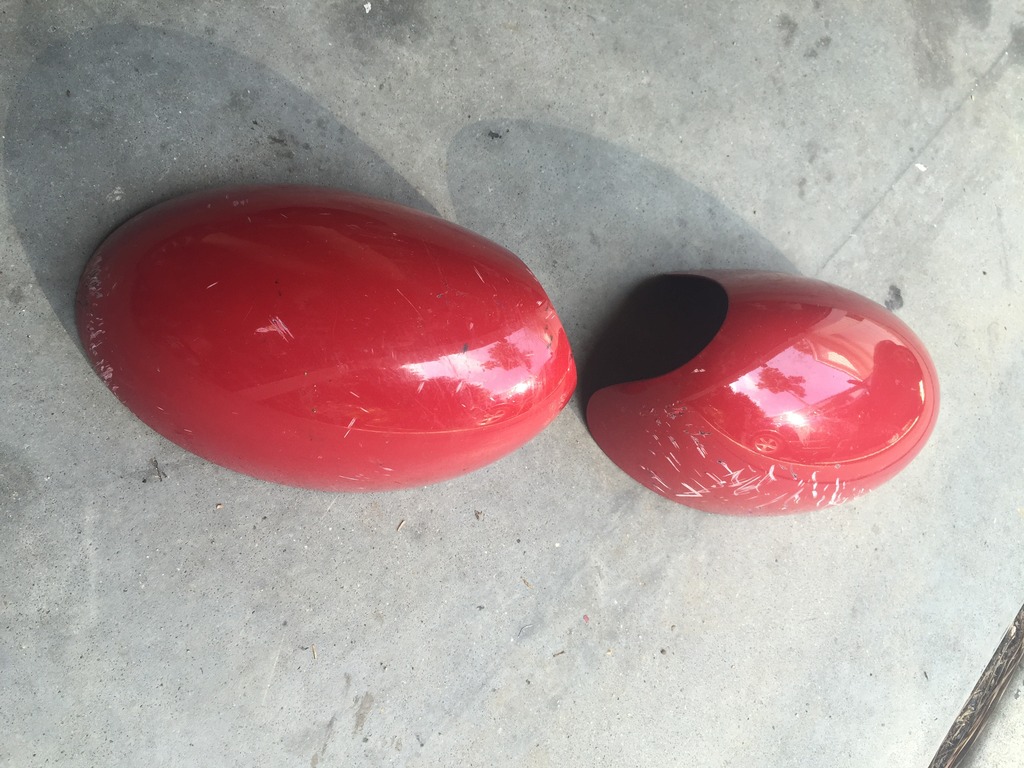
Came across my GP mirror caps. When you manage to get asphalt scrapes on BOTH your side mirrors… you’re doing it wrong.
Started pulling out the left interior bits, in hopes that I could get the door open once I got that out of the way…
Corbeau LG1 driver’s seat is in good shape, mechanism works just like it did before the crash…
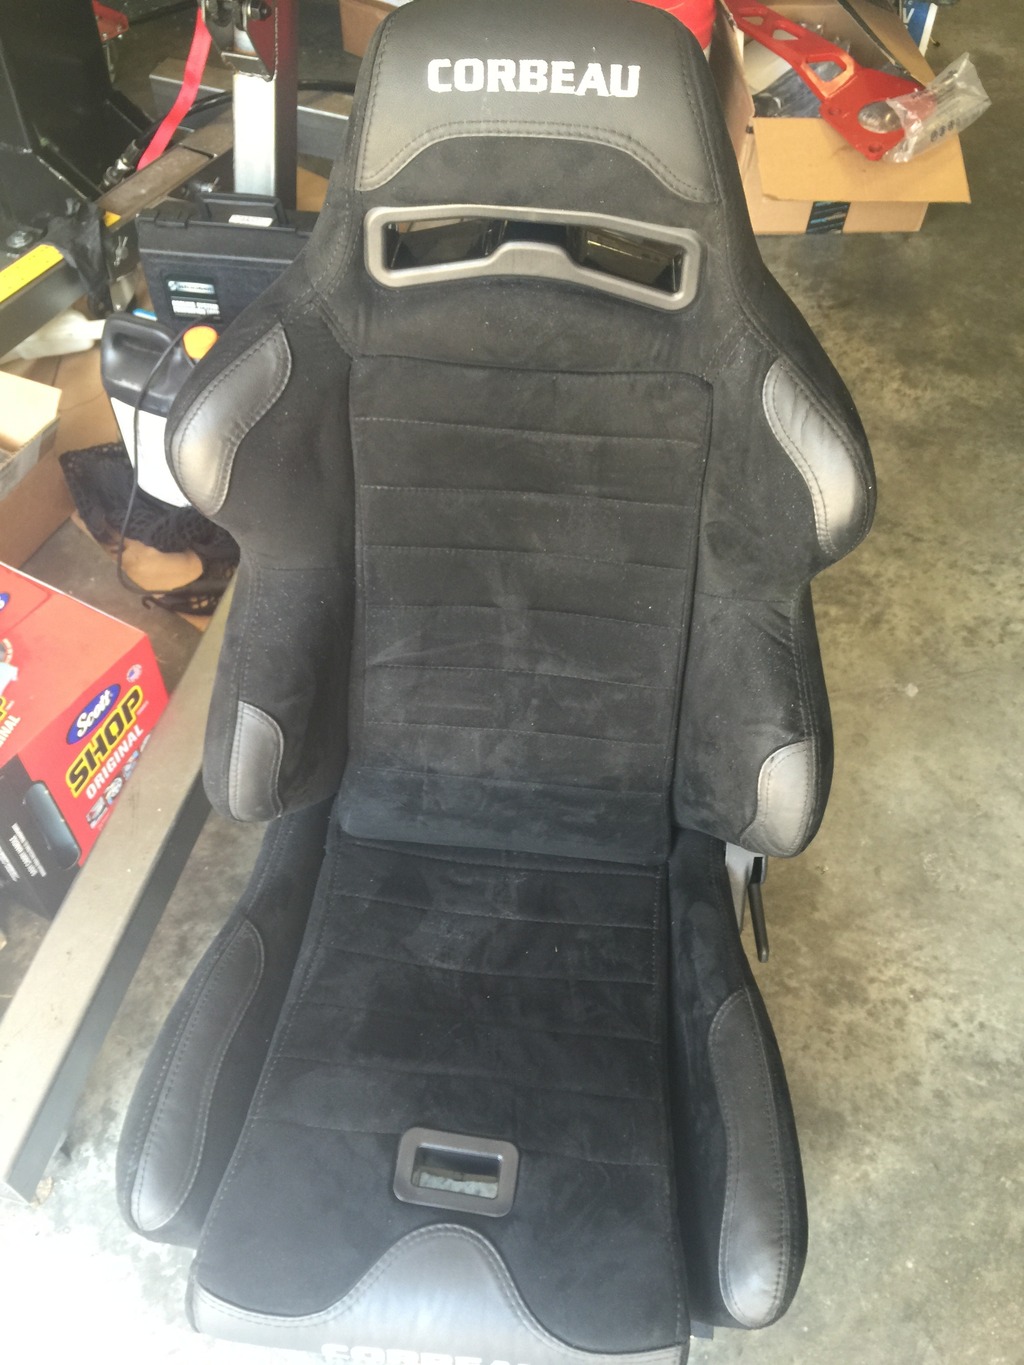
But note that the side bolster on the left side (right in the photo) is bent outward. Must have happened when I landed the car on the right rear corner, and all my mass hit that HARD. I wasn’t sore or bruised there, but I must have done that. There’s a steel frame inside there, I can’t bend it back by hand. I’ll probably disassemble the seat and inspect the frame, if it looks sound I may try to massage it back into shape.
Lots of Cool Blue paint flecks everywhere…
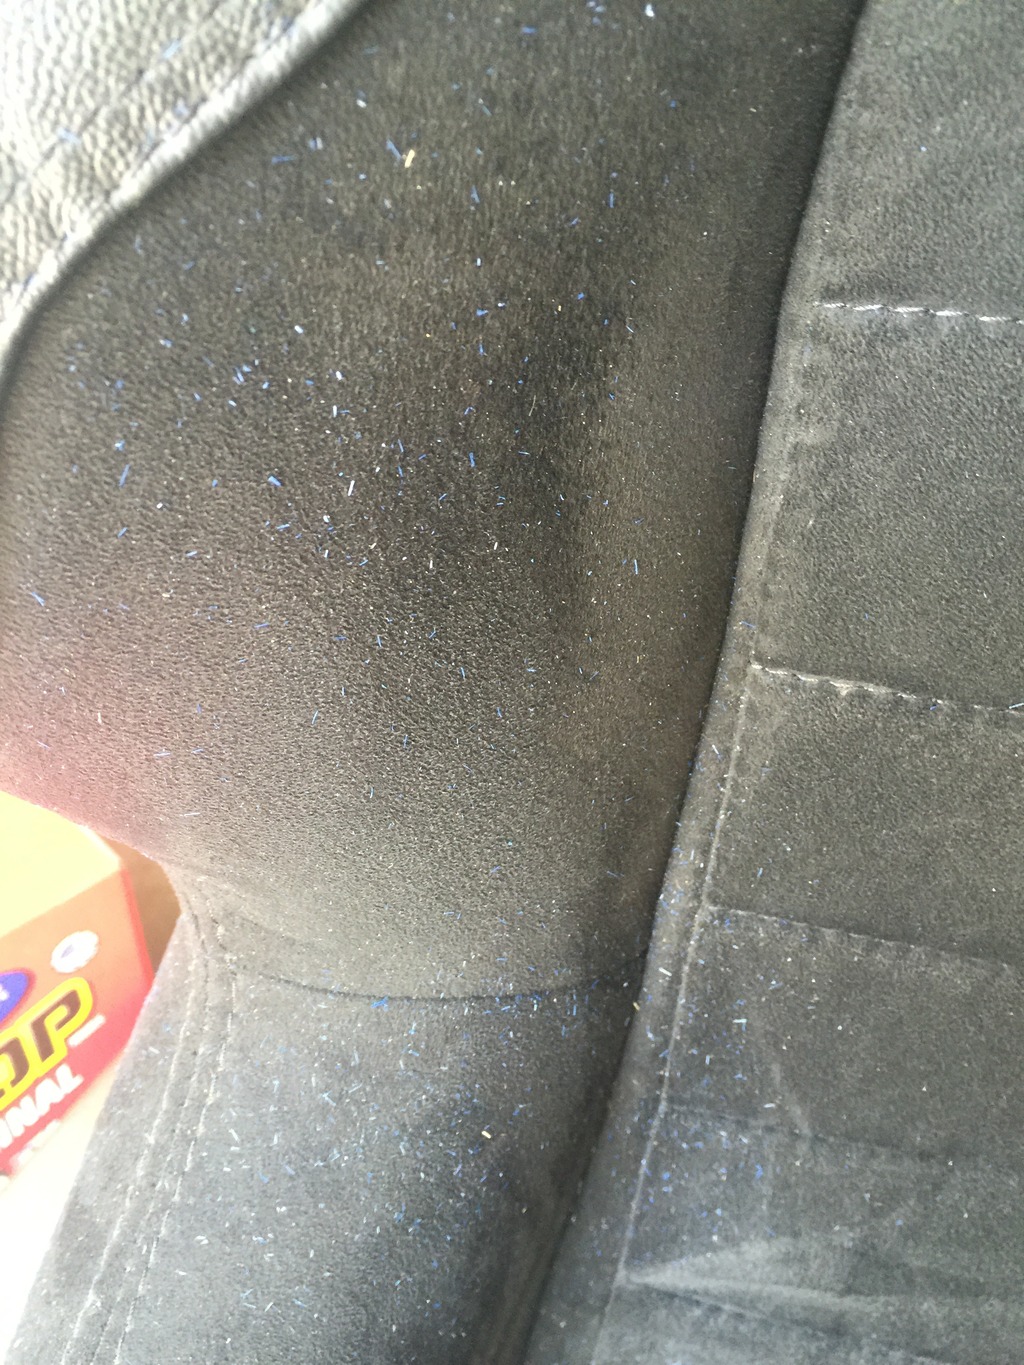
It’s really starting to sink in, just how much punishment this car took for me.
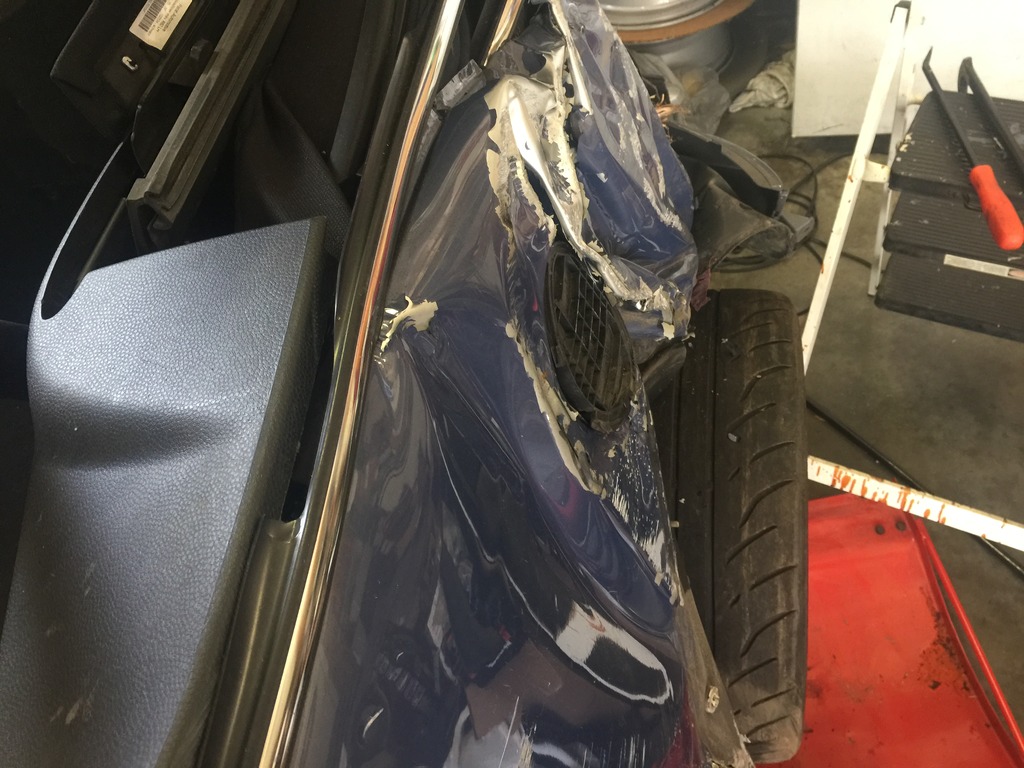
The amount the left rear corner deformed. The open-wheel MINI look…
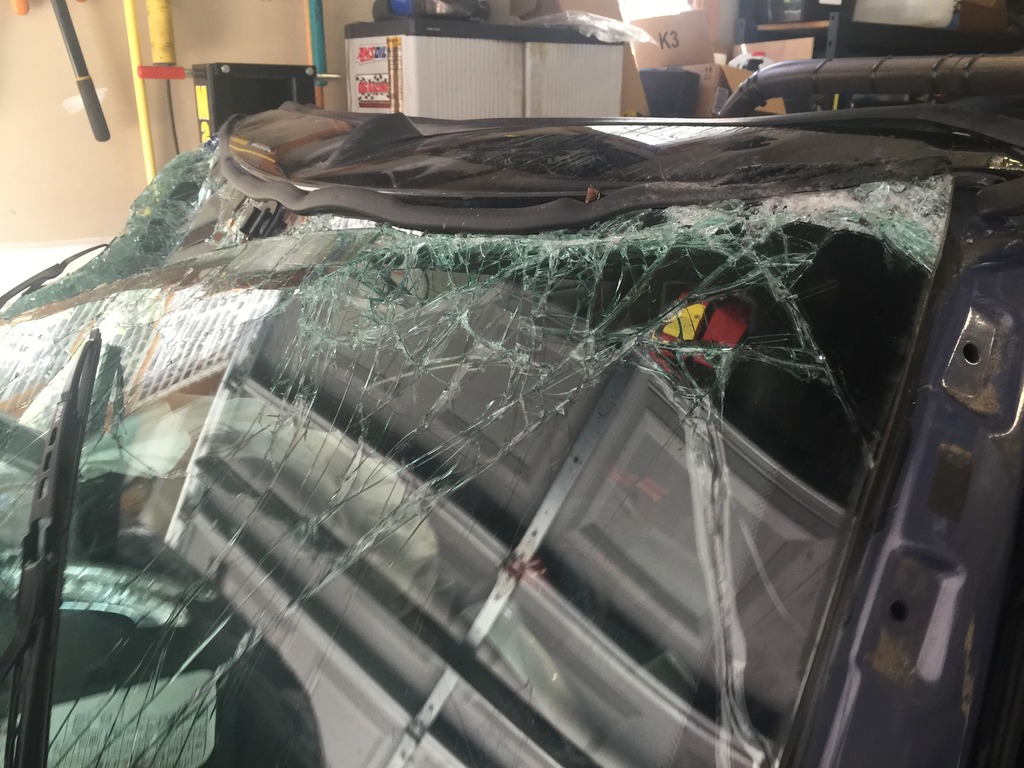
The amount of deformation of the windshield frame…
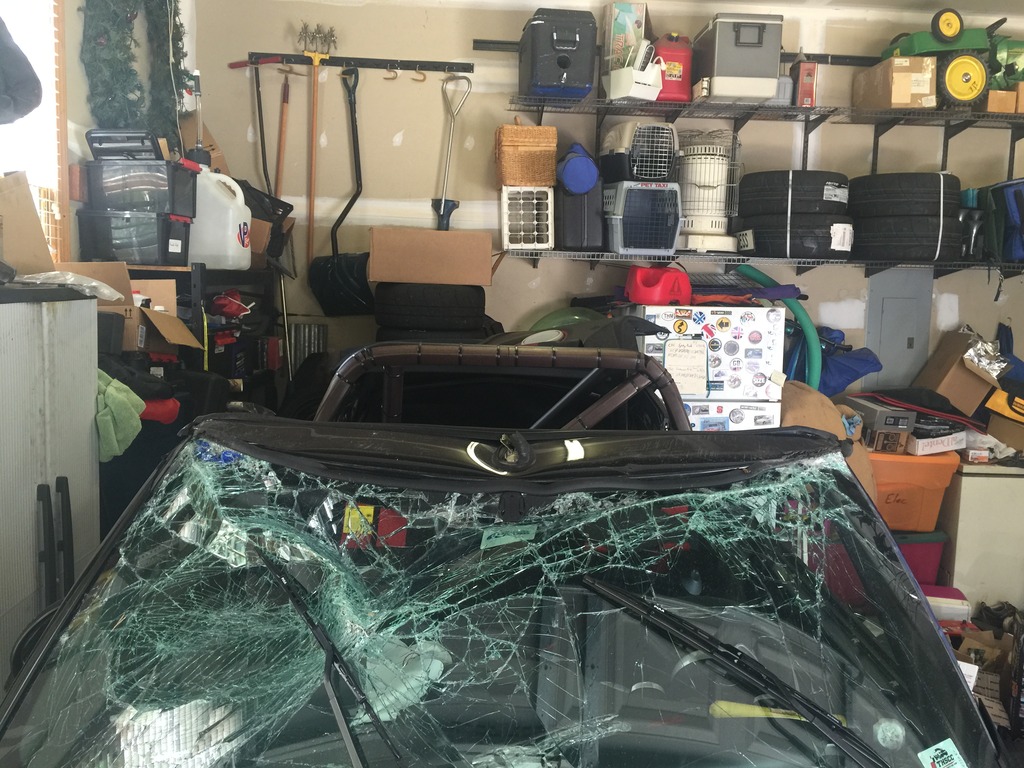
In spite of that… the GoPro mounts stayed in place. Those things are STICKY…
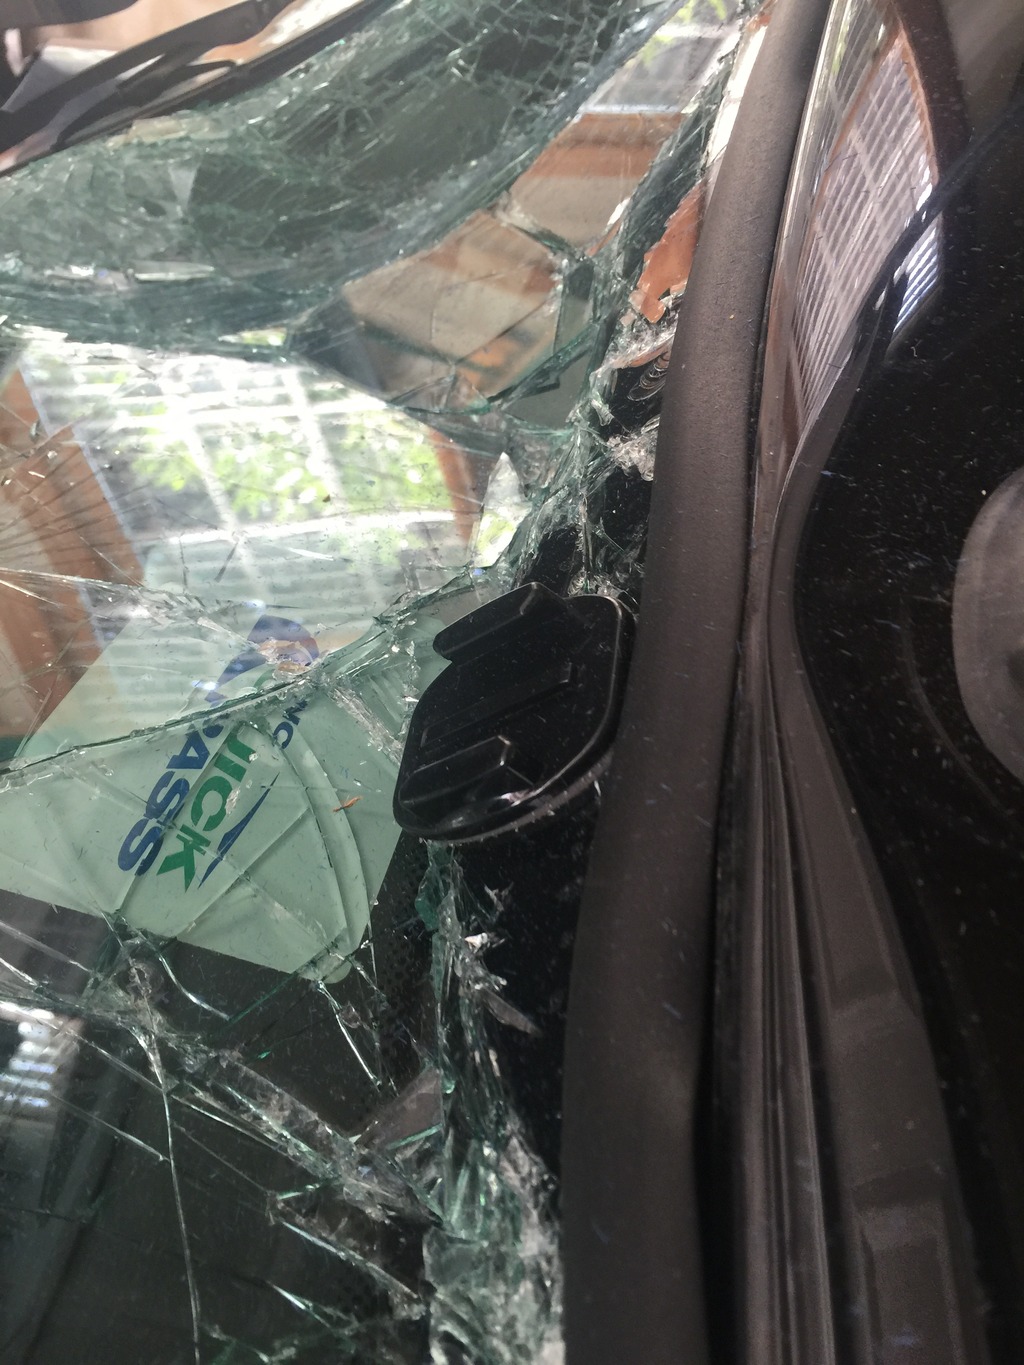
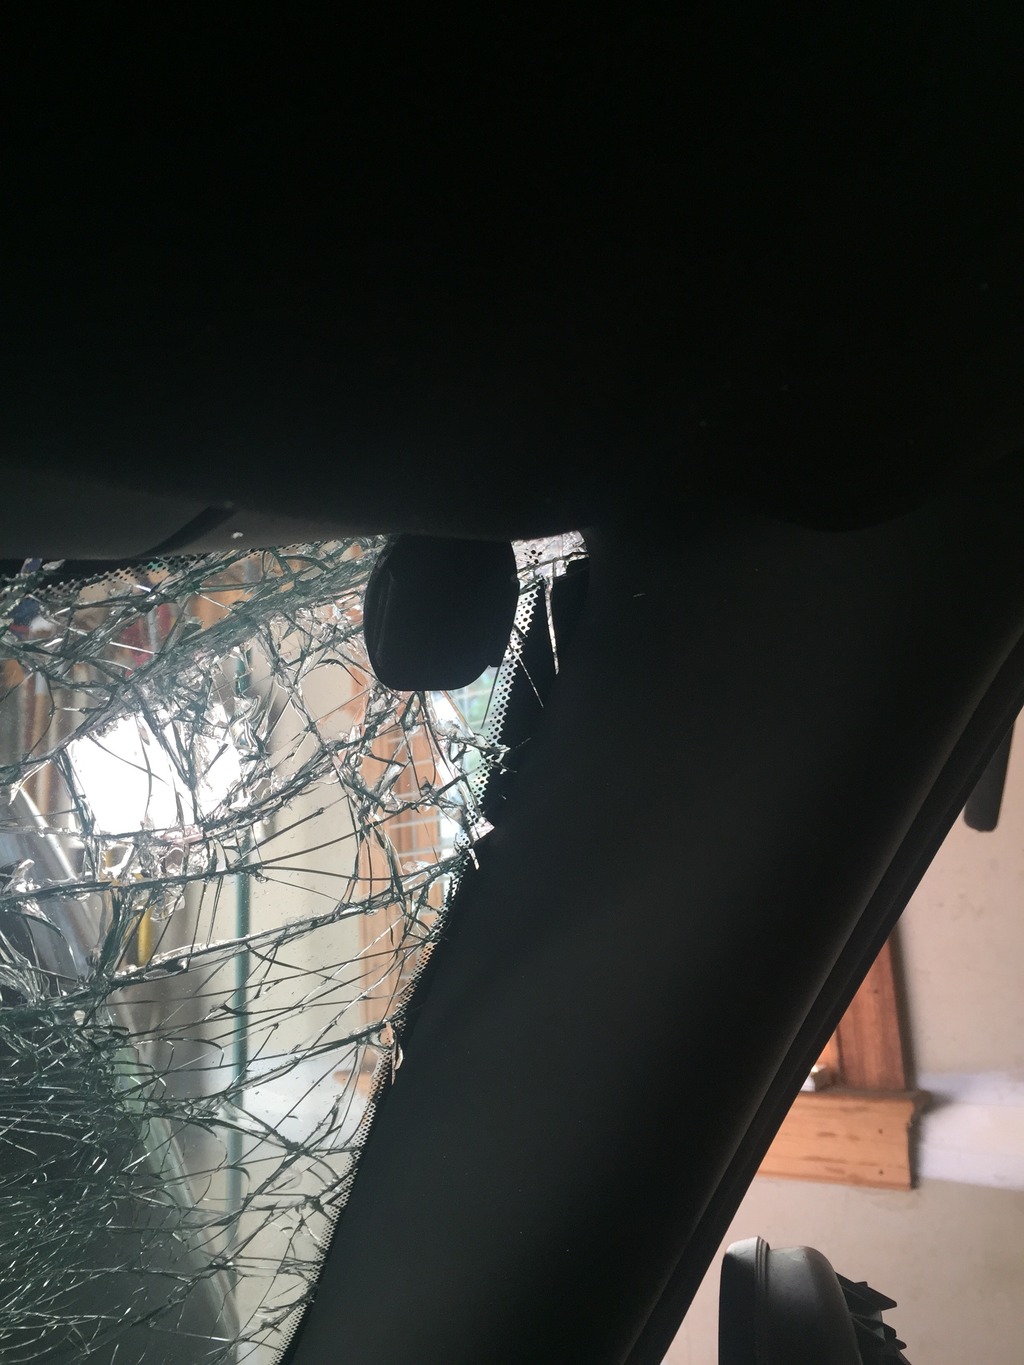
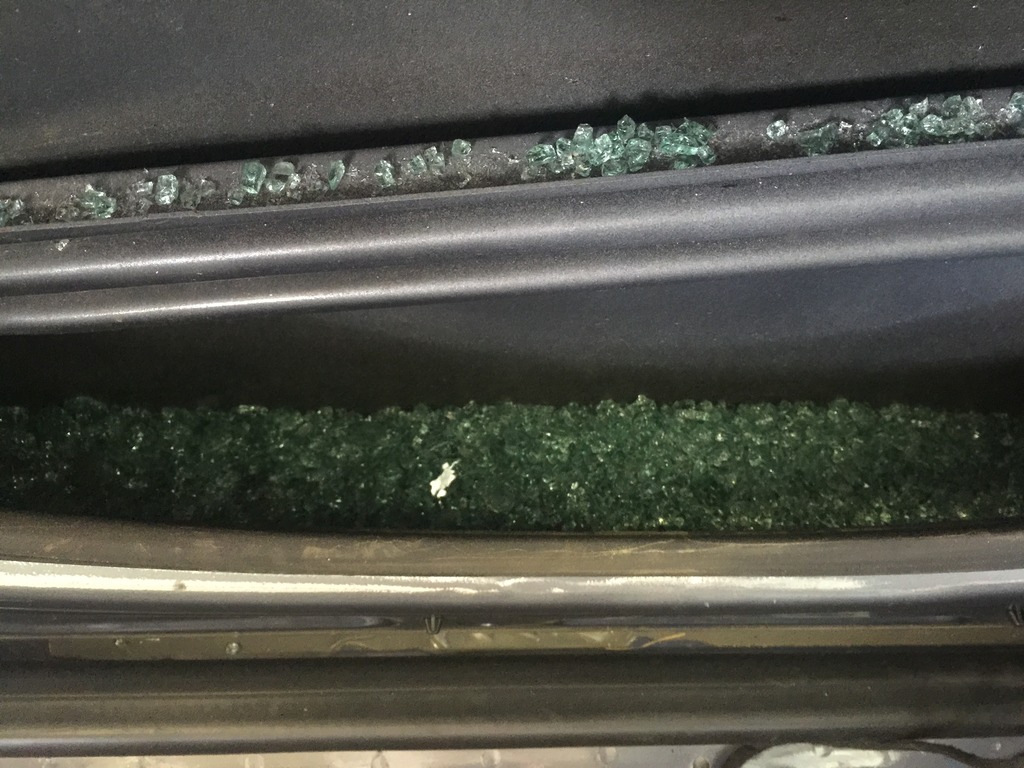
When a window shatters, it makes a LOT of pieces inside the door…
I thought the roll bar was just scraped from when the car settled into place… but it took a harder hit than I thought. There’s a definite flat spot on this corner, right beside my head, probably happened the same time I got road rash on my scalp at the same spot…
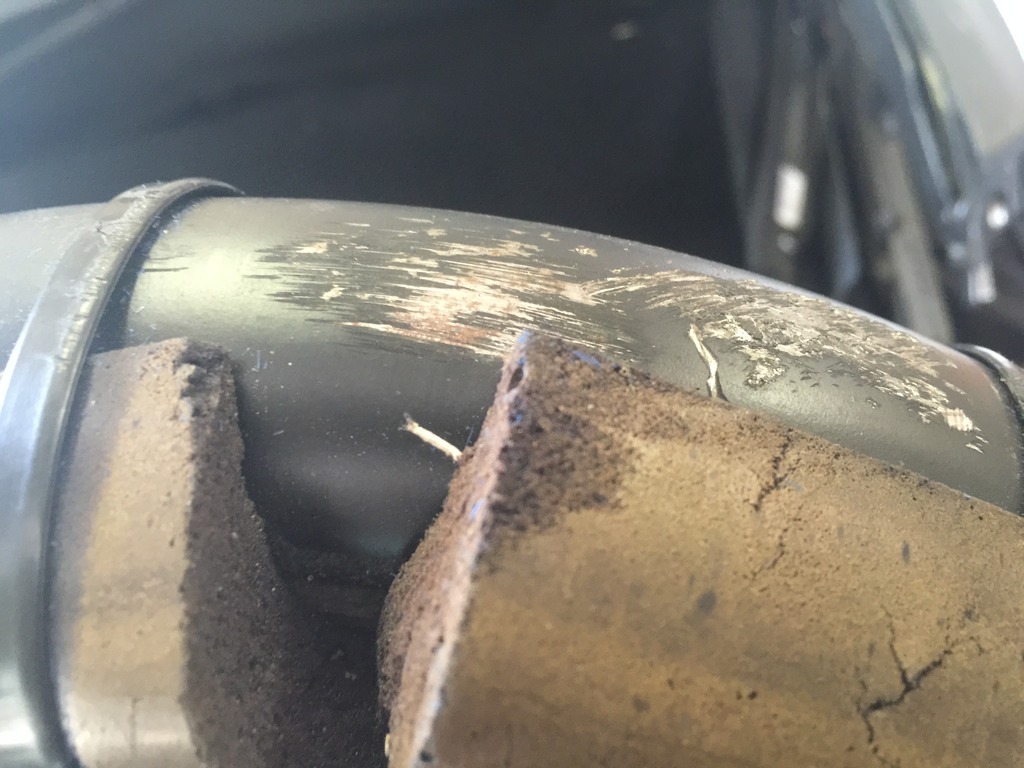
Even with all the interior panels out of the way, prying and using the BFH, I can’t get the door to budge. I may just leave it, or I’ll have to cut it open. There’s some serious sheet metal origami going on here…
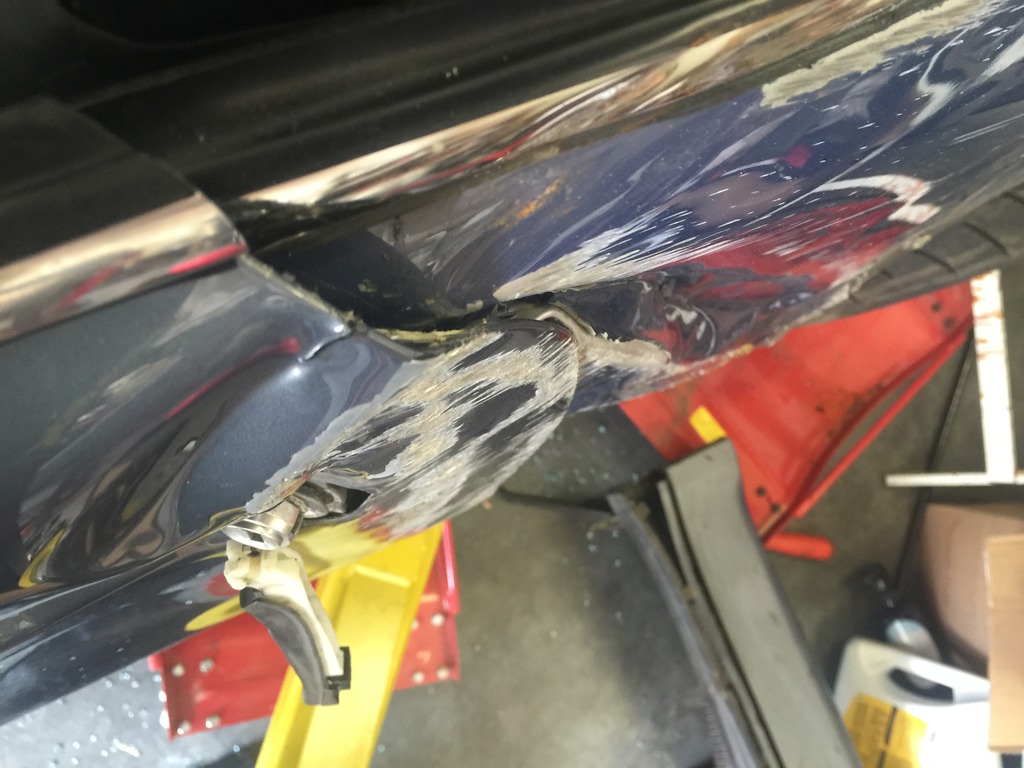
Started pulling some stuff off the front, and got a better view of the left front frame arm. Some good folding action here, too. This airbag sensor did its job.
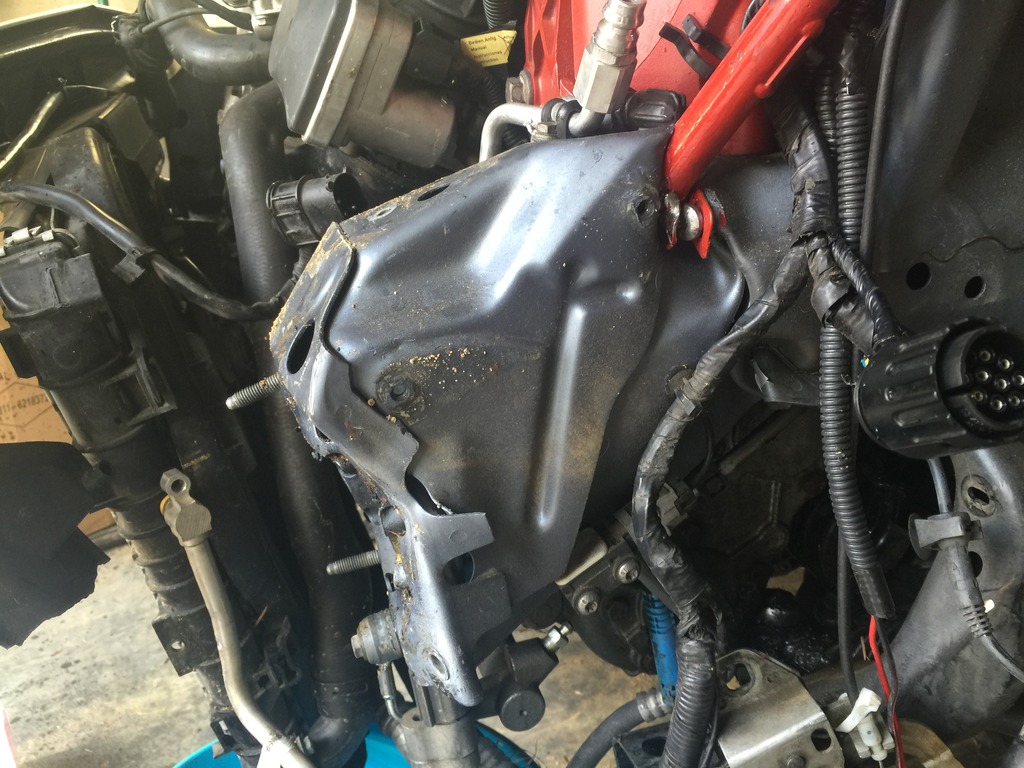
Worked for a couple of hours to get the front wheels and suspension wreckage off. This was the part I was dreading the most, because it was a mess and the wheels were really jammed in there. Took a lot of doing, but finally got one free.
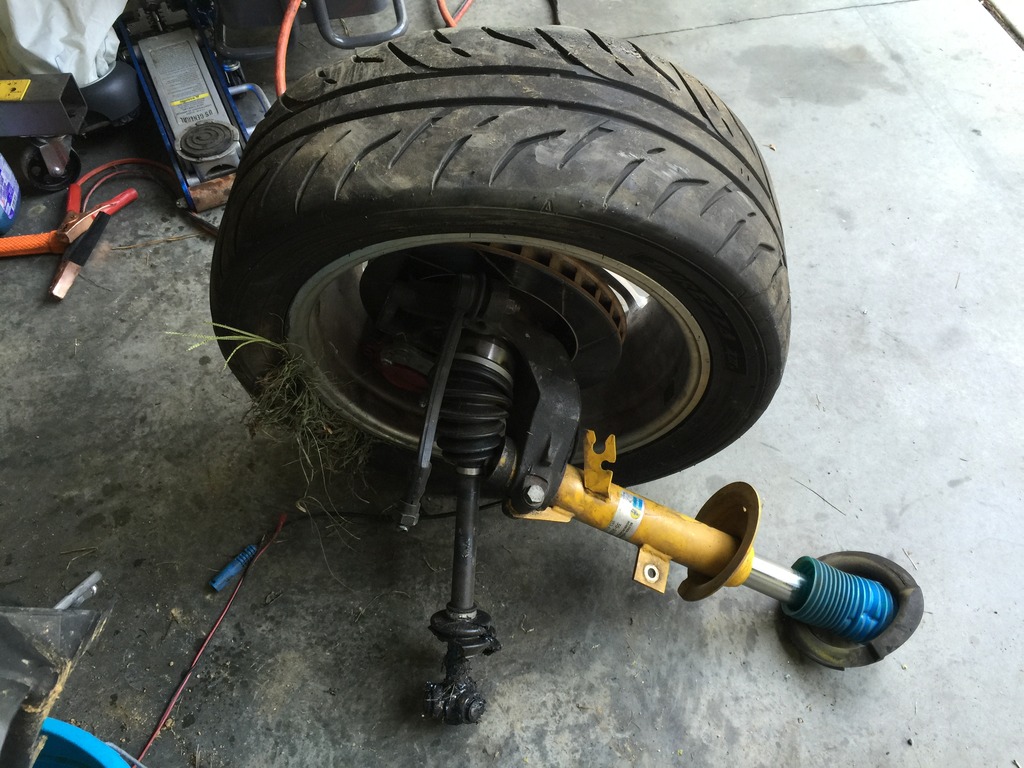
Repeated the process on the other side, then had some fun on LXM…
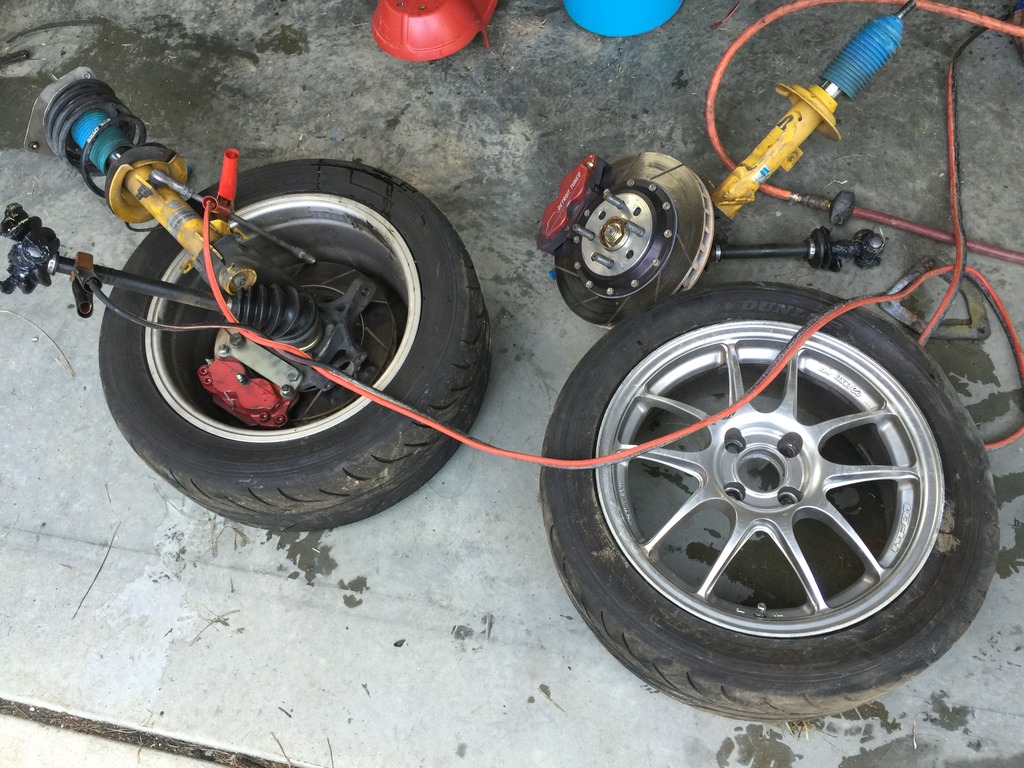
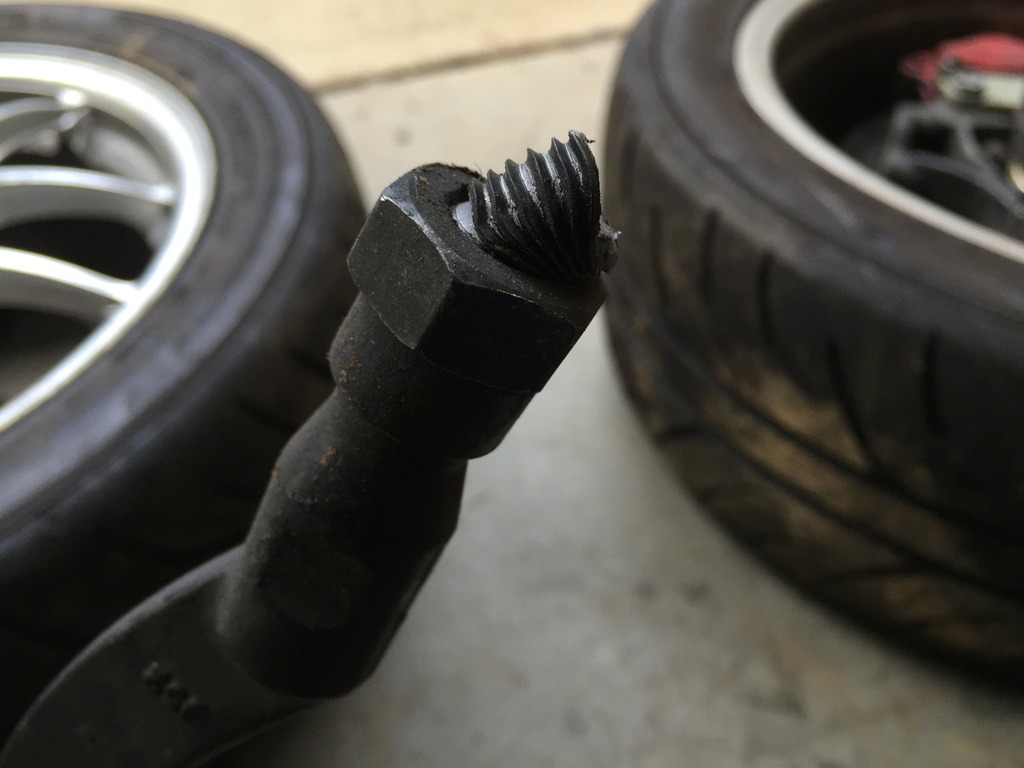
This tie rod met physics… and physics won.
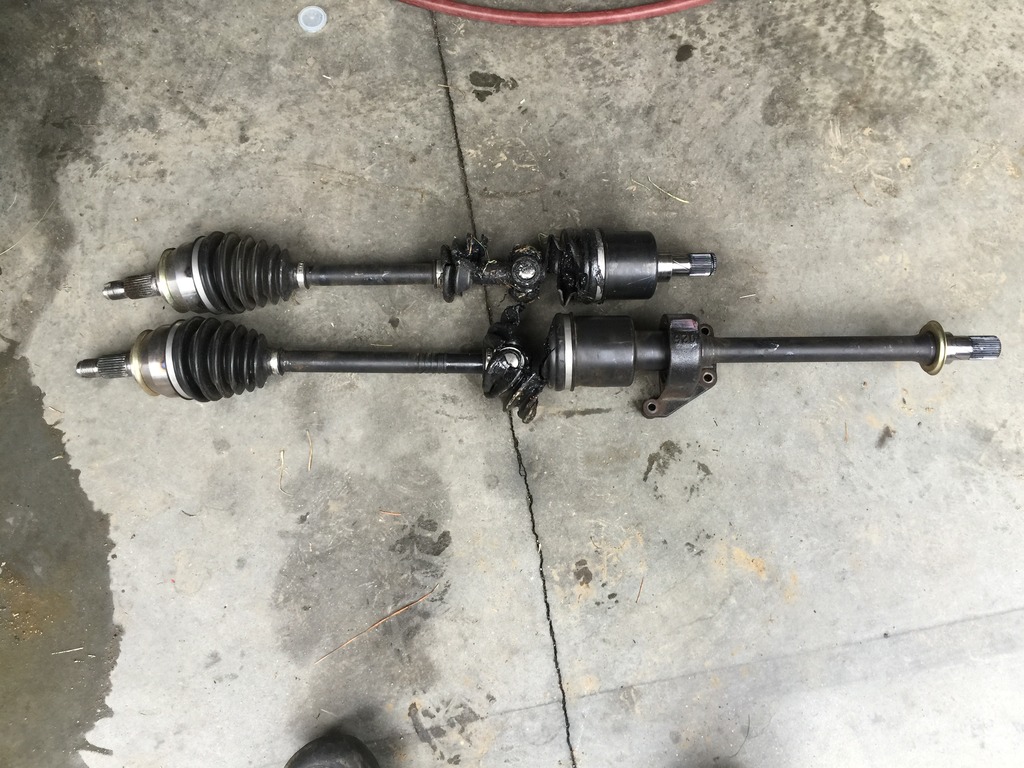
The sense of urgency for this, is I need to send my RMW axles back for a rebuild. They’re rated for 500HP… but not for vertical or inverted flight, or for deep ditch trailblazing. Still, with some cleaning, reassembly and maybe new tripod bearings, they’ll be good as new.
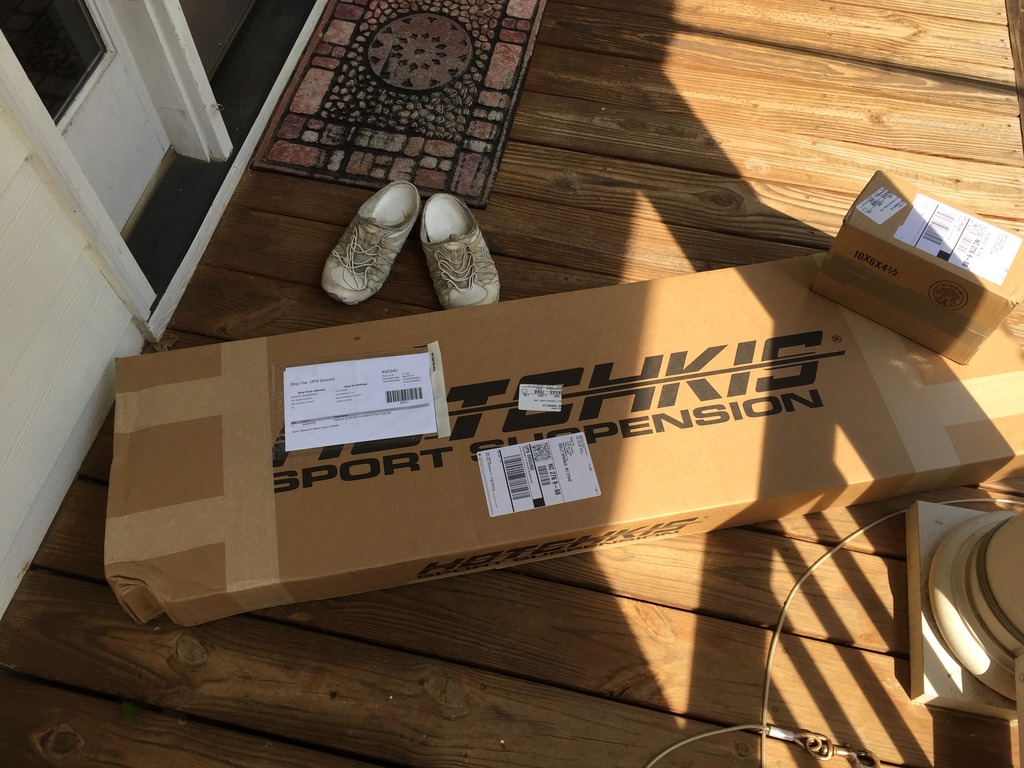
And… new parts are arriving already.
**
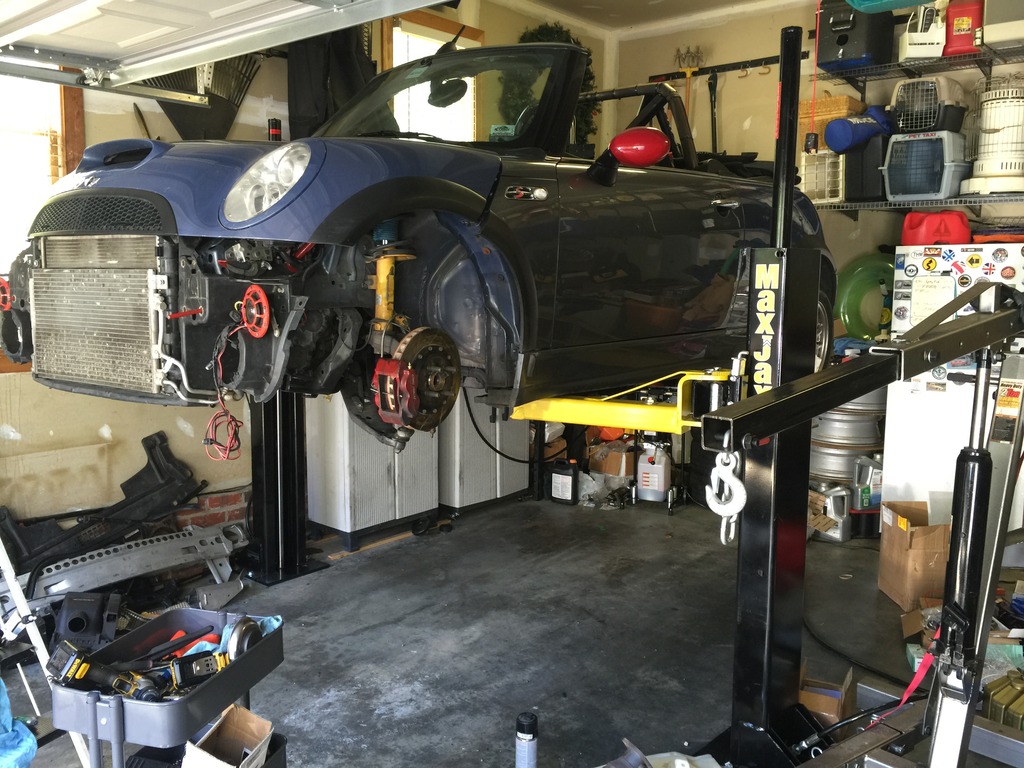
Spent most of the day under the car. Which isn’t so bad, with the car on a 4′ lift and me on a padded TailBone seat. I’m soooooo happy I have the lift, to do all this stuff. It would REALLY suck on jack stands and a creeper.
I never met a fan I didn’t like. But this radiator did.
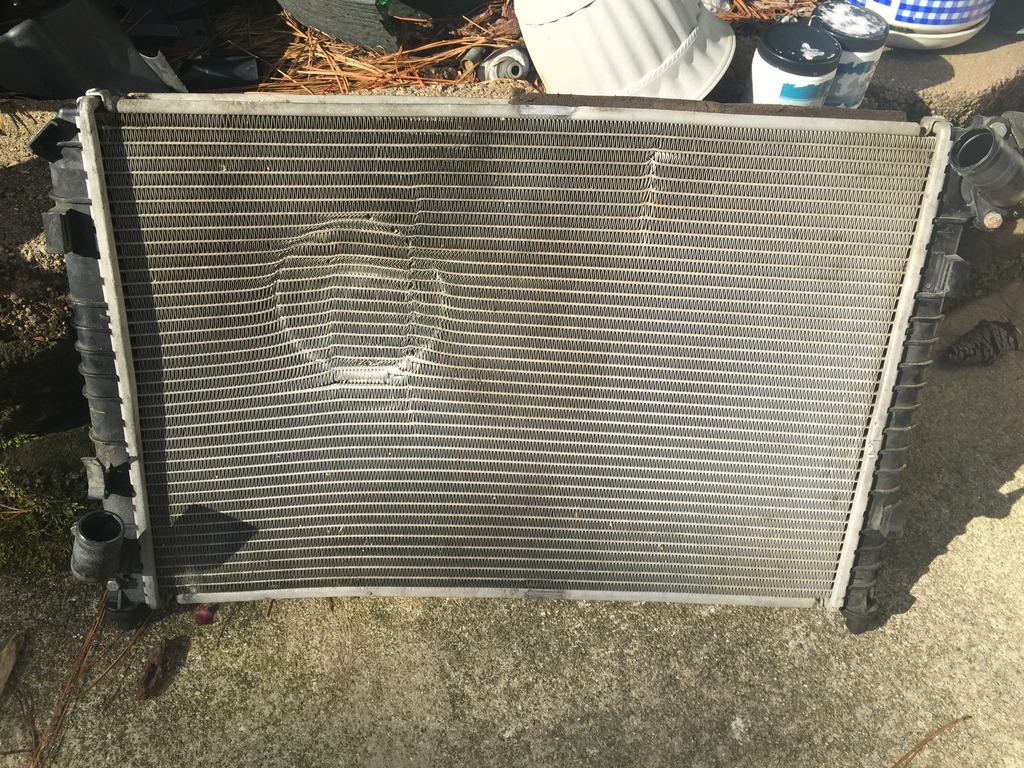
Anyway, removed the remaining side skirt, all the rear suspension / brakes stuff, under-body braces, exhaust, heat shields, EVAP system… lots of stuff.
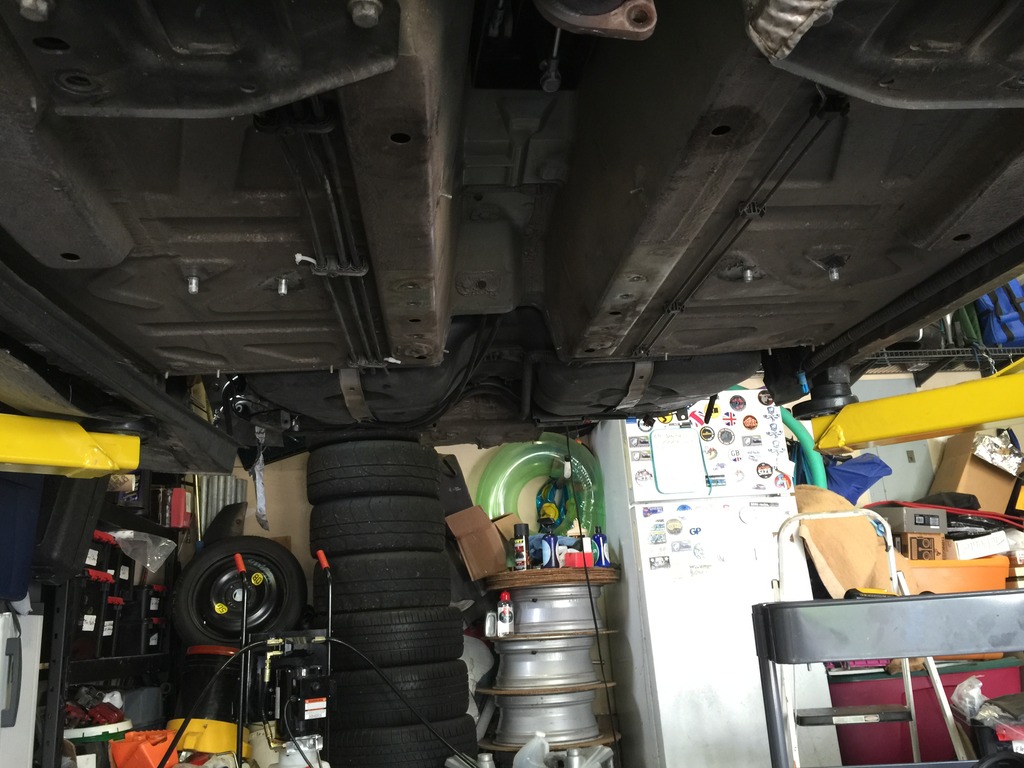
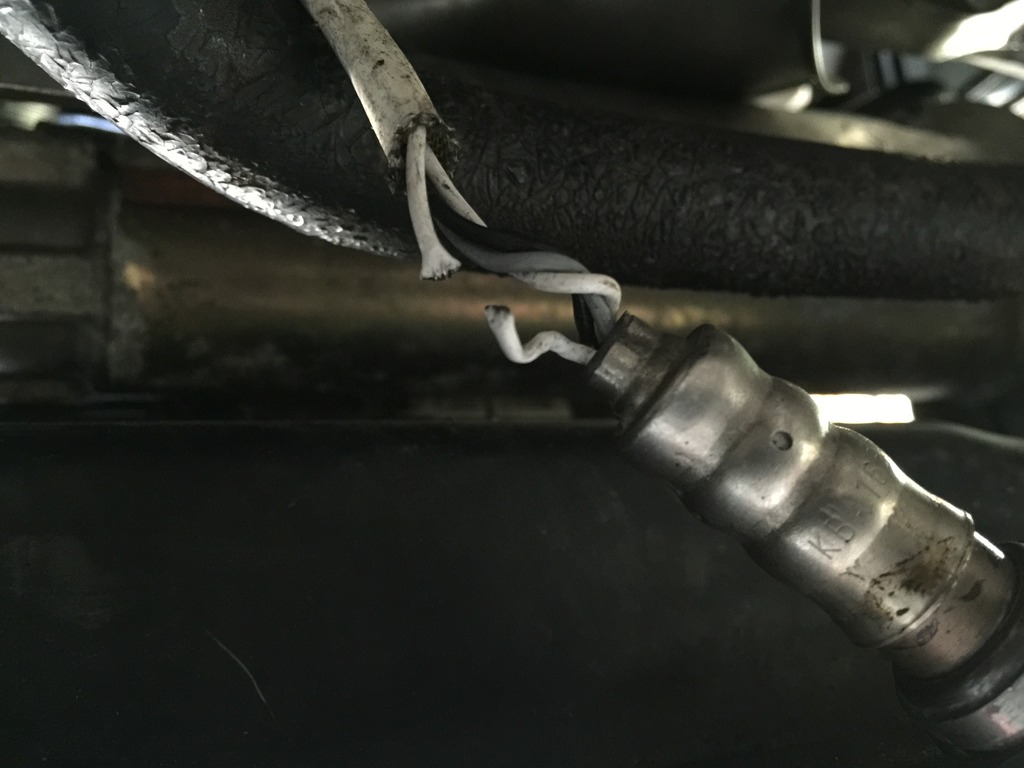
Not many surprises, but a few. One was… the front swaybar moved enough to pinch off a wire on a nearly-new O2 sensor. Drat. Might try to repair it.
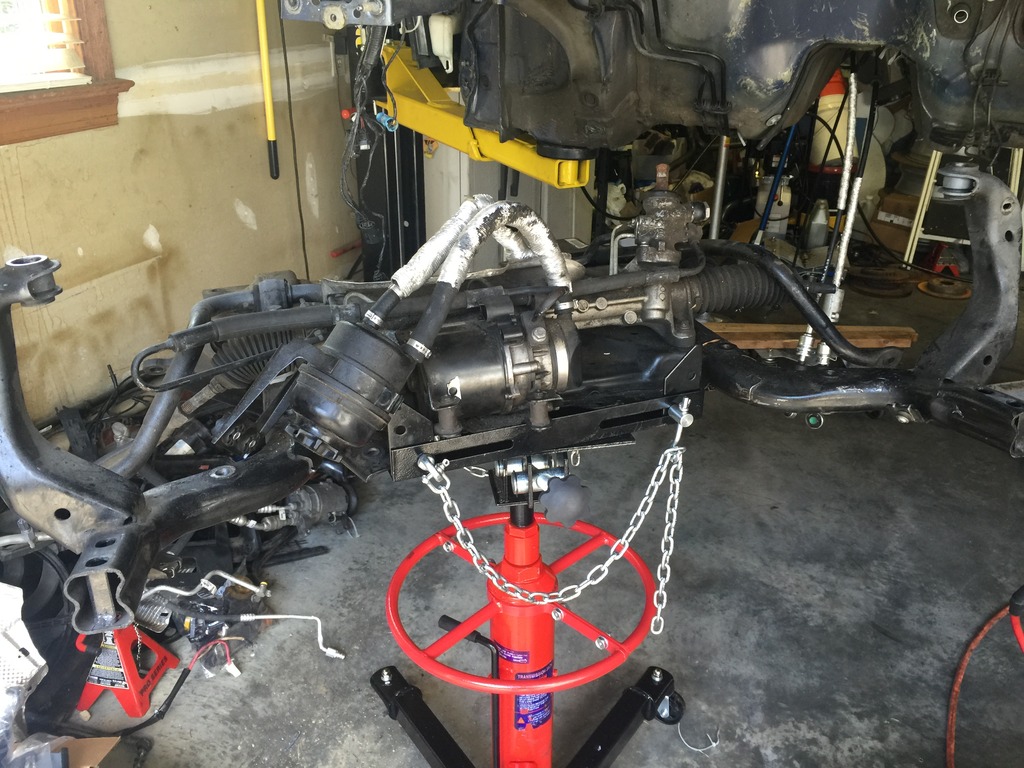
While I was under there, I did all the under-the-car engine removal stuff. Then, was like, “no big deal to go ahead and pull the engine”… so I did.
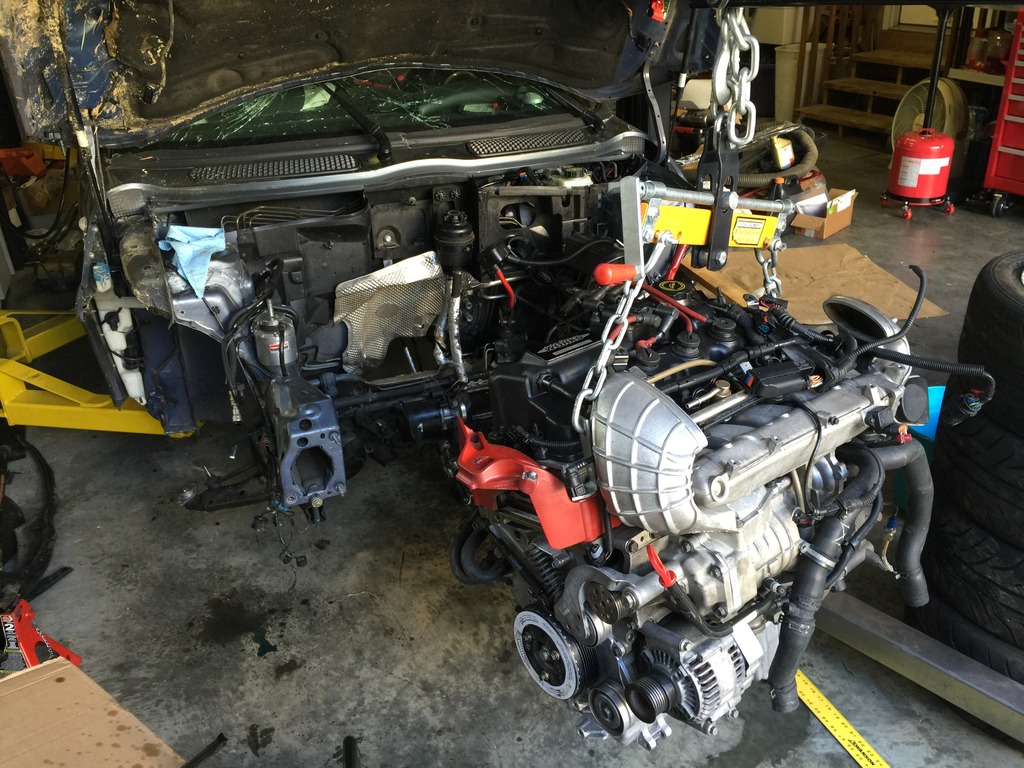
Healthy heart harvested from the corpse, ready to transplant into a healthy body.
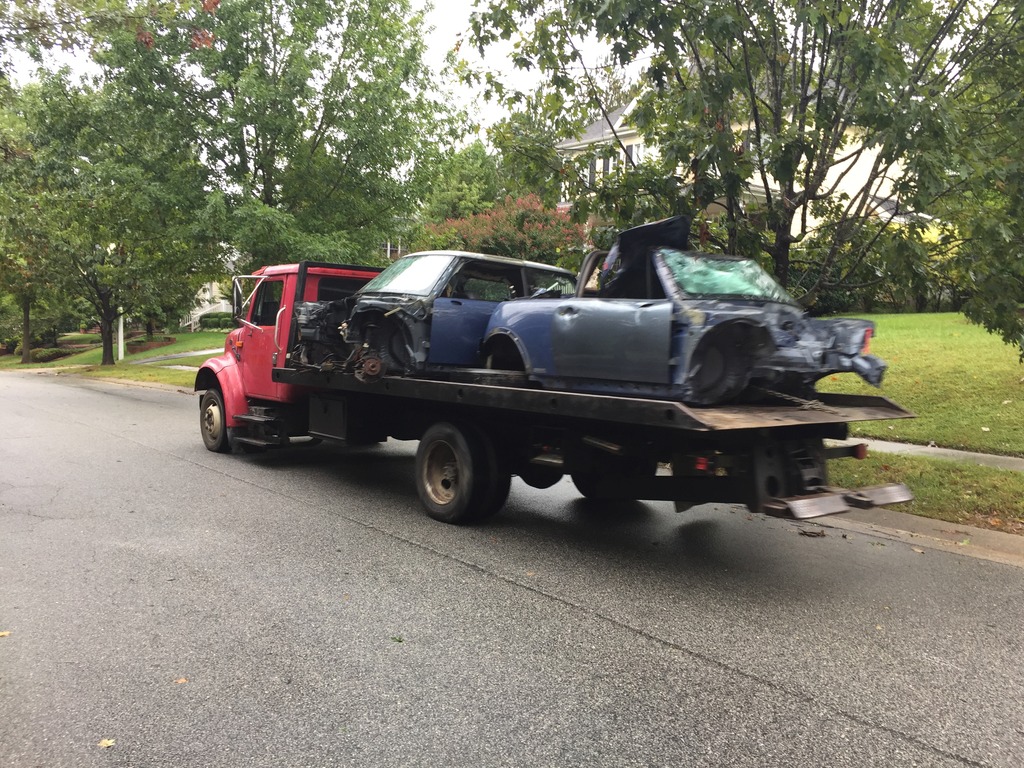
Sad…. this old friend of mine will never carry a motor or passenger again. Headed to the shredder very soon.
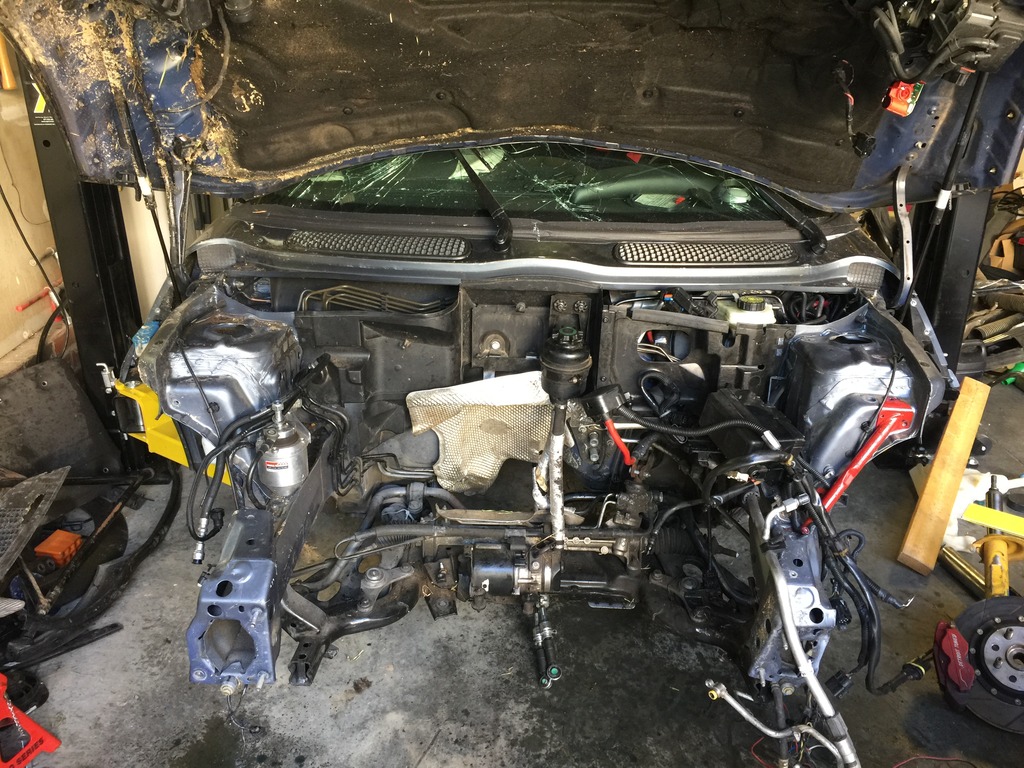
Only about a day’s work left to finish stripping it. That will probably happen sometime next week, after the new body goes to the fabricator.
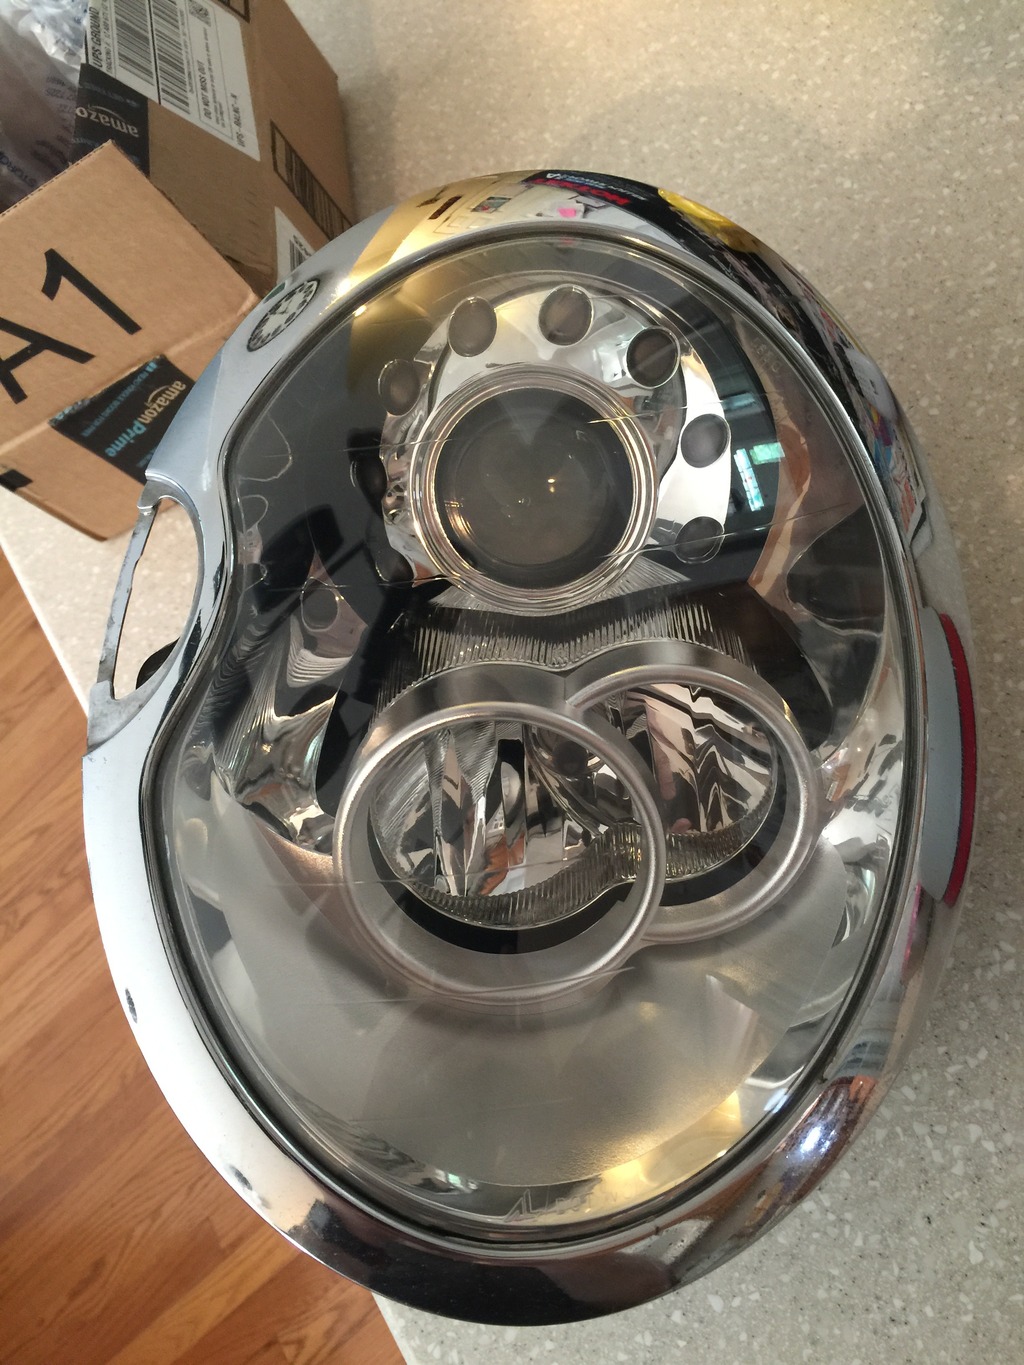
Parts continue to arrive. Excellent, clean used left Xenon…
Also received the tapless adapter for my oil pressure sensor.
***
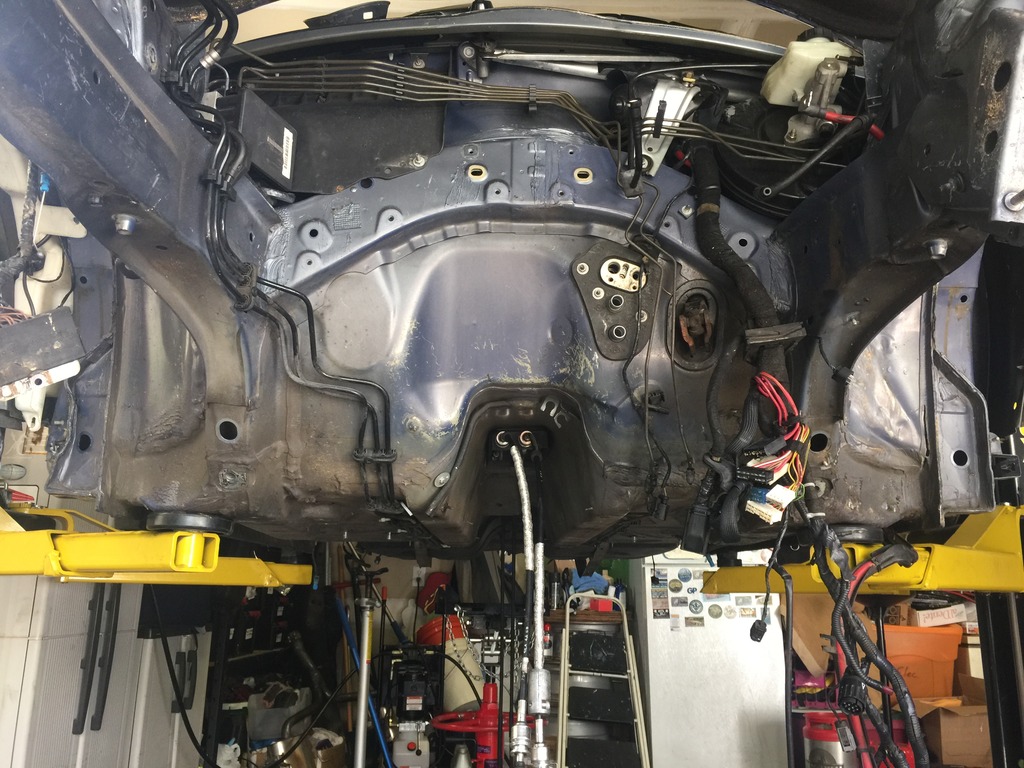
Today’s progress: Dropped and stripped subframes, stripped most of engine bay. Another hour or two, and engine bay and underside of car will be done.
***
Slow progress, but progress. I’ll be glad when the stripping is done… because it sucks, compared to building.
Spent a few hours today working on the convertible top. Was attempting to get the whole top off intact. Well, that didn’t happen. But I made a valiant effort… Also removed the trailer wiring adapter and some other wiring stuff while back there.. and removed the boot door and all the trim in the back.
They don’t really design the top (or most of the rear interior trim) to be completely removed without being able to cycle the top up and down at least a bit. Some of the bolts are hard enough to access when everything is working properly… When it’s not… and when part of the car is crushed… ugh.
Here are three of the critical bolts. Which were hidden behind a crushed and stuck taillight, and a crushed and stuck hydraulic pump. After removing those, they were still arm-deep in a hole like one Indiana Jones would have to feel around inside…
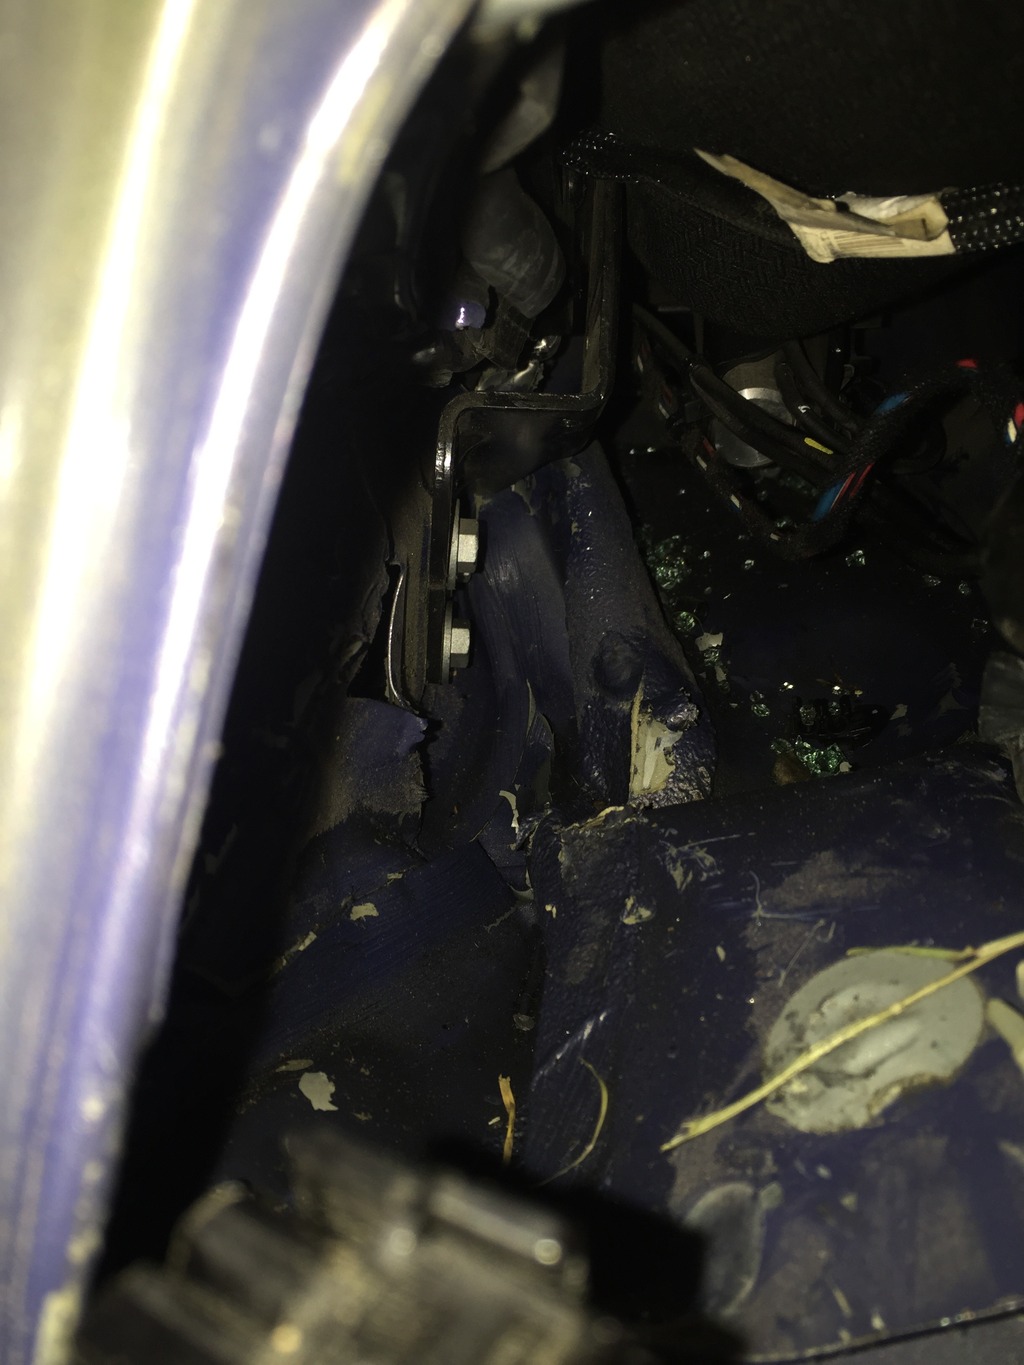
Two of these three came out easy with a ratcheting box-end wrench. But the third was wedged against crushed sheet metal. I had to work it out with an open end wrench…about 35 degrees of rotation, flip wrench, another 35 degrees, flip wrench… repeat, blind, by feel, for 45 minutes. But finally got it.
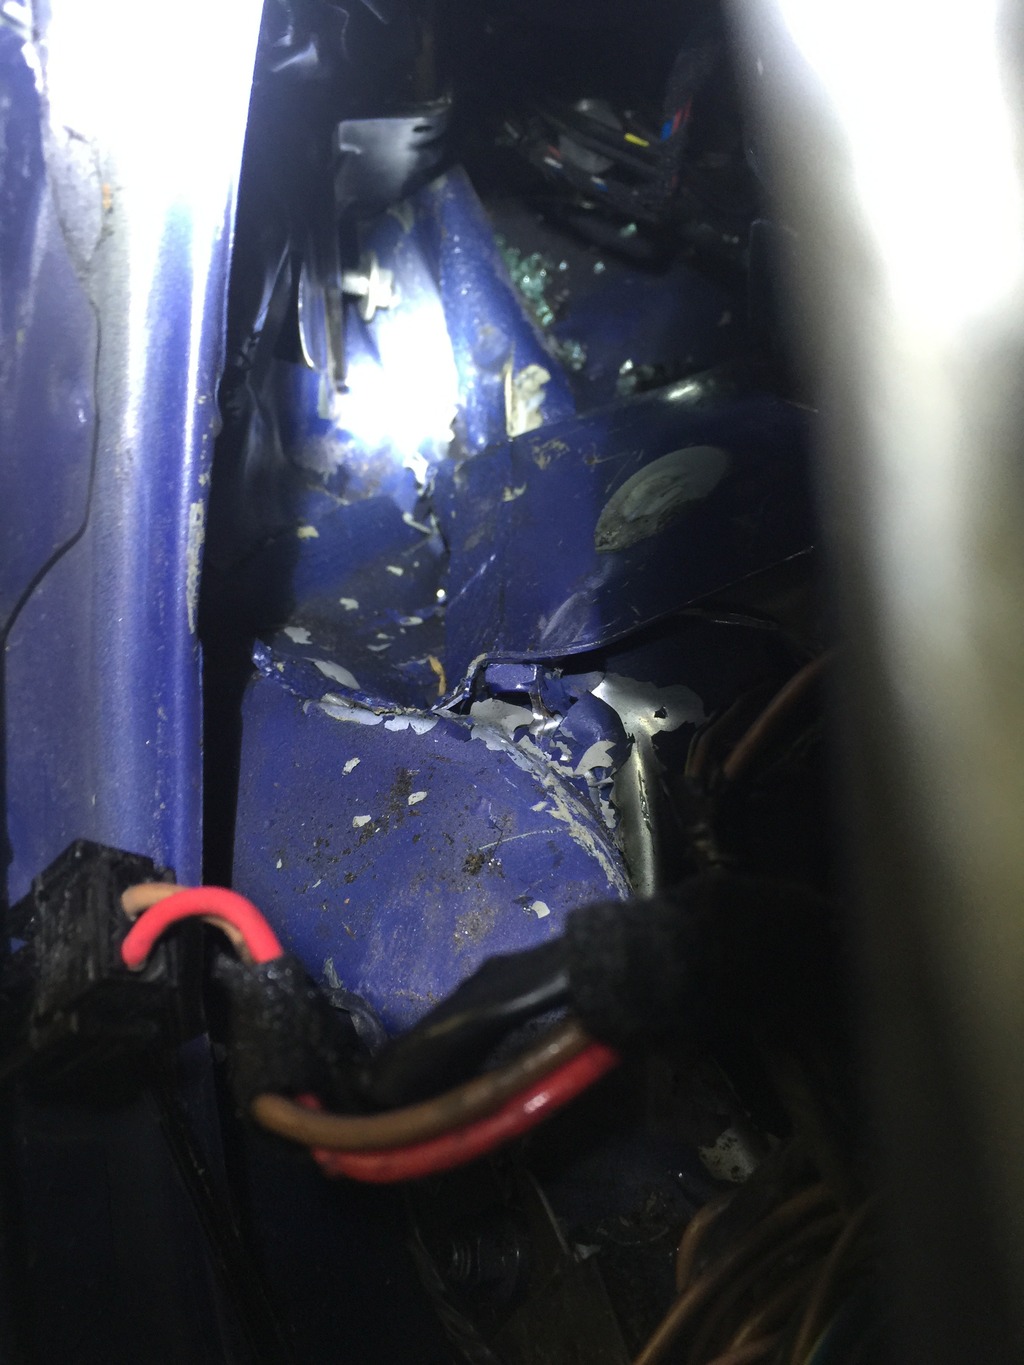
Only to find that there were even MORE fasteners I couldn’t see and couldn’t access.
Eventually got things loose enough to shift around and cut out the critical parts I needed…
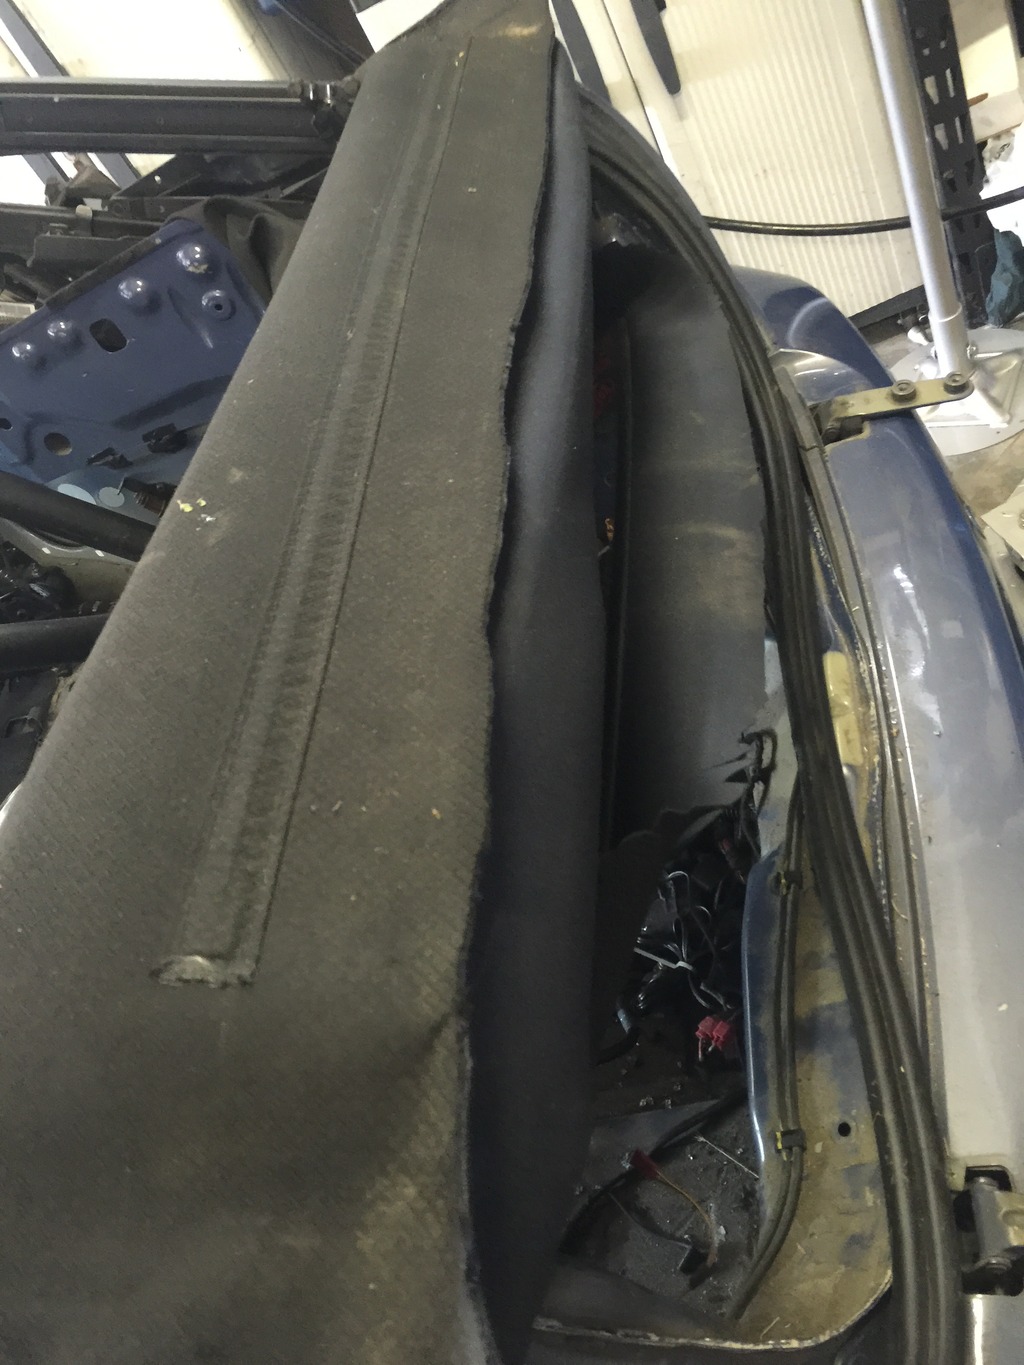
The “sunroof” panel, and the rear tensioner with pivots and latches. Plus some trim and stuff.
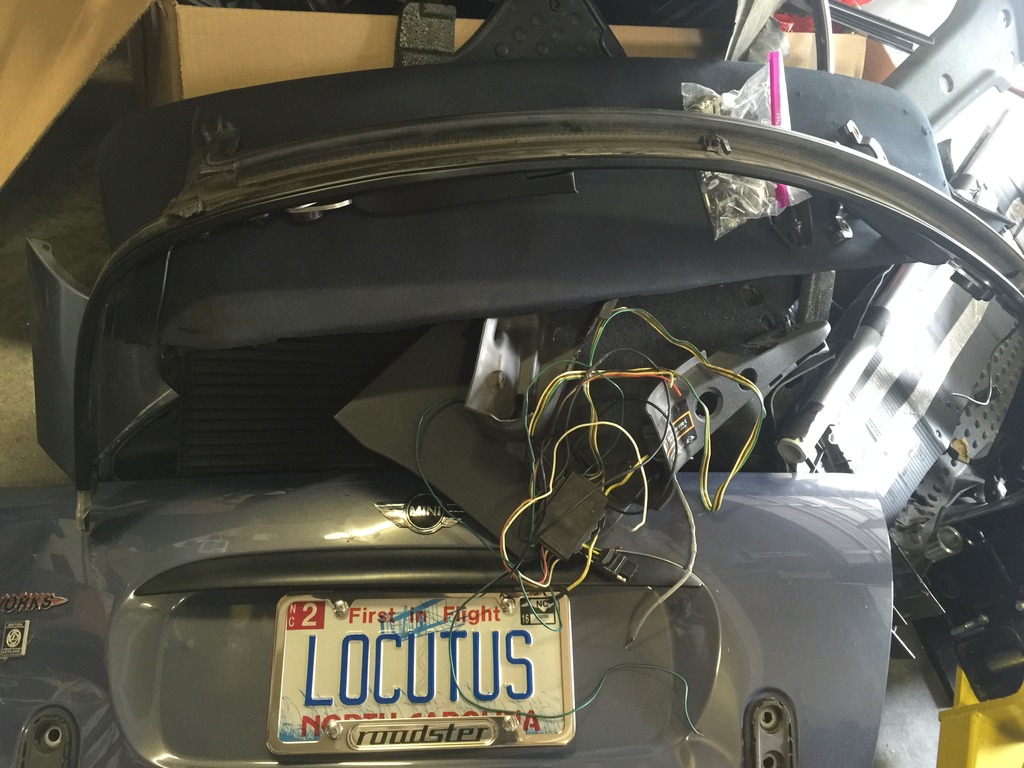
The “sunroof” panel will be used to build the front seal/latch portion of my “bikini” top. The tensioner assembly will be the rear attachment point for the tonneau cover.
**
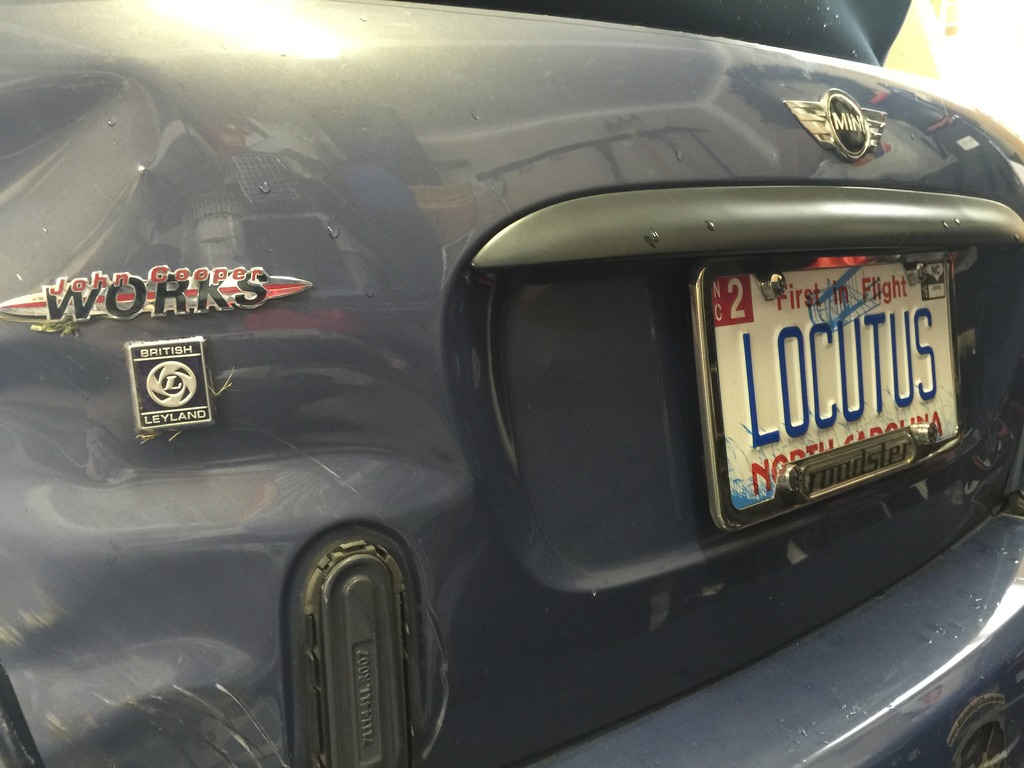
Blimey/Locutus Mk1… all stripped and ready to scrap. Sad.
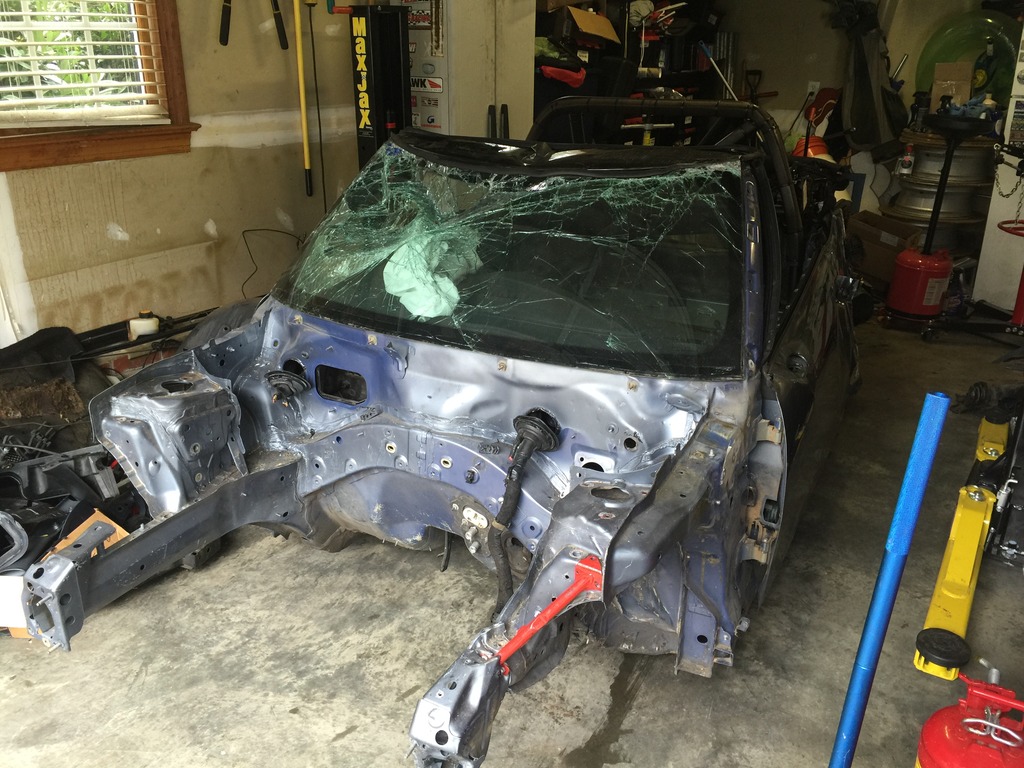
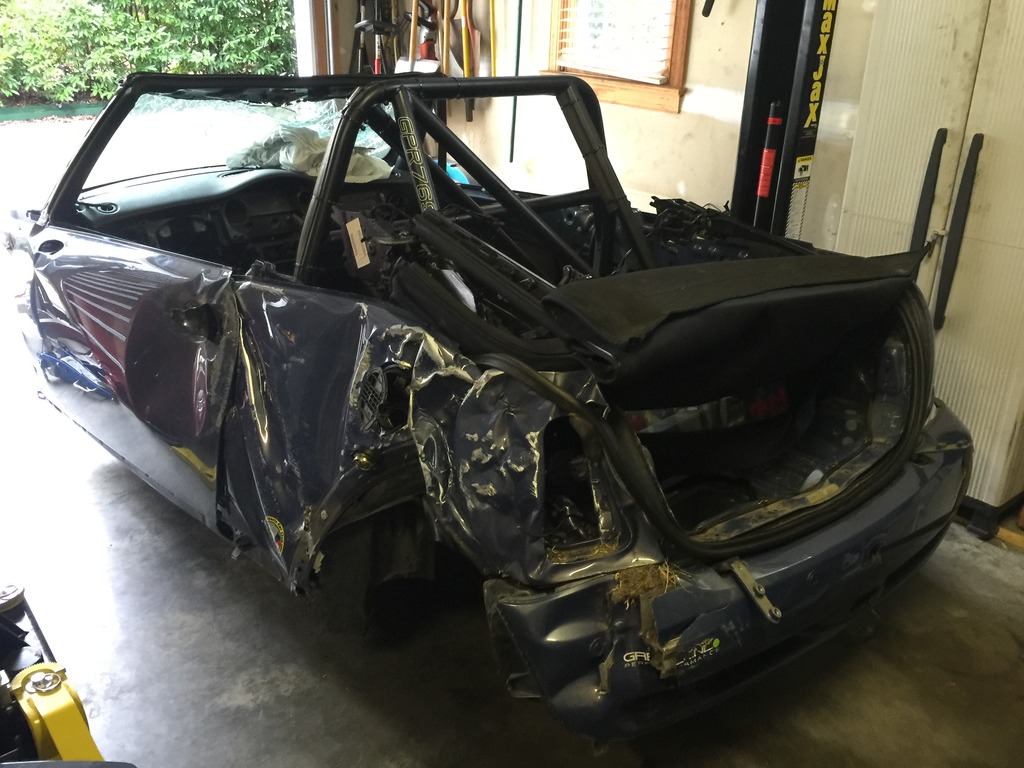
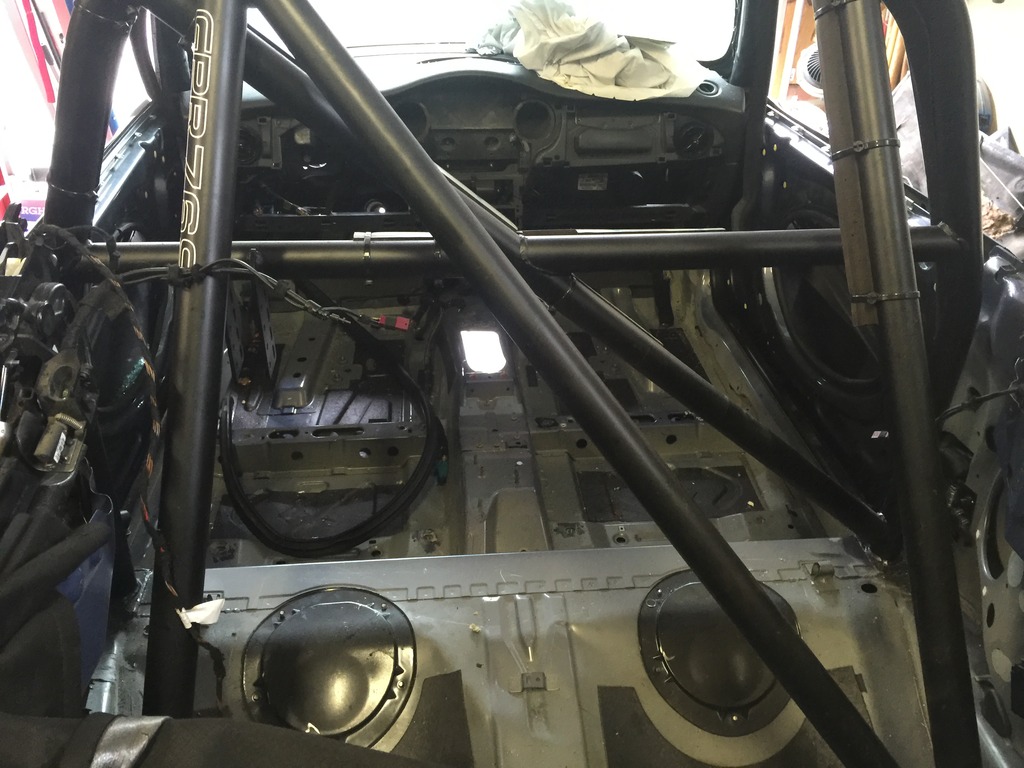
Moved the wreck out into the rain and covered him up, to make way for the GP.
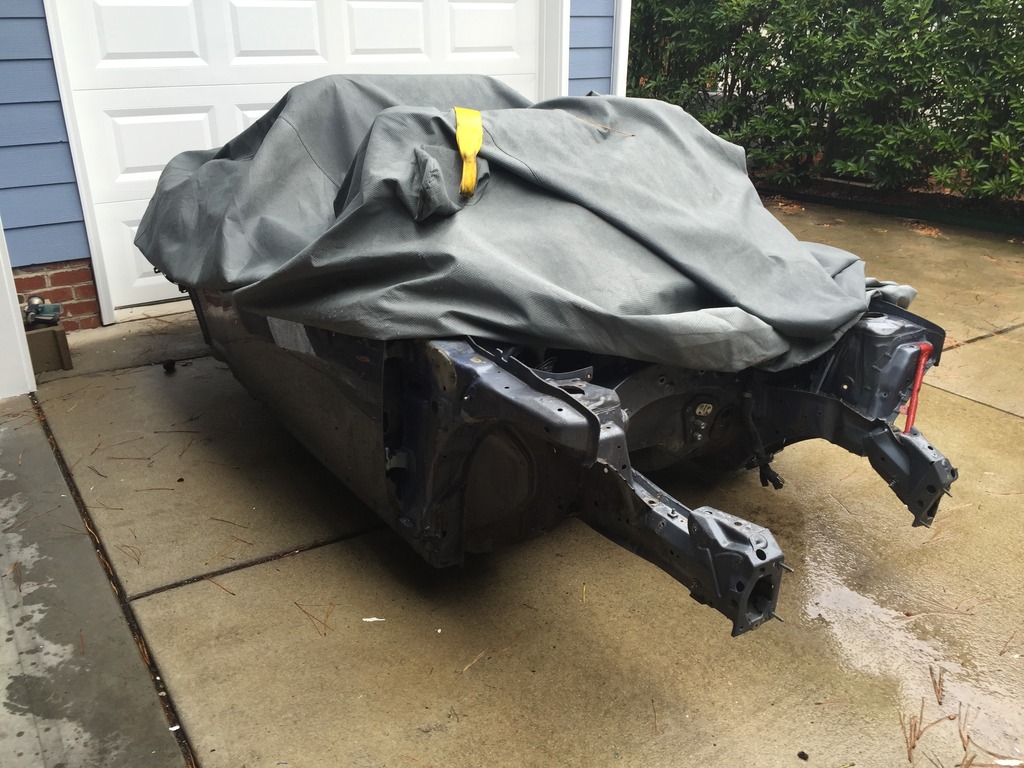
Aliens Did It
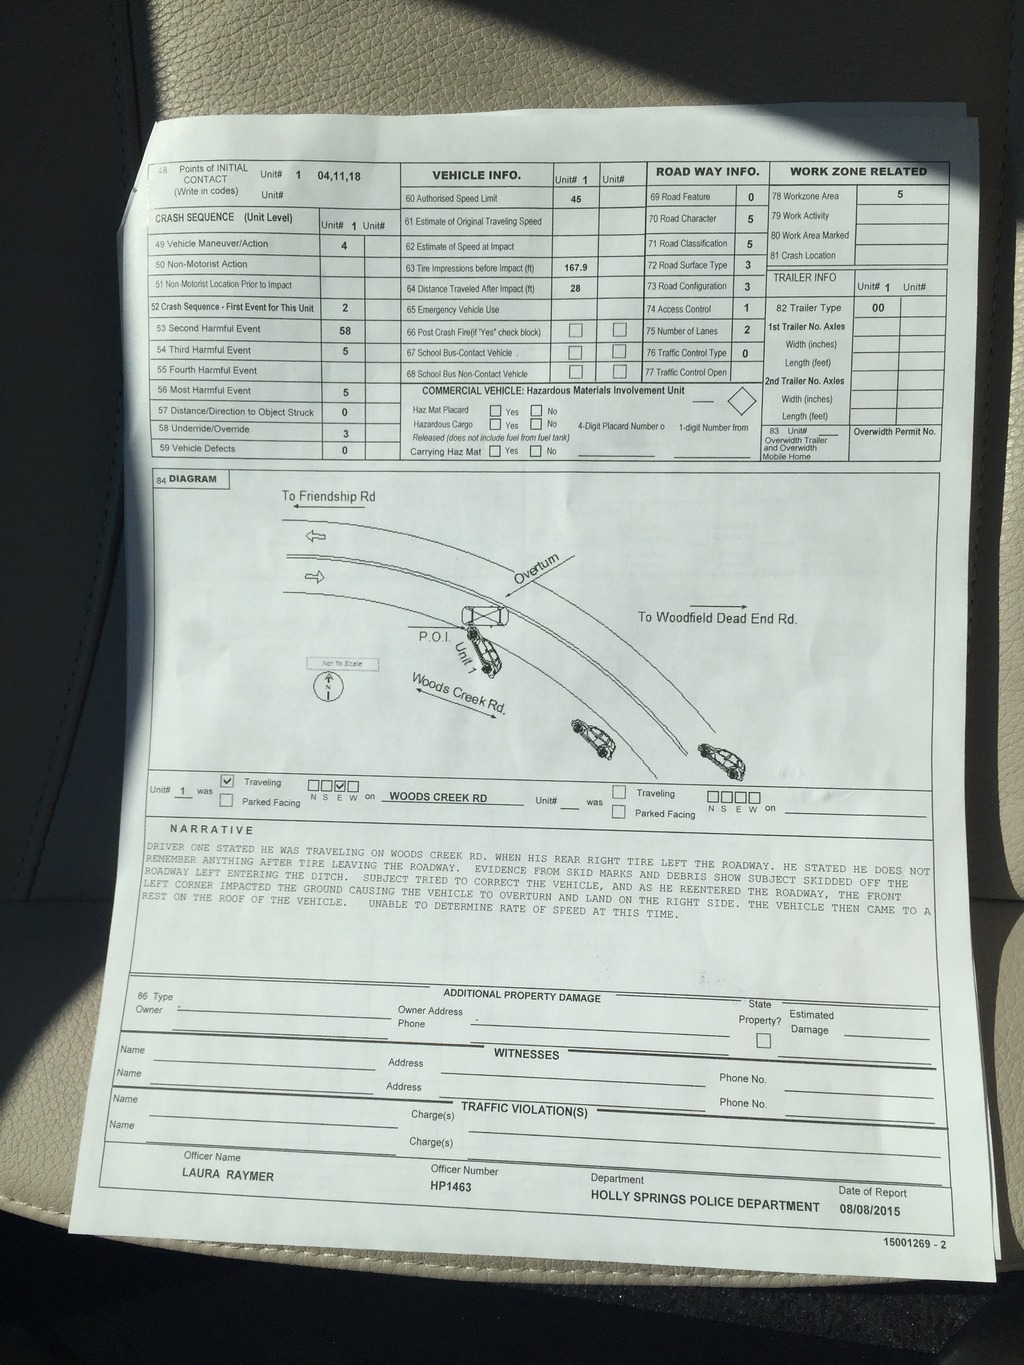
“Unable to determine rate of speed at this time.”
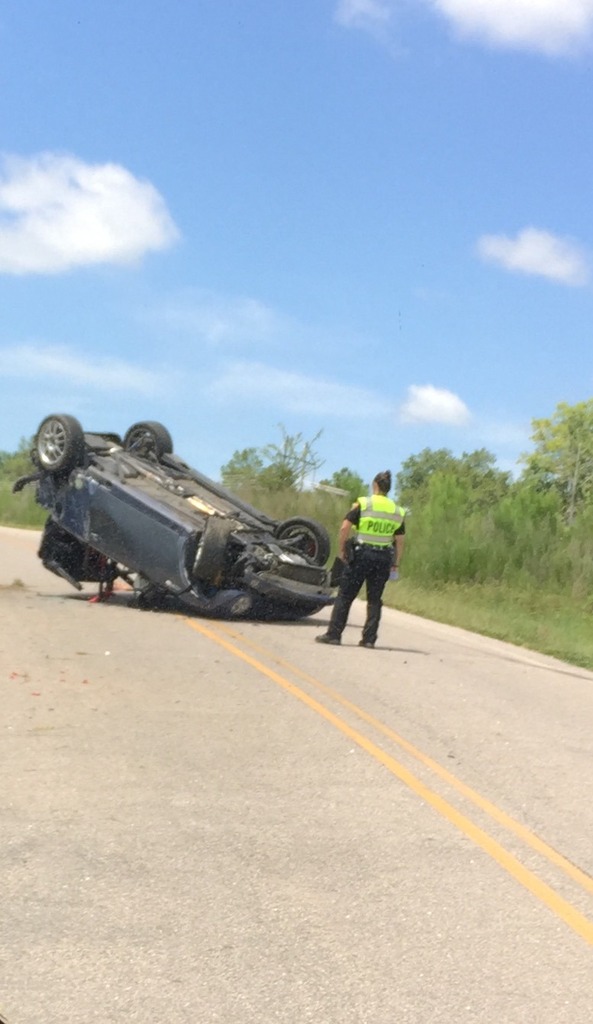
Officer got everything right except what happened after the primary impact… I flew the car upside down for 28 feet and impacted the left rear corner, never landed on the right side as the report says.
Insurance adjuster is gonna HATE this report.
Apparently, no Certificate of Achievement for me.
OK, like with the GP donor and manual transmission conversion, some things happen fast.
Crashed car on Saturday.
Laid around with a concussion for a couple of days.
As of now (Wednesday) have:
- Gotten corpse moved to my garage, from storage lot.
- Performed preliminary damage / salvage assessment.
- Visited crash site (twice), reconstructed accident, combed for small parts.
- Removed Meth cell/pump from corpse
- Successfully fired the engine, it lives.
- Met with claims adjuster, think I will have a good outcome. Should know tomorrow whether it will be easy or hard to get an outcome I can live with.
- Picked up police report, might as well say “aliens did it”.
- Ordered compression and leak down tools to further evaluate the engine (I could borrow them, but should really own a set)
- Ordered all stuff to add oil pressure to my Zeitronix rig so I can assess oil pressure on the current chassis before I pull the motor, since it runs. This, other test tools and oil analysis will enable me to decide to keep motor and run as-is, or ship back to Cali for rework.
- Found a good donor cabrio with bad tranny, and another good donor rolling body shell. Will probably go with the shell. Price is right, location is workable, comes with some key parts I will need.
- Confirmed that best paint shop in town can do my GP Roadster repaint cost effectively, on the rolling shell, in a compatible timeframe.
- Started planning for the Bigger, Thicker, Uncut GPness Rebuild.
- Solicited proposals for volume discounts on OEM parts.
- Traded emails with Jan about axle rebuild and dual-pass radiator.
- Pulled a couple of parts off the GP that the guy with the rolling shell wants.
Gonna rebuild this thing RIGHT. It’s gonna be EPIC. Have some ideas for improvements that would not have happened without this turn of events.
The Aftermath
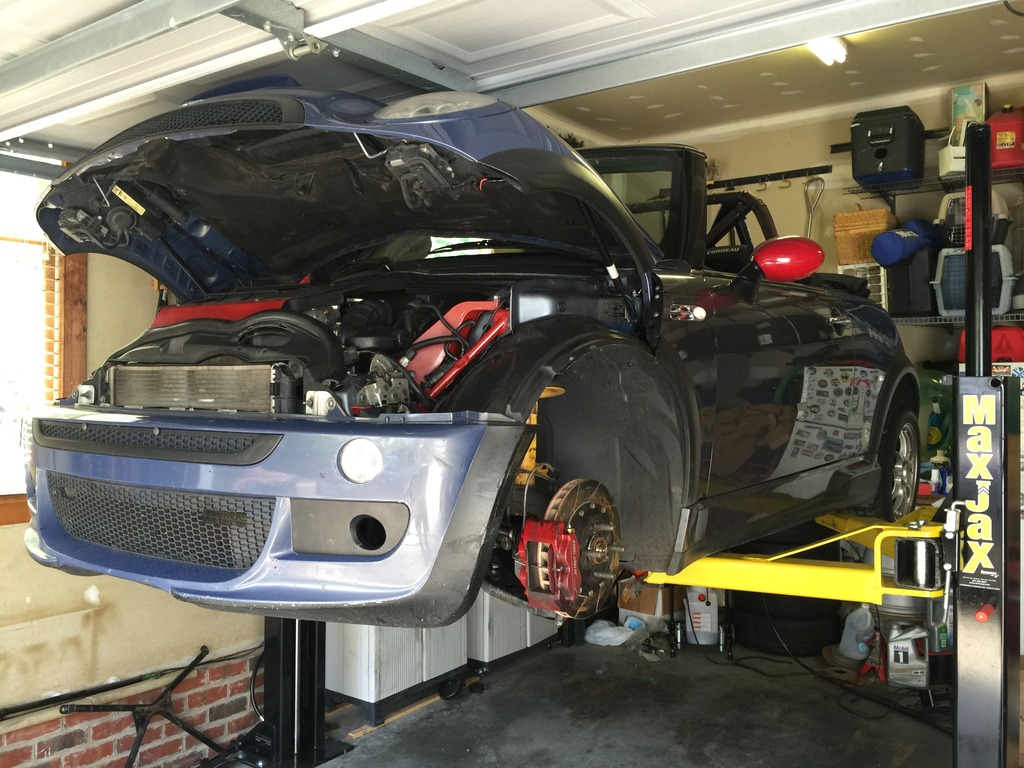
Back in the garage and on the lift, for preliminary damage assessment.
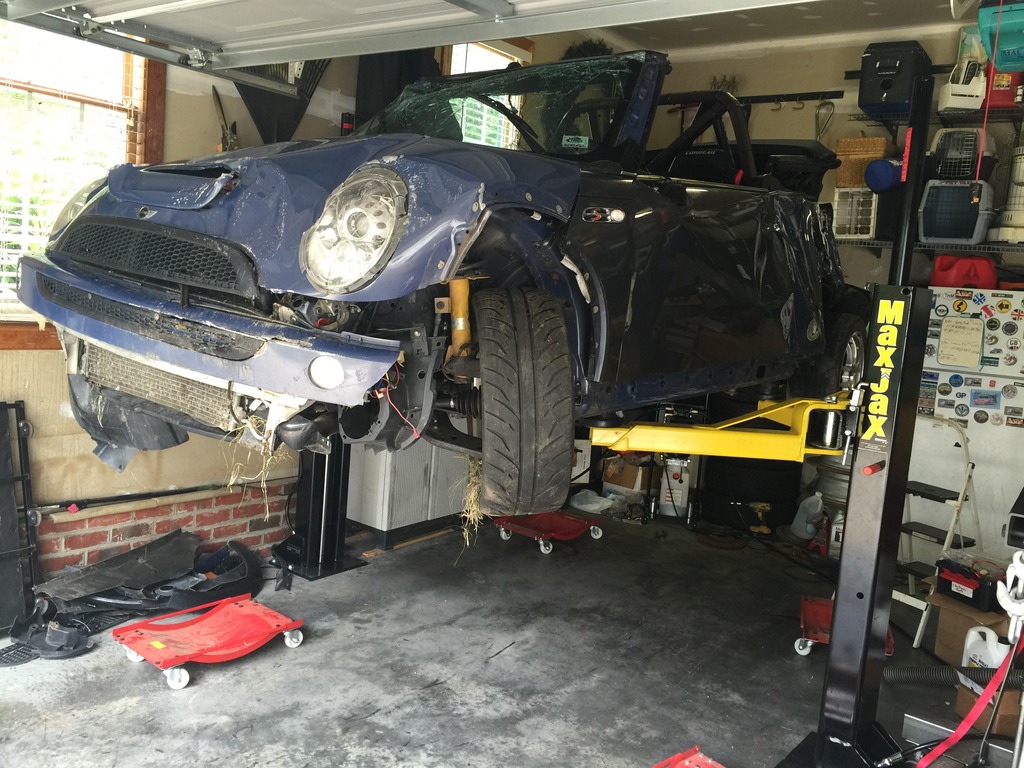
Obviously, it needs a new body. 🙂
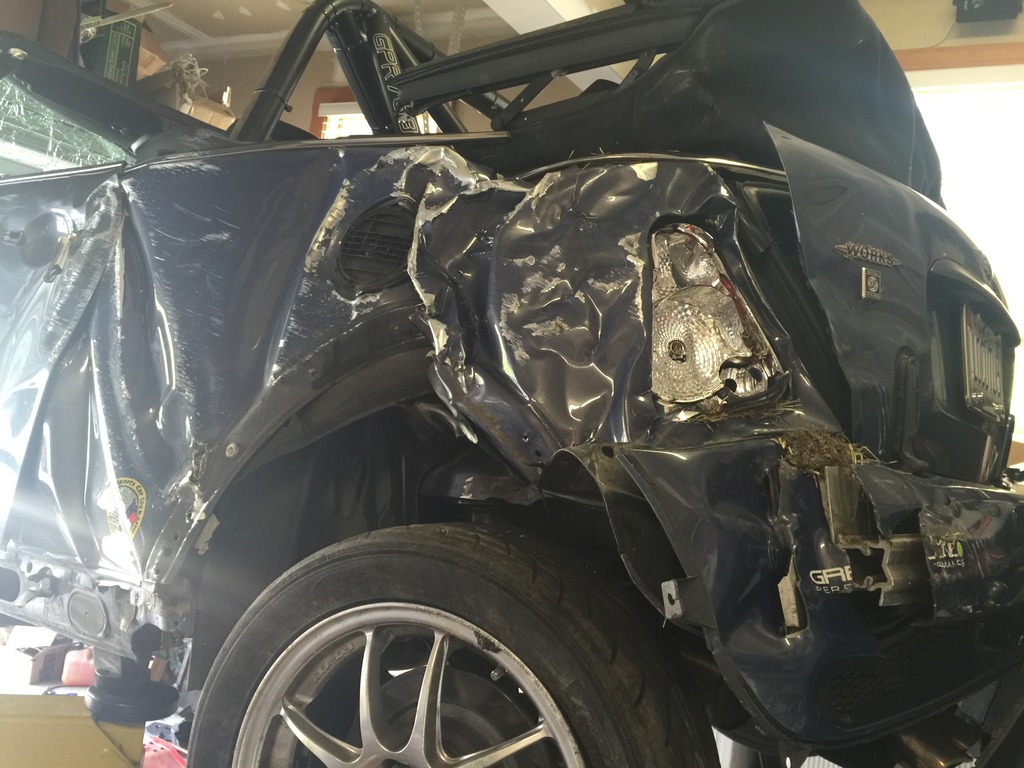
When you throw a Mini through the air onto this corner… this happens.
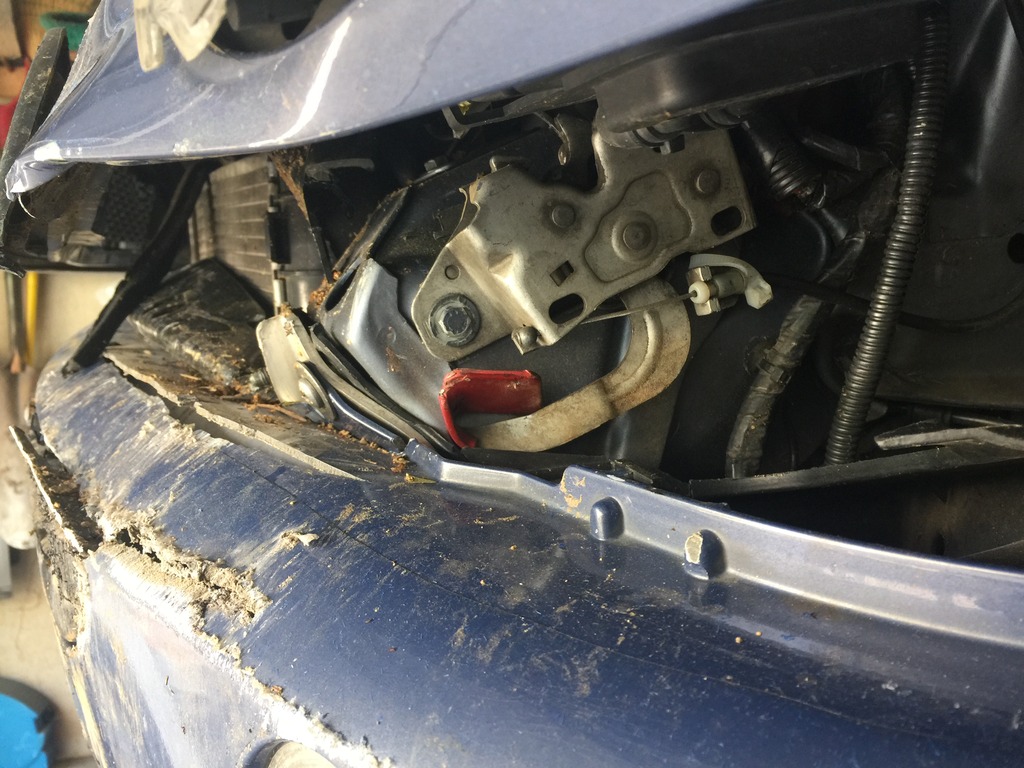
Hard to see above, but there is a definite “fold” in the forward frame arm, it’s bent as much as any I’ve ever seen. That’s what happens when you focus the full momentum of the car into that spot.
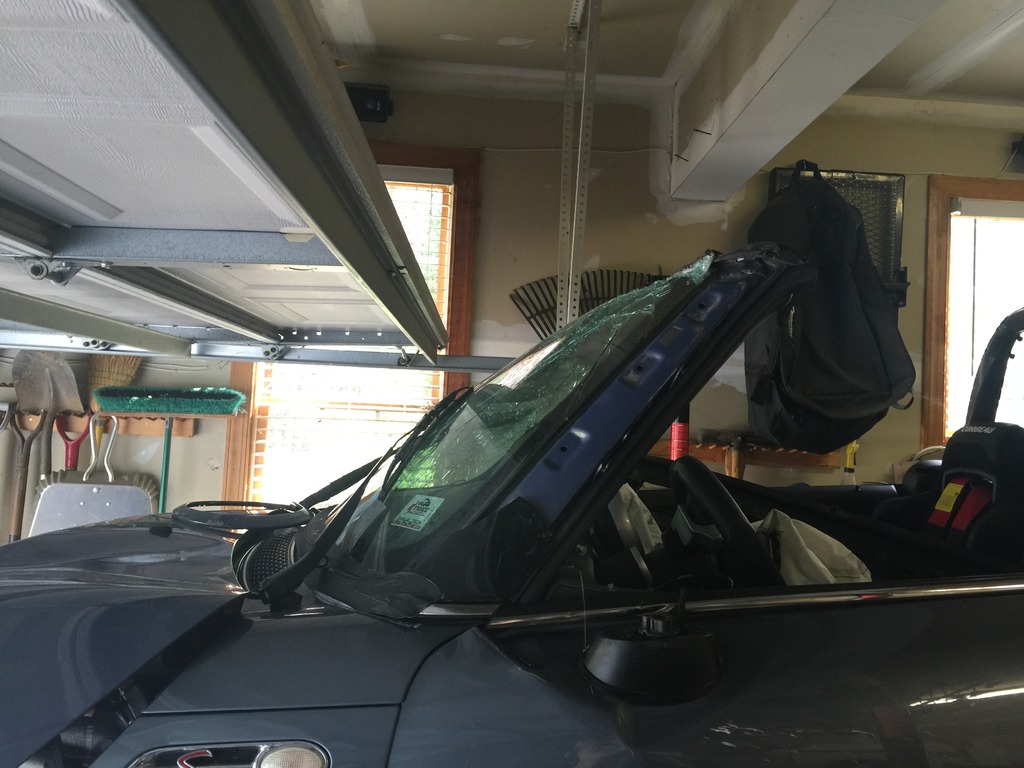
Though mine has the new “Speedster” windshield…
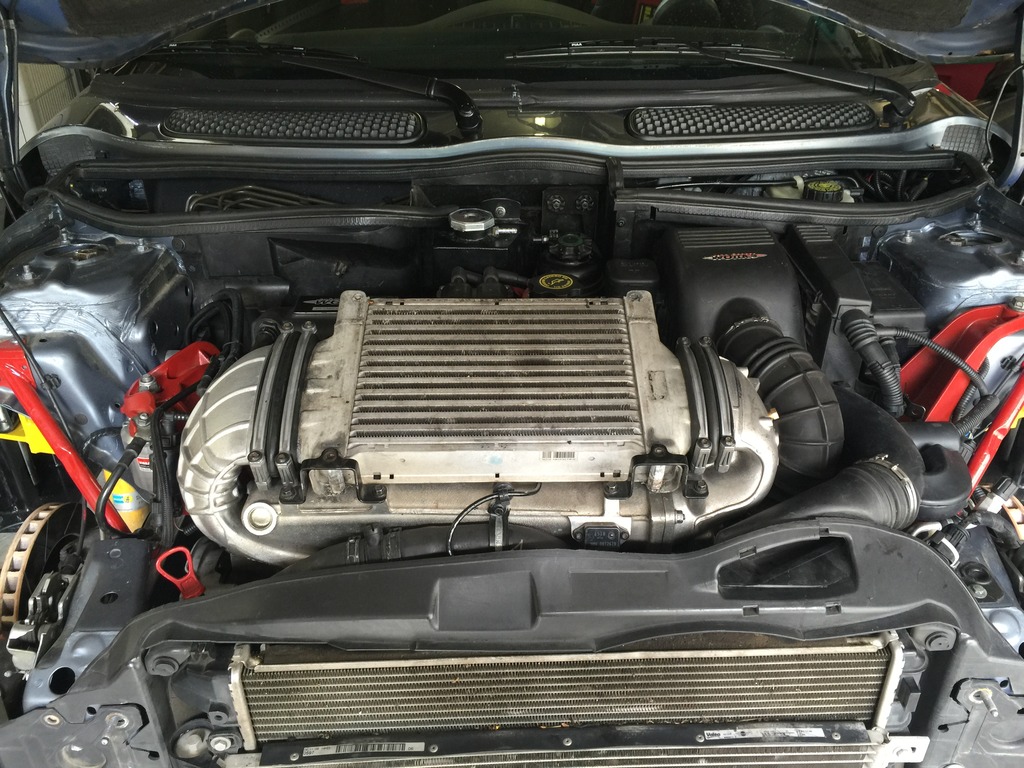
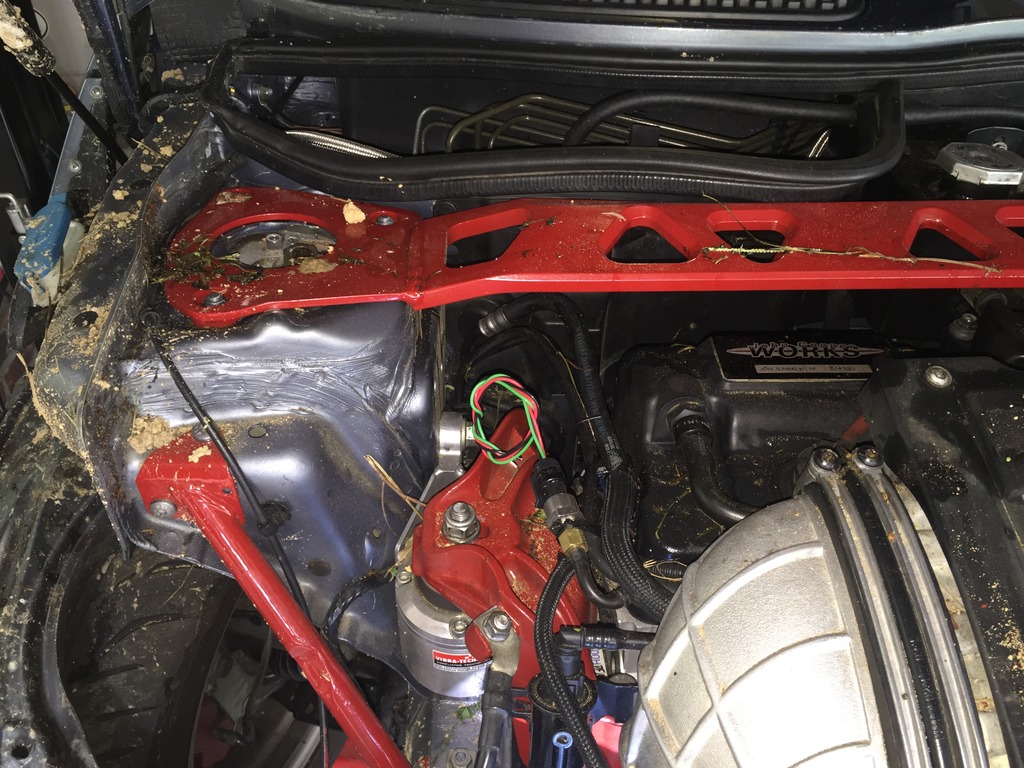
Motor, transmission, intercooler, airbox, etc all look OK.
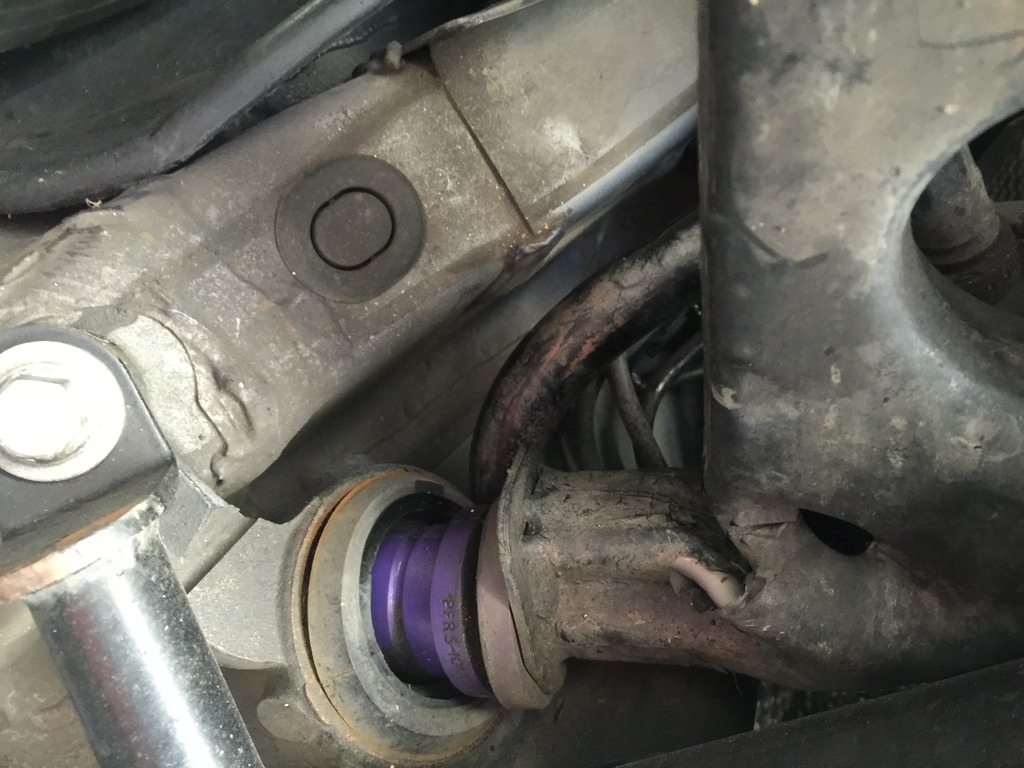
Both lower control arms collapsed and bushings pulled out.
Right front sway bar end link broke.
All engine / transmission mounts appear intact. One top plate on the strut bar bent a little, but is OK.
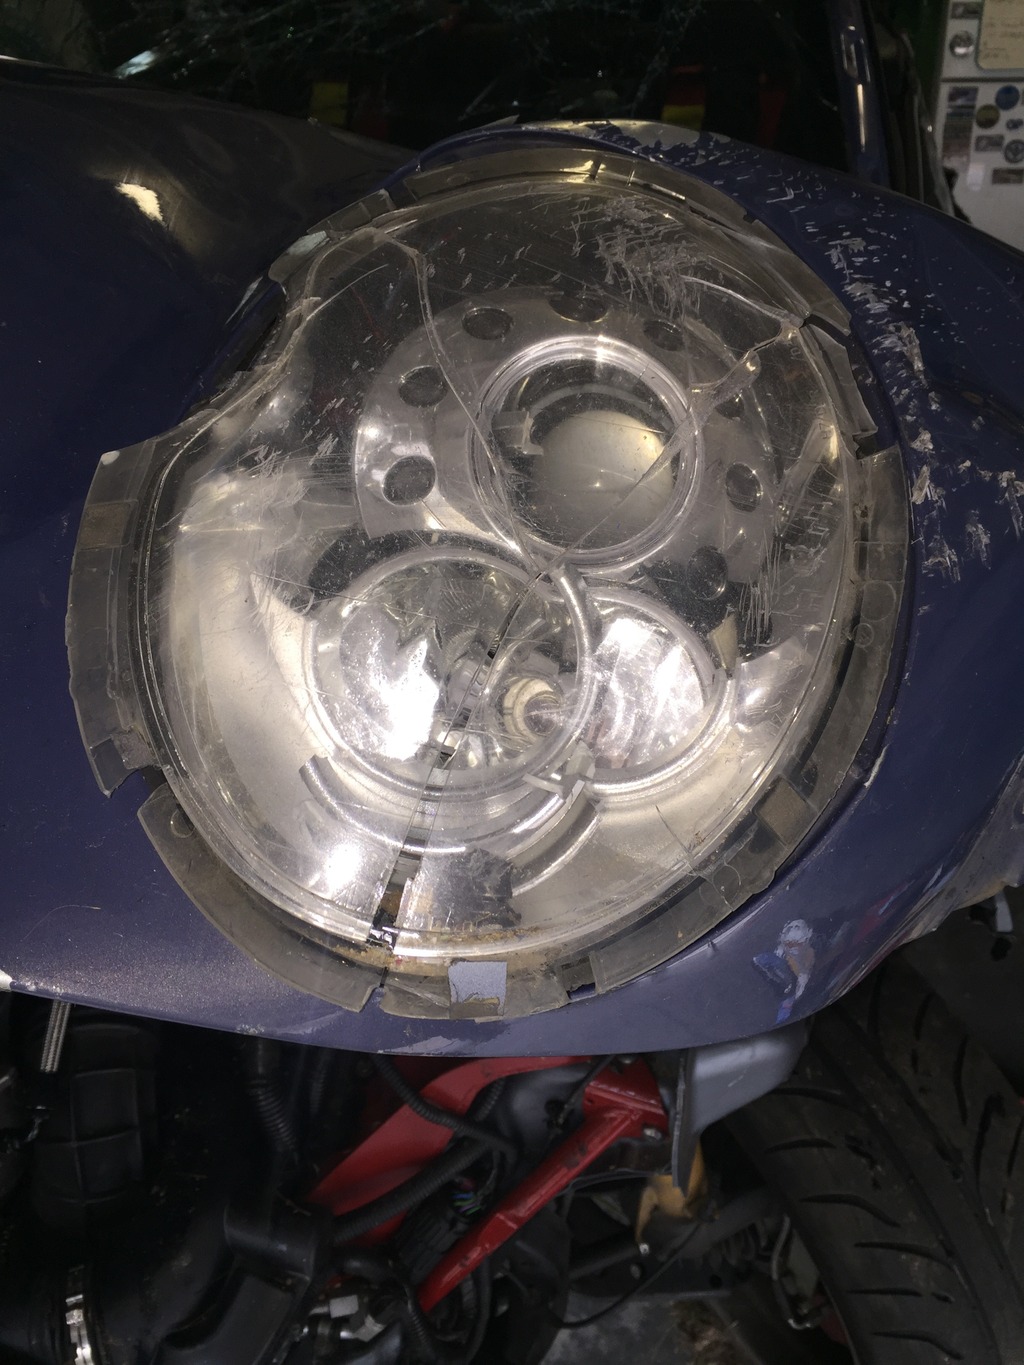
One Xenon headlight and one taillight broken.
Both new RMW axles had the tripod joints pulled apart and boots split (typical for this kind of crash) but they can be rebuilt like new.
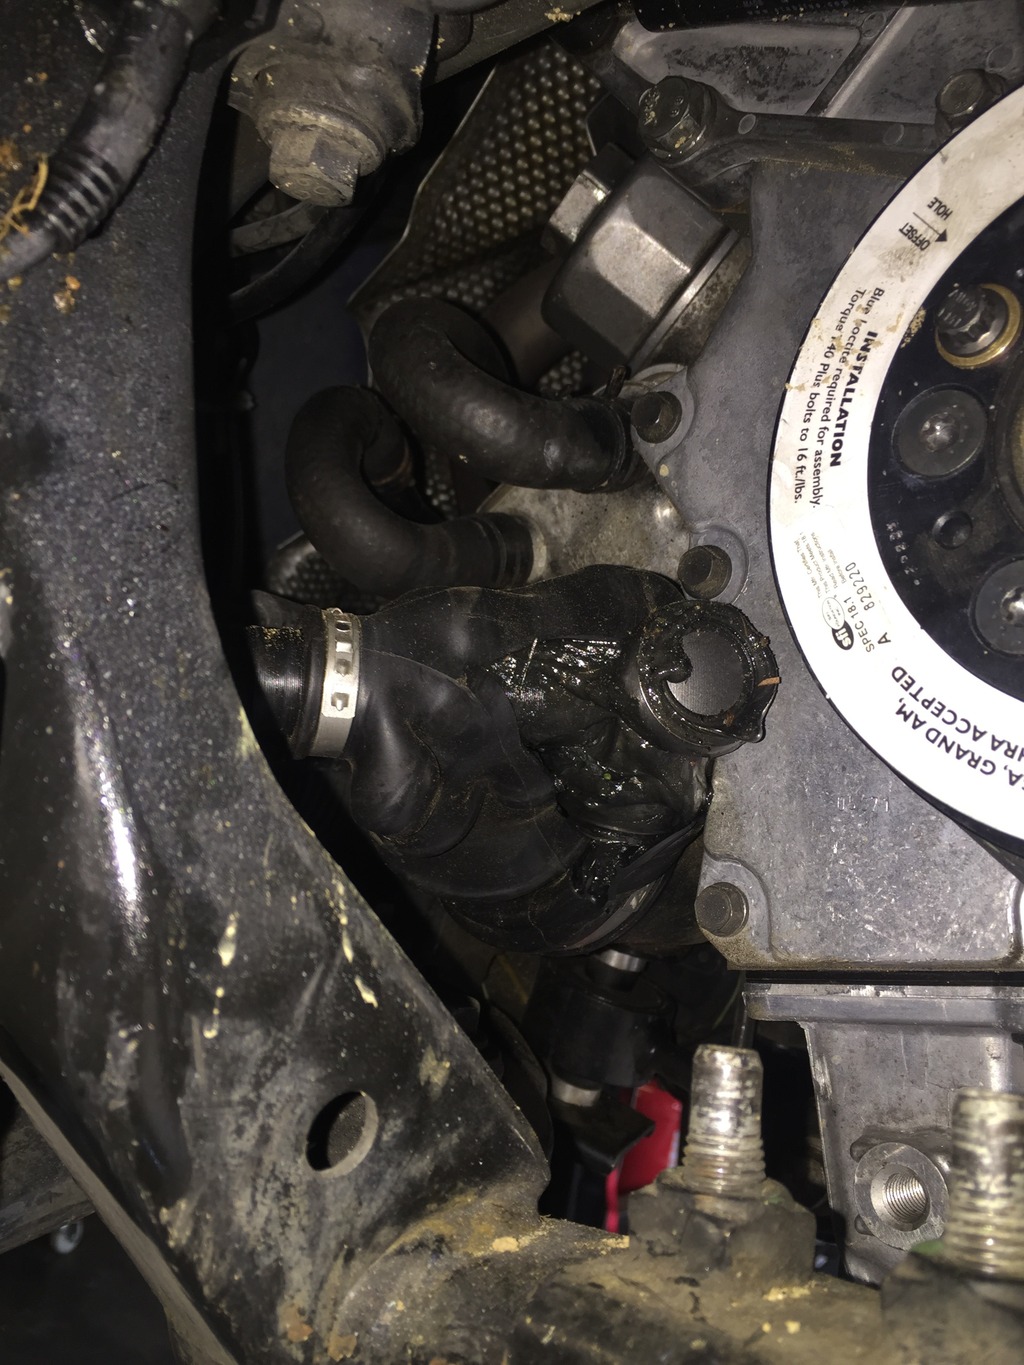
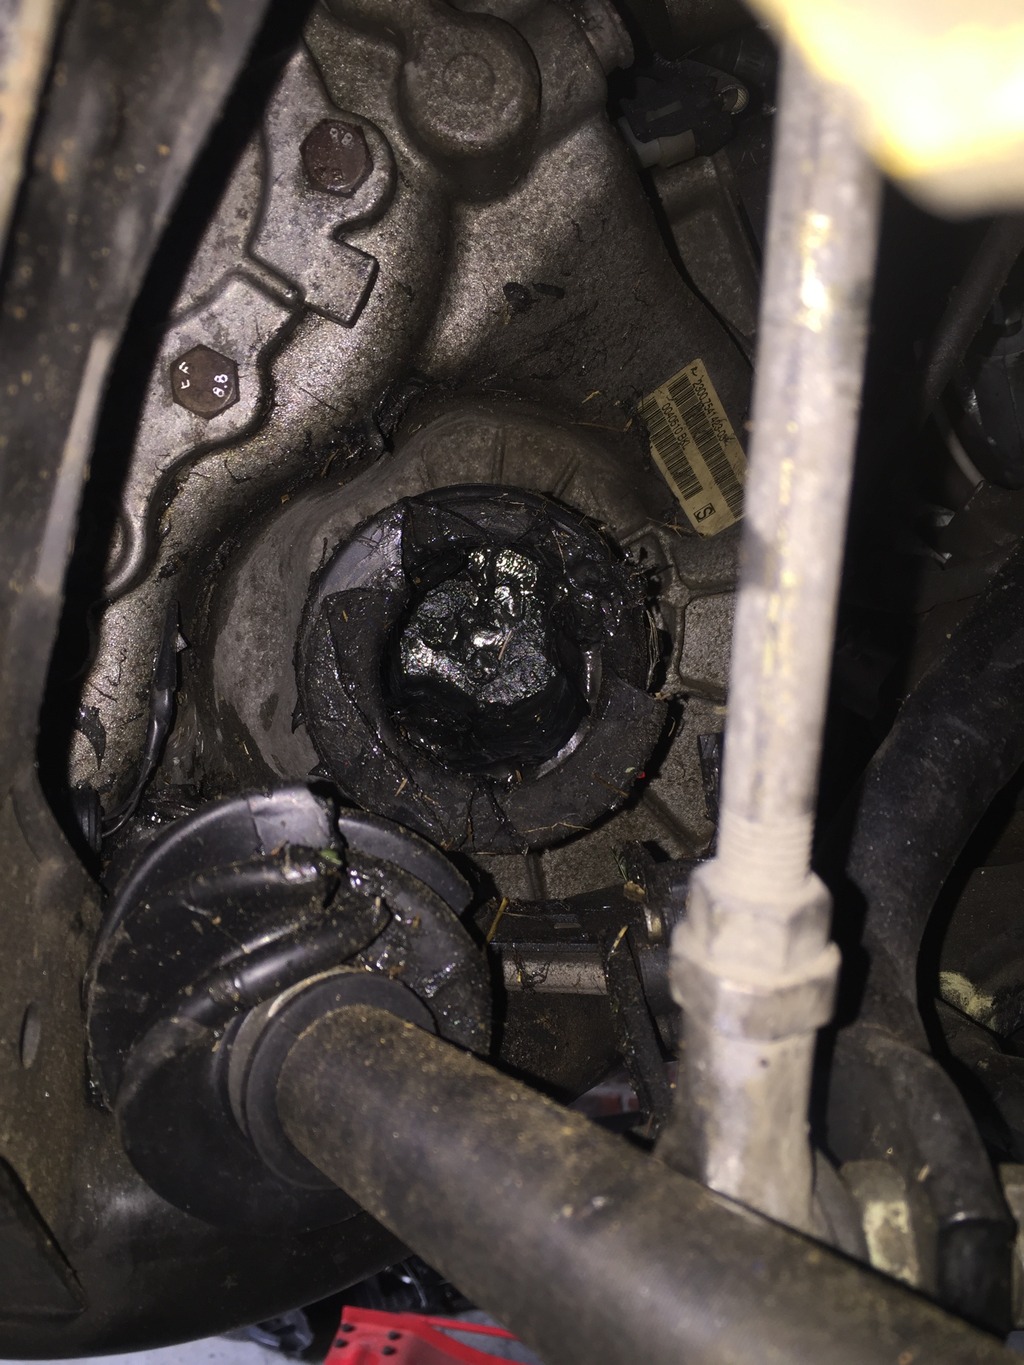
Radiator might be leaking a little, but not much. Will be replaced.
Engine still has a full oil fill. A little oil on the engine and tranny, but that may be from when it was upside down. As much oil on top of the engine as underneath.
Rear end of exhaust got banged up but is fixable.
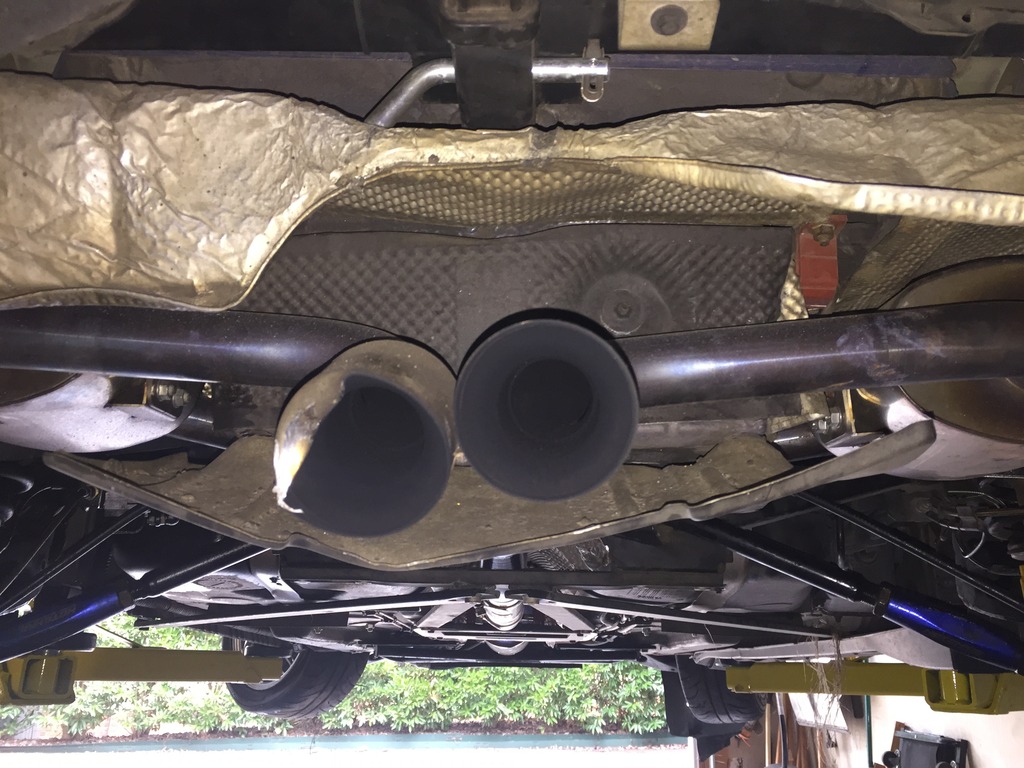
Underside of car is surprisingly clean and undamaged. Didn’t rip off any fuel lines, meth lines, wideband, etc.
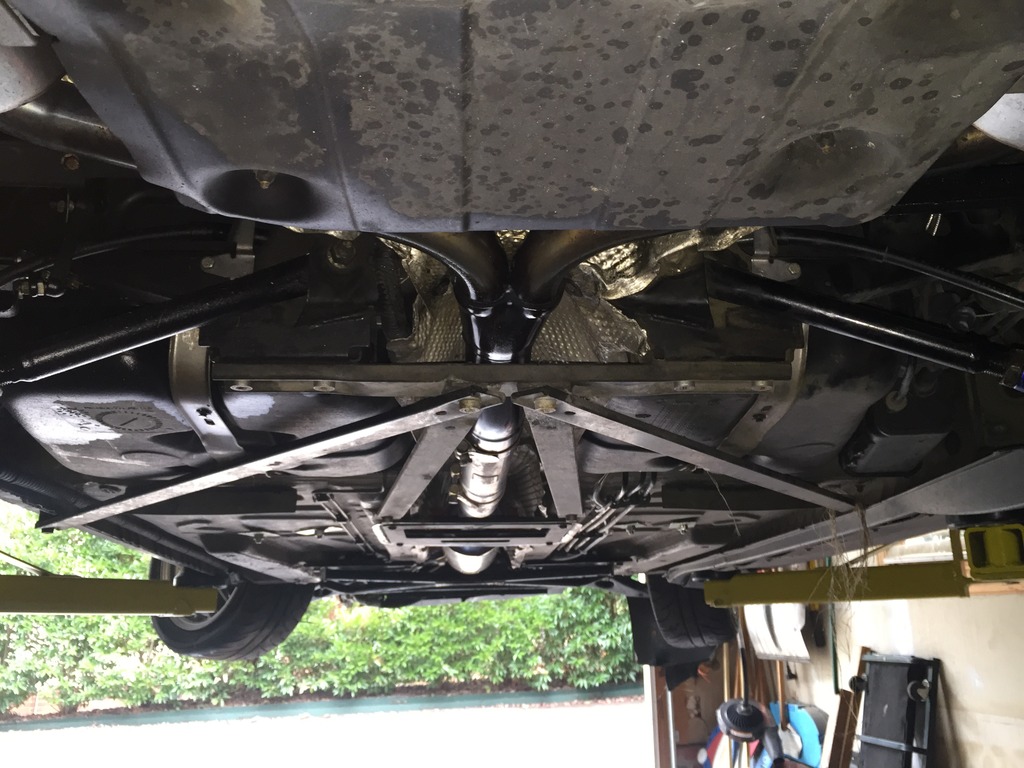
Wheels took a beating, 3 of the tires are flat. Interior is OK I think, other than airbag deployment and drivers side harness. I think all the vital GP trim is intact, inside and out. Both door handles got broken off, will have to rekey new drivers door (cylinder is still in the door, may be able to reuse it). Battery reads 4v, but 0v at the engine bay terminal, so the fusable link probably blew and shut down the motor before any damage occurred (I hope). It actually looks like I could hook up a battery and start it right now, but I won’t.
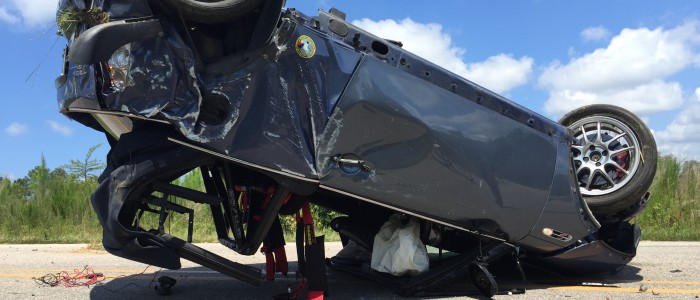
So, this happened
So, this happened.
Not exactly what I had in mind today. But stuff happens.
I’m not going to go into a lot of details. Skidded on a corner, dropped a wheel in a ditch with an embankment beside it, and got catapulted back out and over. Road I’ve driven 100 times.
Bumped my head on the pavement (I think) on the left side while rolling, and have a mild (hopefully) concussion from that, a variety of bumps and bruises and cuts, and a burn on my hand from (I’m guessing) the airbag, but otherwise I’m OK. Head CT came back clear, but I lost probably 15-20 minutes of time… so paying attention for the next few days.
Car is as broken as any MINI I’ve ever seen. I think the motor will be OK, as is much of the interior, and I think the GP bits are savable.
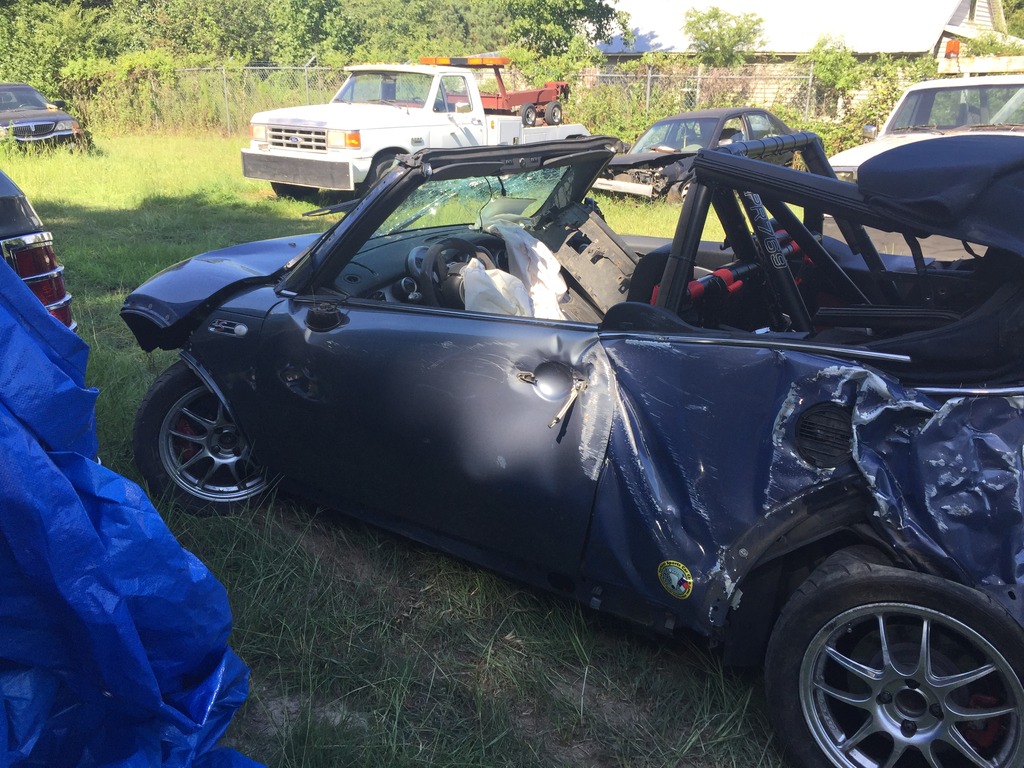
Every person who has seen the car has said the same thing: “That roll bar saved you”
That, and the harness, did their jobs.
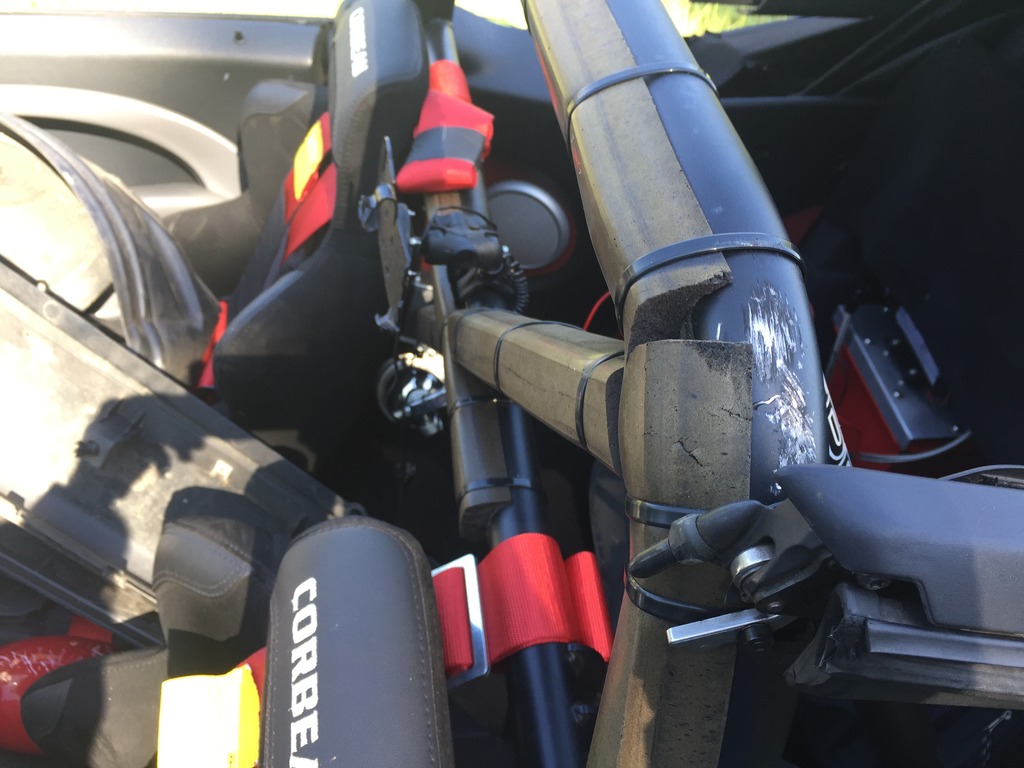
Might take a day or two to collect my thoughts, but I’m probably going to buy the car back from the insurance company, find another cabrio shell, and rebuild it. I’m getting good at that part. So just a temporary setback…
Aquamist install
Reinstalled my X-brace, found and fixed an exhaust squeak, and lubed my rear suspension.
Then got started on the Howerton Aquamist install…
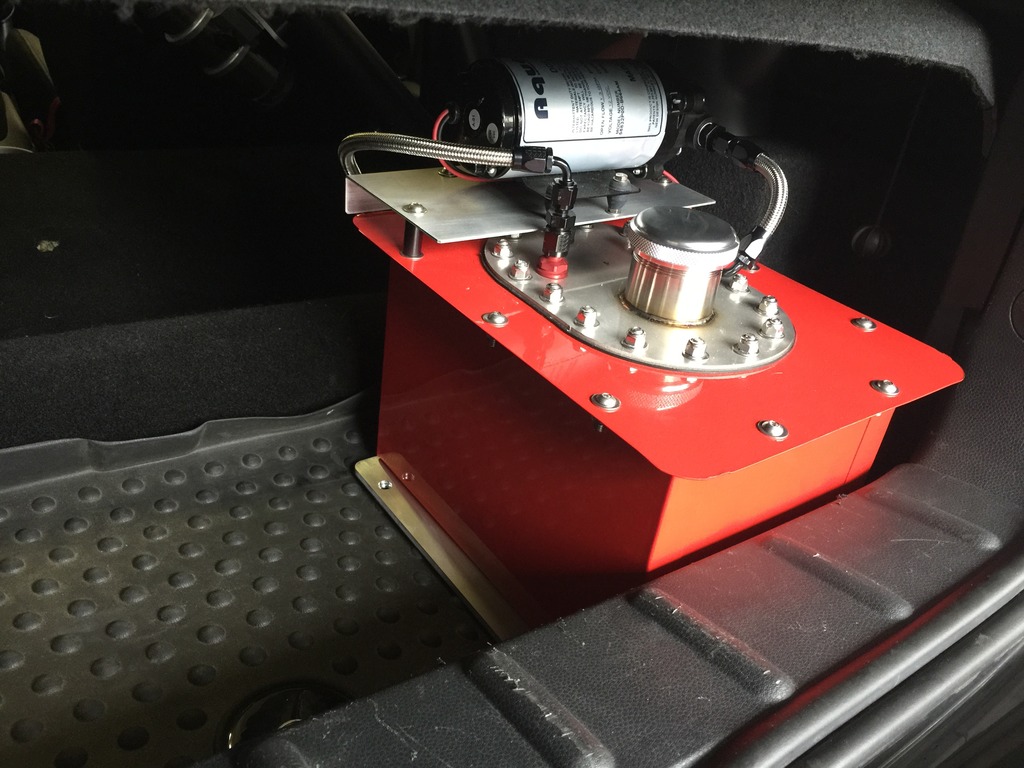
The star of the show for this system is the custom 3 gallon fuel cell. Jeff takes a commodity cell and reworks it significantly: custom stainless top and hardware, aluminum mounting plate for pump, heavy aluminum base plate for mounting. He adds a plastic baffle system to regulate surging within the tank while under extreme G-loads. Adds pickup, level sensor and roll-over valve. I had him build mine with AN type hardware and lines.
I’m installing this in the right rear corner of the car… the lightest corner. This will add about 30 pounds to that corner when full. Which is about what I lost by going with a lightweight battery last year.
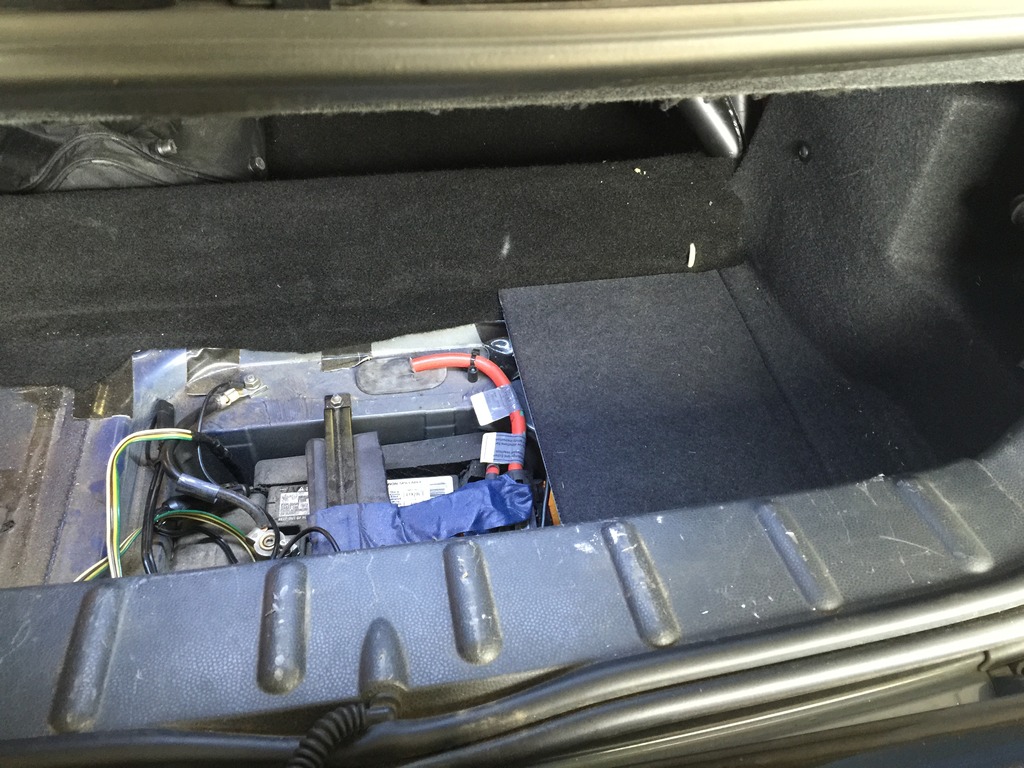
Speaking of the battery… I need to retain access to the battery for maintenance, track inspections, pulling the ground when doing work that requires it, etc. But I don’t want to remove the tank every time I need to get to the battery. So I devised a plan for that.
Here’s the tank/pump in position. I’ve removed the plastic boot liner, but the rigid floor panel is in place. If the tank is bolted down, this panel will block access to the battery…
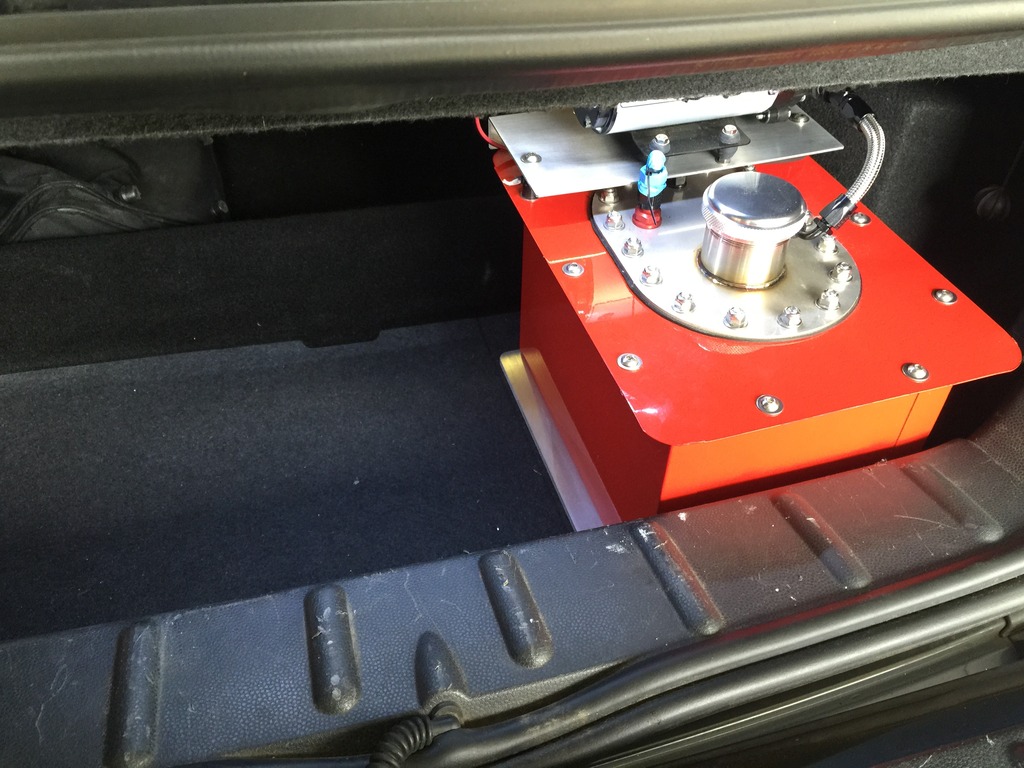
The tank bolts down through both the plastic liner and the right section of the floor panel. I can flip the liner up out of the way, pull the left section of the panel, and VOILA.
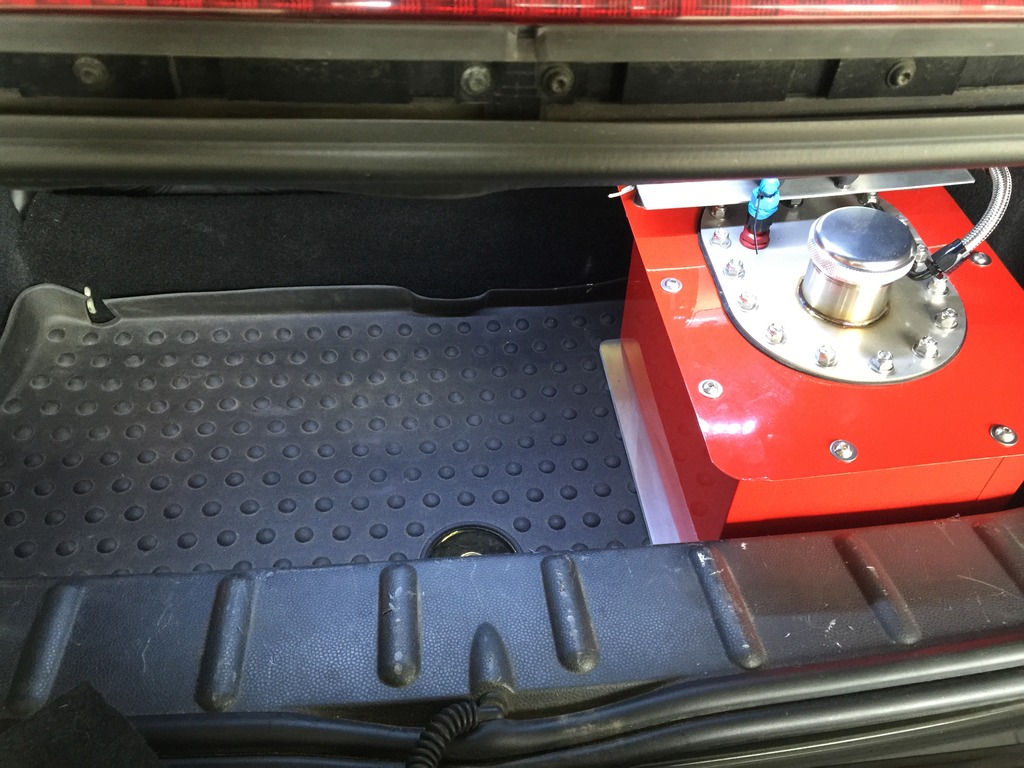
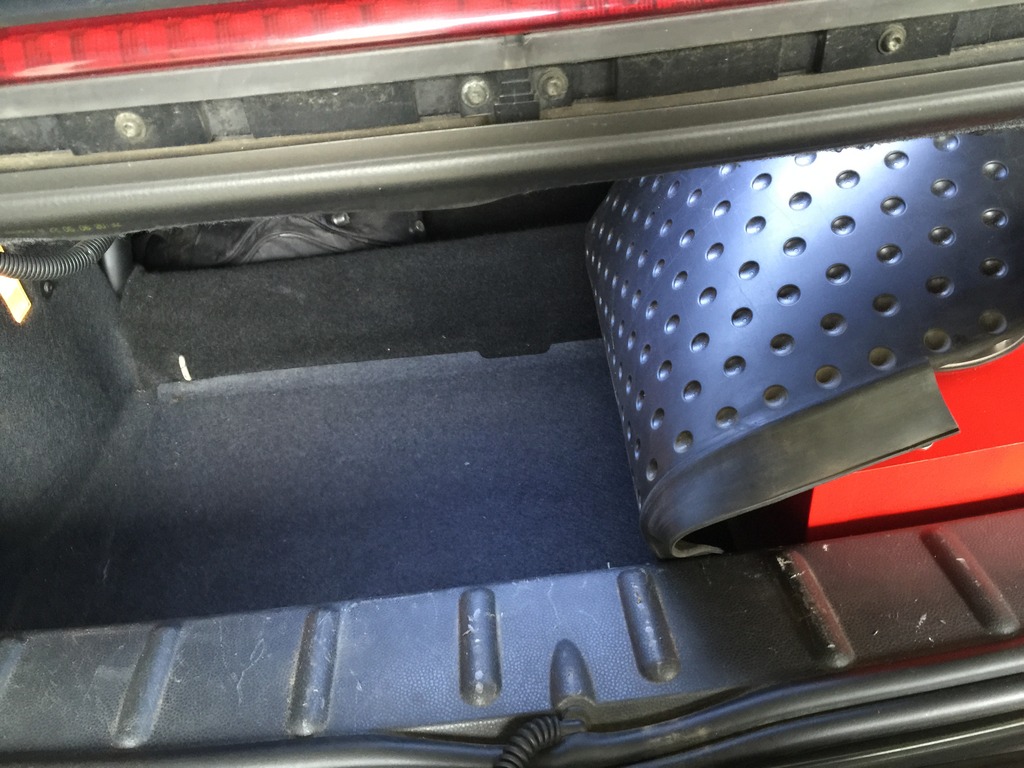
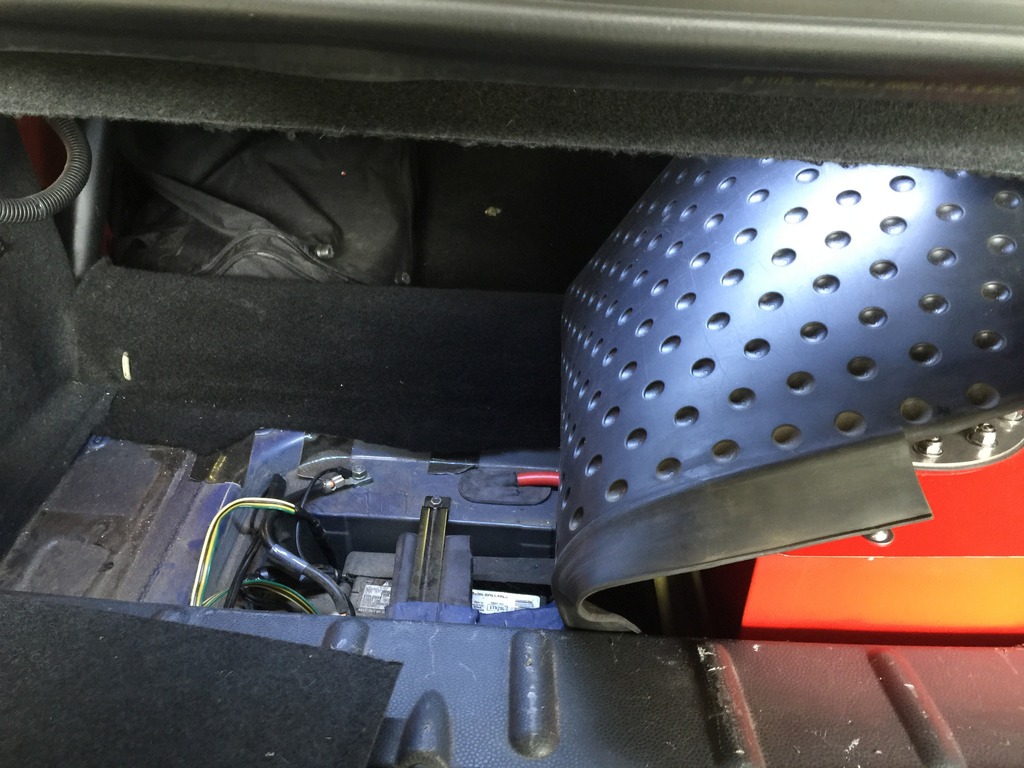
I installed nutserts for the tank bolts, and drilled the tank base plate to match.
I need two outlets for AN lines: one to take methanol to the engine bay, and a second for the vent. This connects to the roll-over vent connection on the top of the tank. If I happen to put the car shiny-side-down, this valve closes so meth doesn’t run out and cause a fire.
I purchased AN-type bulkhead fittings, and installed these through the floor in front of the tank. Then I can connect short lines to these inside the car, and can connect to the meth connection under the car to go forward to the engine bay. The vent is just open under the car, over the heat shield. No meth should ever flow out this line, just some air in and maybe a bit of vapor out.
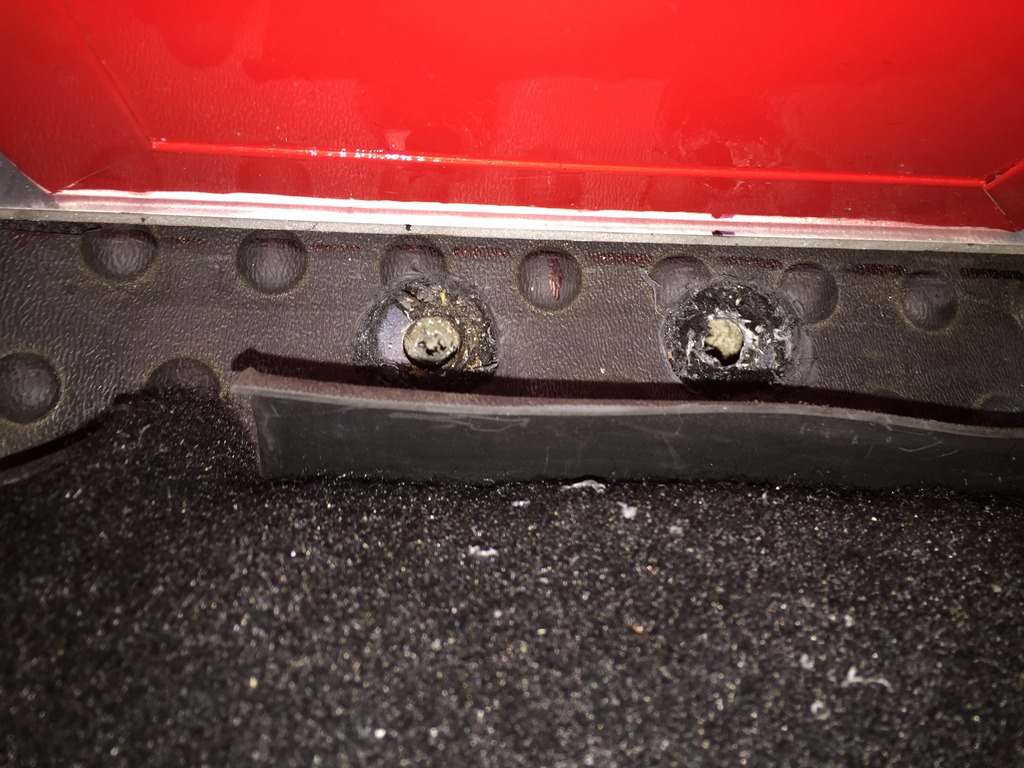
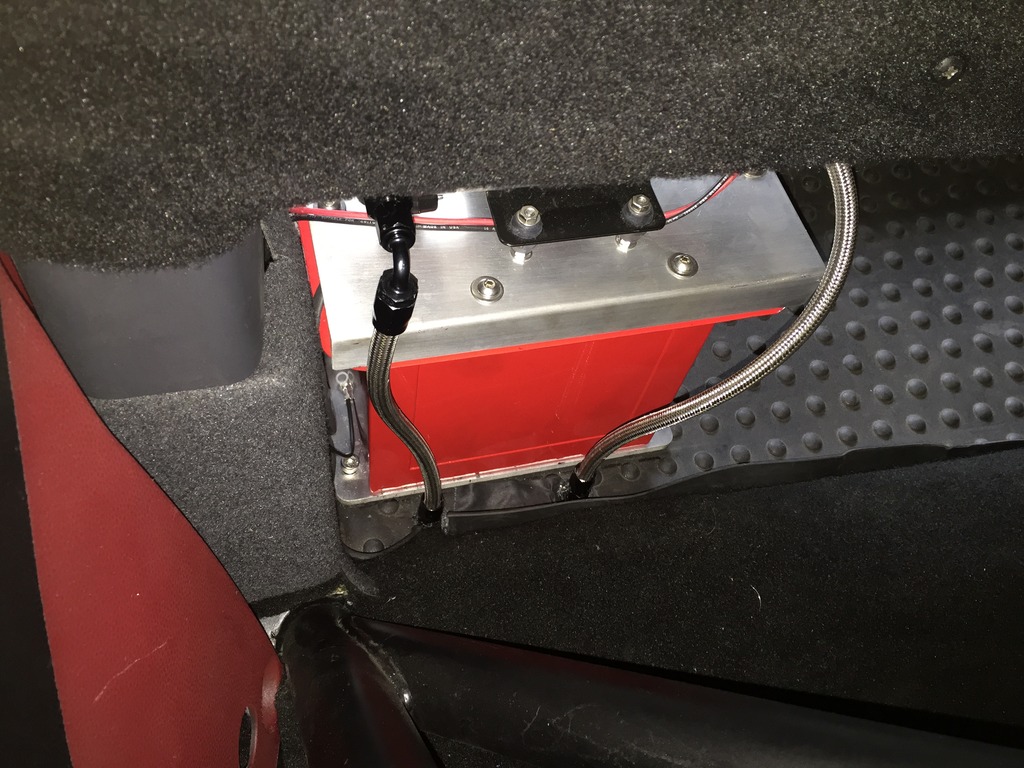
Now to get to the engine bay…
I connected an AN line to the meth bulkhead fitting under the car, then ran through the subframe, around the fuel charcoal canister and fuel tank, then followed the fuel lines to the front of the car, tying to the fuel line brackets along the way.
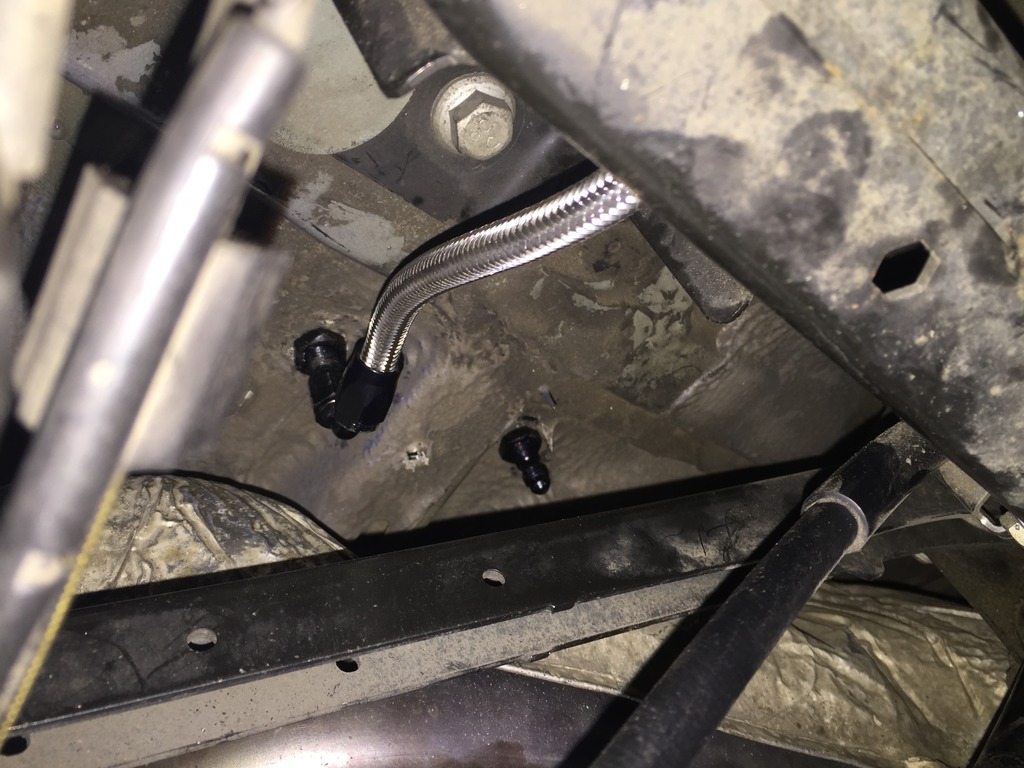
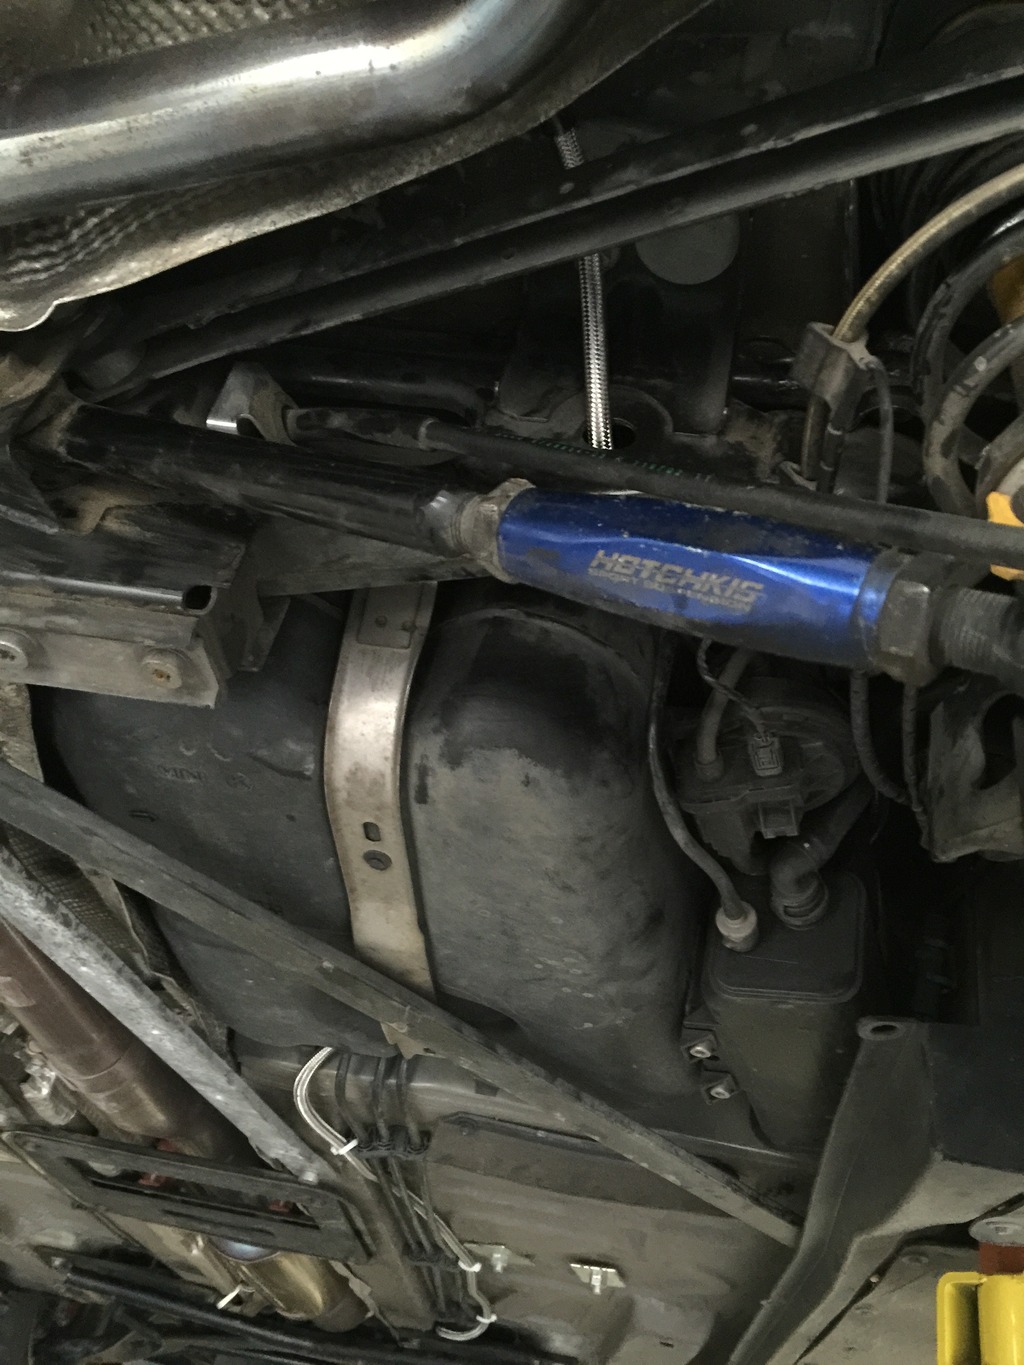
Routed up through the right side cowl compartment, along with my wideband O2 and EGT wiring.
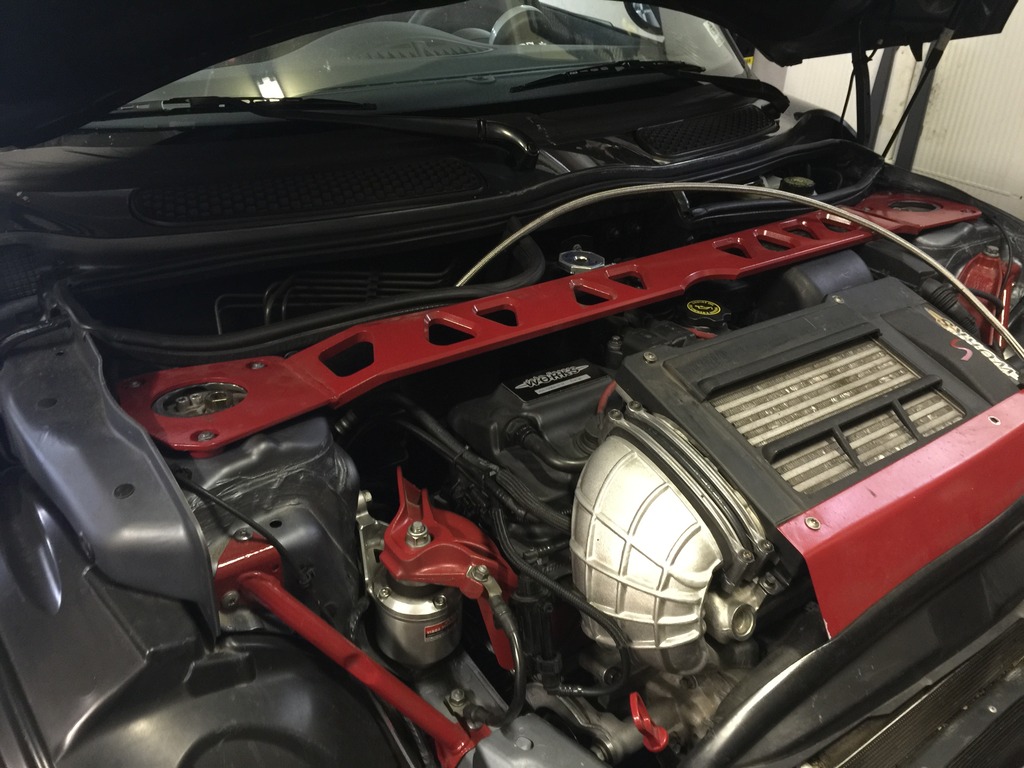
Tomorrow, will finish the meth hookup and wiring, as well as the wiring for the Zeitronix wideband / EGT / data logger. And will hopefully get to drive some… I was so busy on the lift today, I didn’t drive!!!! 
Seriously Strokin’
Day one review:
Drove about 80 break-in miles today. In my world, “break-in miles” do NOT equal “easy miles”. I drive it like I stole it…. I just keep it below 6000 RPM as much as possible.
This motor has so much torque, you can have PLENTY of fun below 6000 RPM. It pulls hard from 3000 RPM to (I assume) redline. Which, after break in and tuning, will be north of 8000 RPM!!!
The biggest revelation for me today was how much air this motor can breathe, and the impact that has on supercharger boost pressure and Intake Air Temperature (IAT).
On my old motor, all else being equal (flapless JCW intake/AMSoil filter, same supercharger, 17% pulley, ported intake manifold, street header, Milltek exhaust) peak boost was over 16 psi. This thing flows so much air, peak boost is about 12psi. OMG YOU LOST BOOST!!!! you might be thinking. Well, sortof. But the supercharger is moving the same amount of air at a given RPM. Actually, it’s probably moving more, because it’s meeting less resistance (pressure). It’s just that the Lawd Jeezus head, high-lift Dominator cam and 1.8l motor can consume it so much more efficiently. The motor still feels torquey when under boost. It just doesn’t require as much pressure to do it.
What’s the effect? The biggest is IAT. Today it was 100F here when I was breaking in the motor. I was doing wide open throttle (WOT) pulls from about 2500-5500, over and over again. I don’t have my new meth system setup yet, so I’m running with no meth. On my old motor, repeated WOT pulls like this on a hot day, with no meth, would have spiked IATs near 200F, even with the GP intercooler. Today? 120-130F. Incredible. That directly translates into increased air density and more power. AND less wear and tear on the supercharger and motor.
And the motor is silky smooth, and doesn’t even feel like it’s working hard at WOT. It REALLY WANTS more air. When the TVS, Vipec and long tube header are on… it will be insane. Because it’s fast with 12psi. When it has 22psi? OMG.
More thoughts in my video review below, including TORQUE!!! and SOUNDS!!!
Update: Jan reminded me… 27mm exhaust valves lol
Ready to run
Lots of progress in the last few days…
Finished getting the engine hooked up.
Installed Greene Performance uprated clutch slave while things were apart. Old OEM slave was starting to seep. This one is a bit stiffer and has much more “feel”.
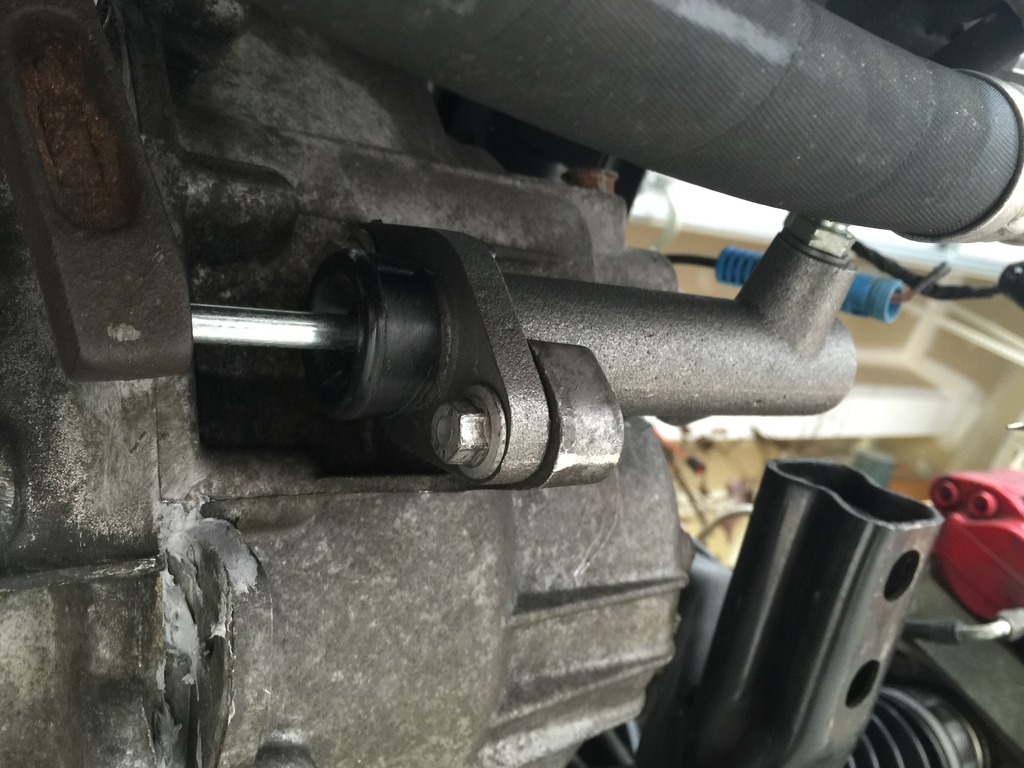
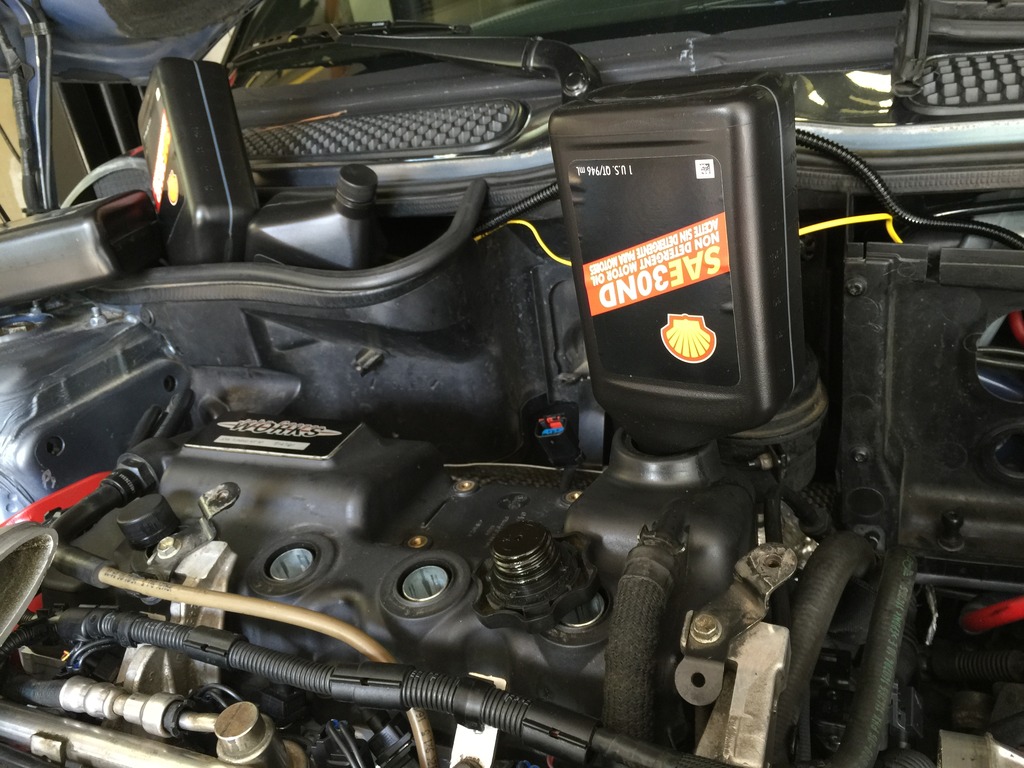
Did the first oil fill – this is just for the initial firing and warm-up. Non-detergent lawn mower oil. Replaced with Rotella T for break-in, after the first warm-up.
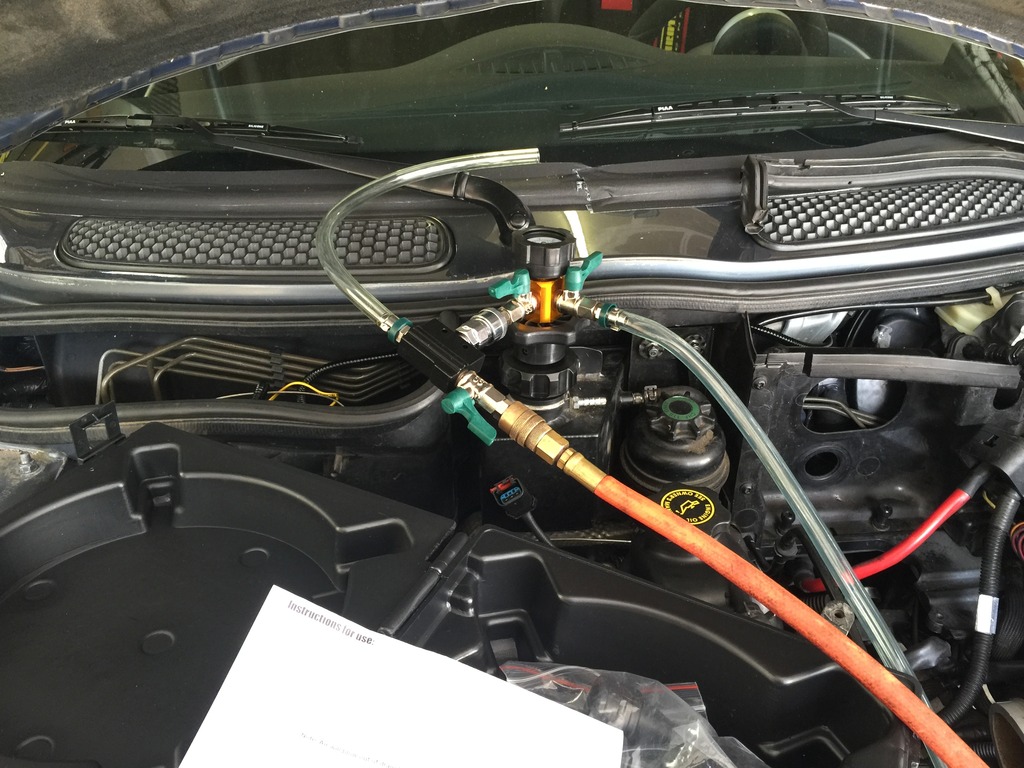
Used my Schwaben cooling system evacuation tool to fill the cooling system. This thing is awesome, draws a vacuum on the cooling system and then fills, so it doesn’t need bleeding.
Pulled the plugs, pulled the fuel pump fuse, and ran the starter a couple of long cycles to prime the new motor with oil.
Then reinstall plugs, intercooler and fuel pump fuse. Loaded new RMW tune to support 550cc injectors.
Hanging the Stroker
So some expert who shall remain nameless (Colin) said “Why would you put all the stuff on it first. What a pain that would be going back in.”
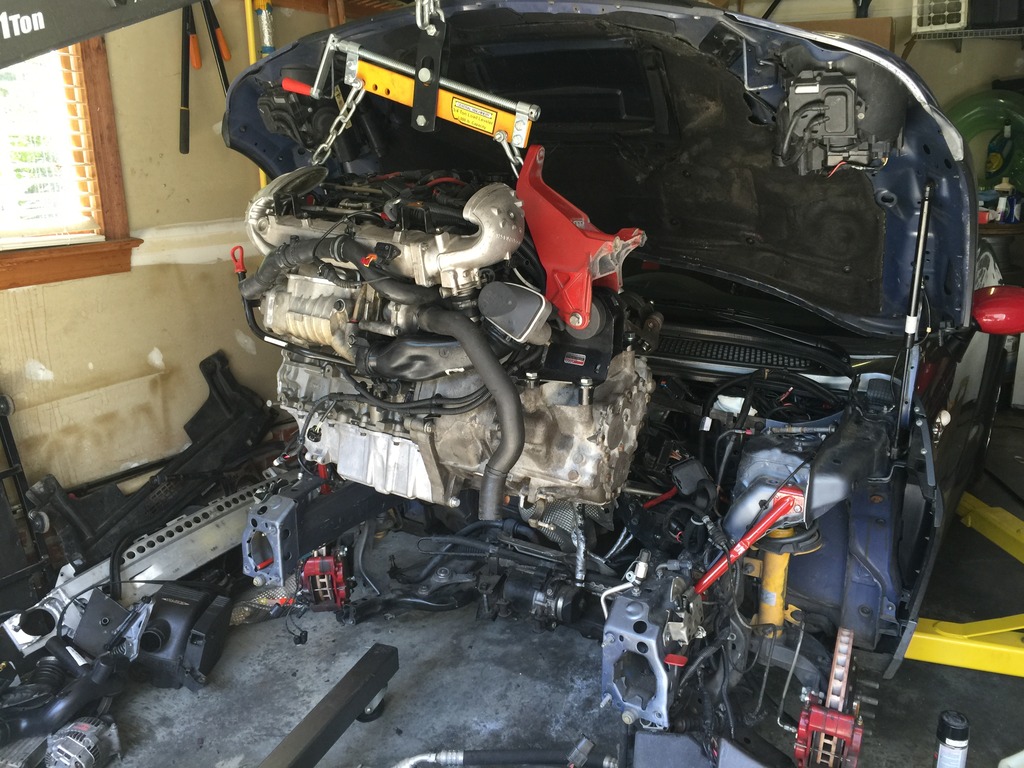
It took me 10 MINUTES to hang the engine, with all the stuff on it, solo. SRSLY.
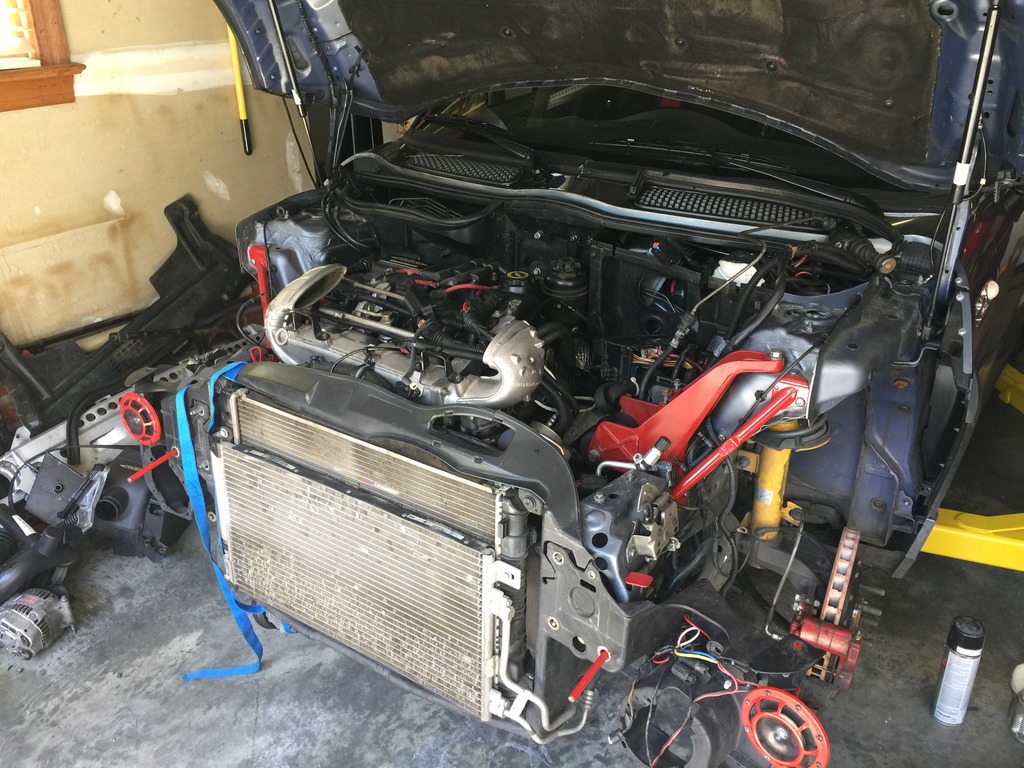
It was an experiment, really. I’ve always done it the “conventional” way, taking lots of stuff off first to take it out, and putting all that stuff (intake, supercharger, throttle body, etc) back on after the engine was in place. But I really didn’t think it would be an issue hanging the engine with it on there. And it wasn’t, I just had to use a different hanging point to balance it.
Also installed the 1 billion horsepower RMW axles.
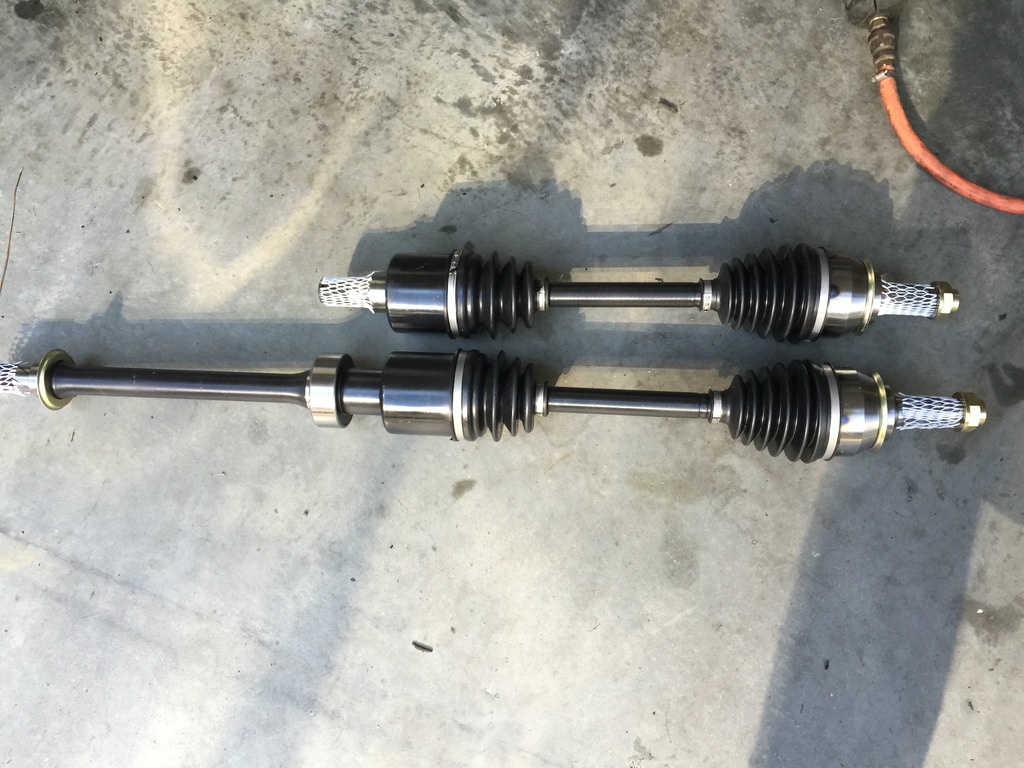
Had to fight the passenger side axle bracket snap ring for about an hour. Geesh. But it’s done.
